Mastering Hat Embroidery
A Complete Guide to Using Hat Embroidery Machines
Hat embroidery is a popular and lucrative niche in the custom apparel industry.
Whether you’re a seasoned embroiderer looking to expand your offerings or a newcomer to the world of hat customization, mastering the use of a hat embroidery machine can open up exciting opportunities for your business.
In this comprehensive guide, we’ll walk you through the process of using a hat embroidery machine, from setup to finishing touches, and provide valuable tips to ensure your hat embroidery projects are a success.
-
Understanding Your Hat Embroidery Machine
Before diving into the embroidery process, it’s crucial to familiarize yourself with your hat embroidery machine.
While specific features may vary between models, most hat embroidery machines share common components:
- Embroidery arm: The main component that moves the needle and thread
- Hat hoop: A specialized hoop designed to hold hats securely during embroidery
- Control panel: Where you input designs and adjust machine settings
- Thread stand: Holds multiple spools of thread for multi-color designs
- Needle plate: The area beneath the needle where stitching occurs
- Bobbin: Holds the bottom thread used in embroidery
Take time to read your machine’s manual thoroughly and understand each component’s function. This knowledge will prove invaluable as you begin your hat embroidery journey.
-
Preparing Your Workspace
Creating an efficient workspace is essential for smooth hat embroidery operations. Ensure you have:
- A sturdy table or workbench to support your machine
- Good lighting to see your work clearly
- Storage for threads, bobbins, and other supplies
- A computer nearby for design transfers (if your machine requires it)
- A clean, dust-free environment to prevent thread and machine issues
-
Selecting the Right Materials
Choosing appropriate materials is crucial for high-quality hat embroidery:
Hats: Not all hats are suitable for embroidery. Look for hats with a firm front panel and avoid those with seams in the embroidery area.
Threads: Use high-quality polyester or rayon embroidery threads. These threads are durable and come in a wide range of colors.
Backing: Stabilizer is essential for hat embroidery. Choose a tear-away or cut-away backing appropriate for the hat material and design complexity.
Needles: Use sharp, ballpoint, or universal needles depending on the hat fabric. Always keep spare needles on hand.
-
Digitizing Your Design
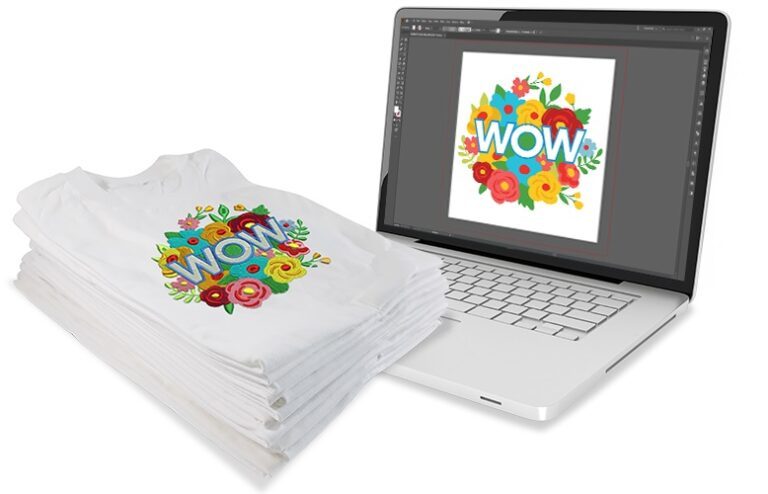
Before embroidering, you need a digitized version of your design. Digitizing converts artwork into a stitch file that your embroidery machine can read. You can either:
- Use embroidery digitizing software to create your own designs
- Hire a professional digitizer for complex designs
- Purchase pre-digitized designs from online marketplaces
Ensure your design is sized appropriately for hat embroidery, typically between 2-4 inches in height.
-
Hooping the Hat
Proper hooping is crucial for successful hat embroidery:
- Attach the hat hoop to your machine according to the manufacturer’s instructions.
- Open the hat’s adjustable strap to its widest setting.
- Slide the hat onto the hoop, ensuring the front panel is centered and taut.
- Secure the hat using the hoop’s clamping mechanism or magnetic holders.
- Double-check that the embroidery area is smooth and free of wrinkles.
- Setting Up Your Machine
With your hat hooped, it’s time to set up your machine:
- Thread your machine with the appropriate colors for your design.
- Install the correct needle for your hat fabric.
- Load your digitized design into the machine.
- Position the design using your machine’s positioning features.
- Set the correct tension for both top and bobbin threads.
- Run a test stitch on a scrap piece of fabric to ensure proper tension and alignment.
- Embroidering the Hat
Now comes the exciting part – embroidering your design:
- Carefully lower the presser foot onto the hat.
- Start the embroidery process, keeping a close eye on the first few stitches.
- Monitor the machine throughout the process, watching for any issues like thread breaks or tension problems.
- Be prepared to change thread colors as needed for multi-color designs.
- Once complete, carefully remove the hat from the hoop.
- Finishing Touches
After embroidery, your hat needs some final attention:
- Trim any loose threads carefully.
- Remove excess backing material gently.
- Steam the embroidered area lightly to help the stitches settle (if appropriate for the hat material).
- Brush the embroidery gently to align the stitches and enhance the design’s appearance.
- Maintaining Your Hat Embroidery Machine
Regular maintenance is key to keeping your hat embroidery machine in top condition:
- Clean the machine after each use, removing lint and thread debris.
- Oil the machine regularly according to the manufacturer’s instructions.
- Replace needles frequently to ensure clean stitching.
- Keep your workspace clean and dust-free.
-
Troubleshooting Common Issues
Even with proper preparation, issues can arise. Here are some common problems and solutions:
- Thread breaks: Check tension, needle condition, and thread quality.
- Skipped stitches: Ensure proper hooping and check needle condition.
- Design misalignment: Double-check hooping and design placement before starting.
- Puckering: Adjust tension or use appropriate backing for the hat material.
FAQ Section
Q1: How long does it take to embroider a hat?
A: The time varies depending on the design complexity and stitch count. Simple designs might take 10-15 minutes, while more complex ones can take up to an hour.
Q2: Can I embroider on any type of hat?
A: While many hat styles can be embroidered, structured caps with a firm front panel work best. Avoid hats with seams in the embroidery area.
Q3: How many colors can I use in one design?
A: This depends on your machine’s capabilities. Most commercial hat embroidery machines can handle 6-15 colors without rethreading.
Q4: Do I need special software to create embroidery designs?
A: Yes, you’ll need embroidery digitizing software to create or edit designs. Alternatively, you can purchase pre-digitized designs or hire a professional digitizer.
Q5: How often should I maintain my hat embroidery machine?
A: Clean your machine after each use and perform more thorough maintenance (like oiling) weekly or according to your machine’s manual.
Q6: What’s the difference between flat embroidery and 3D puff embroidery for hats?
A: Flat embroidery is standard stitching on the hat surface. 3D puff embroidery uses a foam backing to create a raised, textured effect.
Q7: Can I wash hats after they’ve been embroidered?
A: Yes, most embroidered hats can be washed. However, it’s best to follow the care instructions for both the hat material and the thread used.
Q8: What’s the best way to price hat embroidery services? A: Consider factors like design complexity, stitch count, materials cost, and time invested. Many embroiderers charge a base price plus additional fees for extra colors or high stitch counts.
Q9: How do I prevent hats from shifting during embroidery?
A: Proper hooping is key. Ensure the hat is securely fastened in the hoop and use appropriate backing. Some embroiderers also use temporary adhesive sprays for extra hold.
Q10: Can I embroider over seams or existing embroidery? A: It’s generally best to avoid embroidering over seams or existing designs. If necessary, use appropriate techniques and stabilizers to ensure a quality result.
Mastering hat embroidery takes time and practice, but with the right knowledge and tools, you can create beautiful, personalized hats that stand out.
Remember to always prioritize quality and attention to detail in your work. As you gain experience, you’ll develop your own techniques and preferences that will help you streamline your hat embroidery process and create stunning results every time.
Related Posts
Discover relevant articles, tutorials, and tips to improve your skills and explore new techniques.
Stay inspired and connected to our embroidery community.
