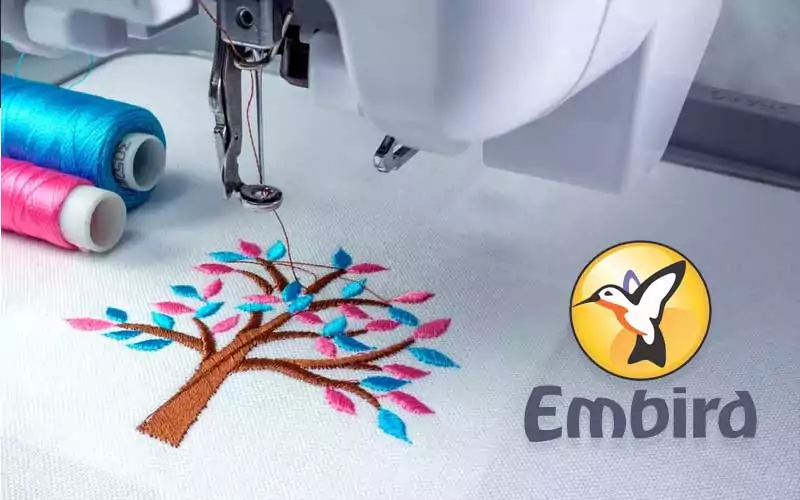
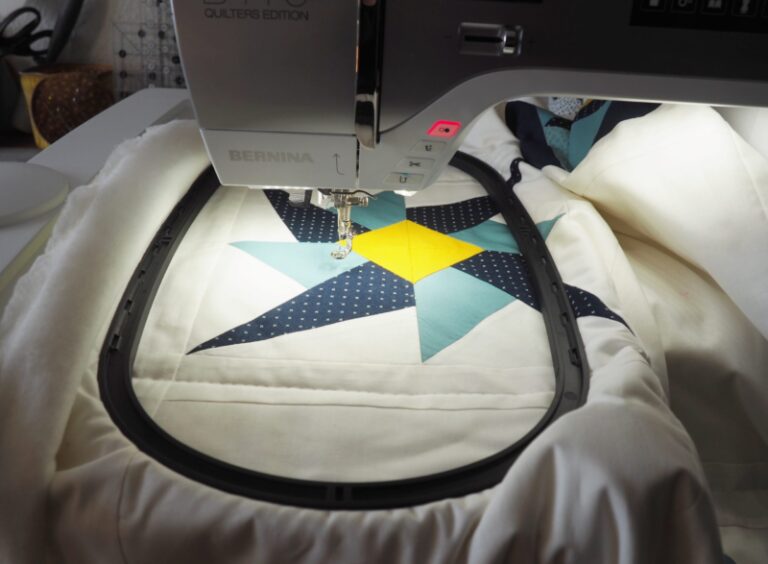
Embird is a powerful software for editing, digitizing, and embroidering designs. It offers a range of features and tools that make it easy to create professional-looking embroidery projects. In this blog post, we’ll go over some tips and tricks for using Embird to help you get the most out of the software.
-
Use the “Zoom” and “Pan” tools to view your designs more closely. The Zoom tool allows you to magnify the design so you can see the details more clearly, while the Pan tool lets you move the design around the screen to see different parts of it.
-
Experiment with different embroidery stitch types to find the one that works best for your project. Embird offers a variety of stitch types, including satin, fill, and outline, and each one has its own unique properties and uses.
-
Take advantage of the “Group” and “Ungroup” functions to manage your design elements more efficiently. Grouping elements together allows you to move, rotate, or resize them as a single unit, while ungrouping them allows you to manipulate them individually.
-
Use the “Mirror” and “Rotate” tools to quickly change the orientation of your design elements. The Mirror tool allows you to flip the design horizontally or vertically, while the Rotate tool lets you rotate it at any angle.
-
Use the “Trace” function to convert a bitmap image into an embroidery design. This can be a helpful tool if you want to embroider a logo or other graphic that doesn’t already have an embroidery file available.
-
Take advantage of the “Split” and “Merge” functions to divide your design into smaller sections or combine multiple designs into a single file. This can be helpful if you’re working on a large, complex design and need to break it up into more manageable pieces.
-
Use the “Color Sort” function to rearrange the thread colors in your design to minimize thread changes. This can help you save time and effort when embroidering, especially if you’re working on a design with many different colors.
-
Use the “Size” and “Position” tools to fine-tune the placement and size of your design elements. This can be helpful if you want to make sure everything is perfectly aligned or if you need to resize certain elements to fit a specific area.
-
Take advantage of the “Undo” and “Redo” functions to quickly revert changes or try out different options. This can be helpful if you’re not sure which changes will work best or if you accidentally make a mistake.
-
Use the “Export” function to save your design in a format that can be used by your embroidery machine. This will allow you to transfer the design to your machine and start embroidering right away.
By following these tips and tricks, you can get the most out of Embird and create professional-looking embroidery designs with ease. Whether you’re a beginner or an experienced embroiderer, these tips will help you make the most of this powerful software.
Related Posts
Discover relevant articles, tutorials, and tips to improve your skills and explore new techniques.
Stay inspired and connected to our embroidery community.
