Embroidering Your Way to Style: A Comprehensive Guide to Embellishing Puffy Vests
Puffy vests offer warmth, comfort, and a blank canvas for expressing your creativity. While the materials might seem intimidating for embroidery, fear not! With the right preparation and techniques, you can add stunning personalized touches to your favorite puffy vest. So, grab your needles, threads, and let’s dive into the world of embroidered vests!
Preparing Your Puffy Vest and Design:
- Choose Your Vest: Opt for a puffy vest made from embroidery-friendly materials like nylon, polyester, or blends. Avoid down-filled jackets, as the feathers can interfere with stitching.
- Select Your Design: Keep it simple for starters. Geometric patterns, florals, initials, or even playful patches work well. Remember, the design size should fit within your embroidery hoop.
- Transfer the Design: Trace your design onto water-soluble stabilizer, which dissolves easily after stitching. Alternatively, use iron-on stabilizer for intricate designs.
- Hooping Up: This is crucial! Choose a hoop large enough to accommodate your design with extra fabric around the edges. Secure the vest and stabilizer within the hoop, ensuring the fabric lays flat without excessive tension.
Embroidery Supplies and Techniques:
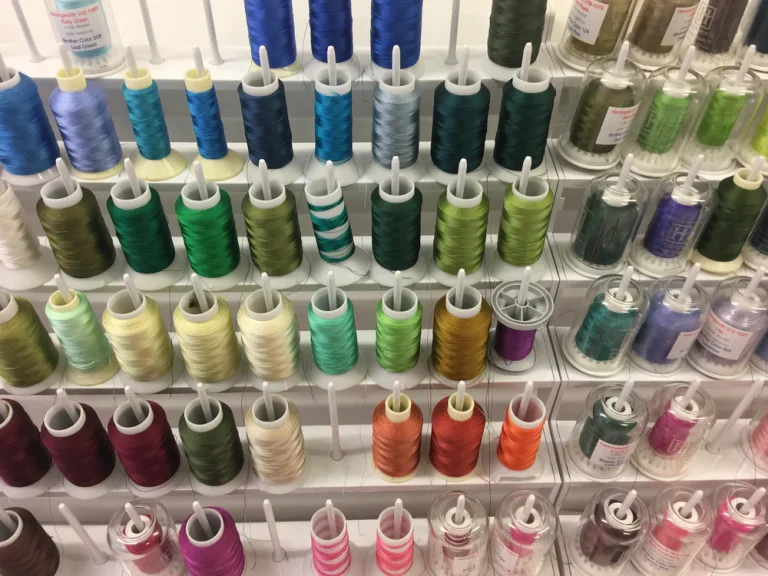
- Needle and Thread: Use embroidery needles with sharp points to pierce the thicker fabric. Choose thread colors that complement your vest and design. Experiment with different thread weights and textures for unique effects.
- Stabilizer: Water-soluble or tear-away stabilizer will support your fabric during embroidery and prevent puckering.
- Embroidery Hoop: Select a hoop size appropriate for your design. Consider using stabilizers with grid markings for easier design alignment.
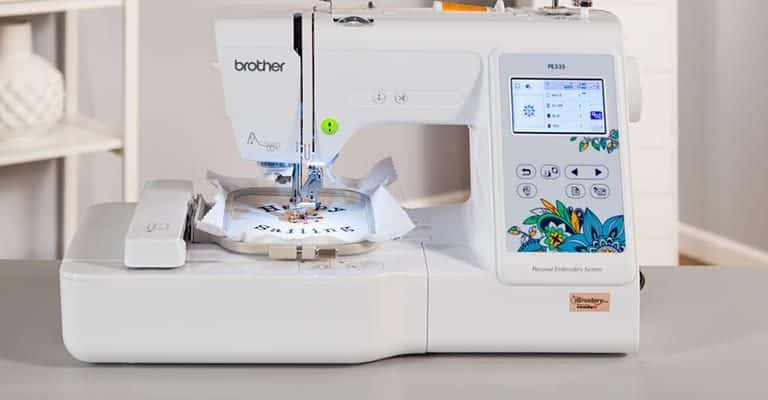
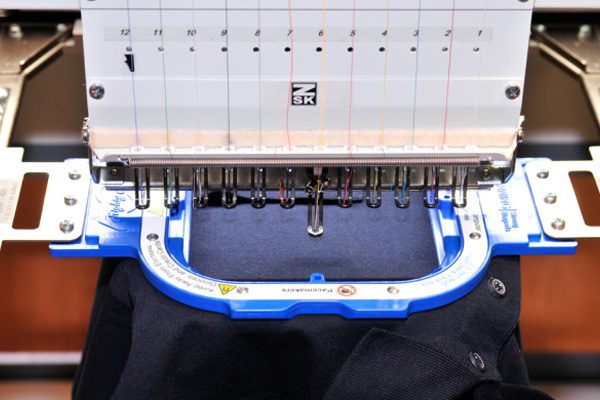
- Embroidery Machine (Optional): While hand embroidery is always an option, using an embroidery machine allows for intricate designs and faster stitching. Ensure your machine can handle heavier fabrics and choose appropriate embroidery settings.
Embroidering Your Masterpiece:
- Start with the Outline: Stitch the design’s outline first to stabilize the fabric and define the shape. Use a backstitch or satin stitch for clean edges.
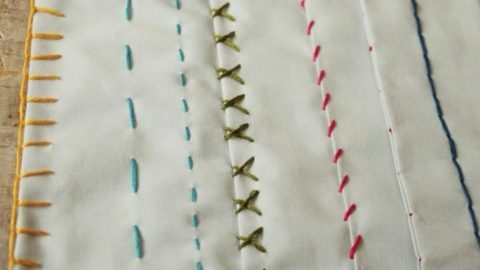
- Fill It In: Choose embroidery stitches that suit your design and skill level. Satin stitch, chain stitch, and French knots are popular choices. Experiment with different colors and textures to create dimension and interest.
- Secure Your Ends: Tie off thread ends securely inside the fabric to prevent unraveling. Consider burying them under additional stitches for better security.
- Trim Excess Fabric: Carefully cut away any excess stabilizer around the embroidery, leaving a small margin for a neat finish.
Tips and Tricks for Puffy Vest Embroidery:
- Test on Scraps: Before tackling your vest, practice your design and stitches on a scrap of similar fabric to ensure successful results.
- Go Slow and Steady: Especially when piercing the thicker material, control your stitching speed to avoid breaking needles or damaging the fabric.
- Use a Wider Stitch Length: This helps the stitches lay flat and avoid sinking into the puffy filling.
- Layer Stabilizers: For thicker vests, consider using two layers of stabilizer for extra support.
- Secure Areas Under Tension: Pay extra attention to areas around zippers, armholes, and seams to prevent the embroidery from pulling or distorting.
- Iron and Press: Gently iron the embroidered area once complete to flatten the stitches and improve the overall look.
Beyond the Basics:
- Appliqué: Combine embroidery with fabric appliqué for added texture and dimension.
- Beading and Sequins: Add sparkle and shine with carefully hand-sewn beads and sequins.
- Personalize It: Embroider initials, monograms, or meaningful symbols to make your vest unique.
Remember: Practice makes perfect! Start with simple designs and gradually progress to more intricate ones. Most importantly, have fun and enjoy the process of transforming your puffy vest into a personalized masterpiece!
Additional Resources:
- Online embroidery tutorials and pattern websites
- Local sewing and embroidery communities
- Embroidery books and magazines
With a little planning, patience, and creativity, you can add a touch of magic to your puffy vest and flaunt your unique style with every stitch!
5/5 - (4 votes)
Related Posts
Enhance your embroidery journey with our Related Post Widget.
Discover relevant articles, tutorials, and tips to improve your skills and explore new techniques.
Stay inspired and connected to our embroidery community.
Discover relevant articles, tutorials, and tips to improve your skills and explore new techniques.
Stay inspired and connected to our embroidery community.
