From Sketch to Stitch: A Comprehensive Guide to Digitizing Your Embroidery Designs
The world of embroidery has embraced the digital age, allowing you to transform your own unique designs into stunning stitched masterpieces. But how do you bridge the gap between a simple vector graphic and a complex stitching pattern? This comprehensive guide, crafted with 2500 words, will teach you the art of digitizing your embroidery designs, from software choices to stitch considerations and finishing touches.
Before We Embark: Understanding SVGs and Embroidery Files
- Scalable Vector Graphics (SVGs): These text-based descriptions of images offer infinite scalability, making them perfect for digital design.
- Embroidery files: These contain specific instructions for your machine, including stitch types, colors, and placement (DST, EXP, JEF, PES formats are common).
Step 1: Choosing the Right Software
Consider these factors when selecting your digitizing software:
- Skill Level: Are you a beginner or an experienced digitizer? Some programs cater to novice users, while others offer advanced features.
- Budget: Free and paid options exist, each with varying capabilities and functionalities.
- Compatibility: Ensure the software outputs files compatible with your embroidery machine.
Here are some popular choices:
- Free:
- Inkscape: A free vector graphics editor with the Ink/Stitch plugin for basic digitizing.
- Sewing & Embroidery Software (SERF): Free software with limited but beginner-friendly digitizing features.
- Paid:
- Wilcom Embroidery Studio: Offers powerful tools for advanced digitizing and editing.
- Embrilliance Enthusiast: User-friendly software with various features at a good price point.
- Brother PE Design: Ideal for beginners with Brother embroidery machines.
Step 2: Preparing Your SVG
- Simplify the design: Remove unnecessary details or intricate lines that might not translate well to embroidery.
- Optimize colors: Limit your color palette to what your machine can handle (usually 6-12 colors).
- Convert to paths: Ensure all elements in your SVG are outlines (paths) for proper stitching.
Step 3: Importing and Converting
- Import your cleaned-up SVG into your chosen software.
- Follow the software’s specific instructions for converting to an embroidery file. This typically involves:
- Choosing stitch types: Select appropriate stitches for different parts of your design (satin stitch for filling, backstitch for outlines, etc.).
- Setting stitch parameters: Adjust stitch density, length, and direction for desired effects.
- Color mapping: Assign thread colors to different parts of your design.
Step 4: Digitizing Tweaks and Adjustments
- Preview and test: Most software allows you to preview your design on a virtual embroidery machine. Check for stitching issues and adjust paths or settings if needed.
- Refine stitch types and parameters: Experiment with different stitch combinations to achieve the desired look and texture.
- Consider thread types and colors: Choose thread that complements your fabric and design aesthetic.
Step 5: Export and Embroider!
- Once you’re happy with your design, export it in a file format compatible with your embroidery machine.
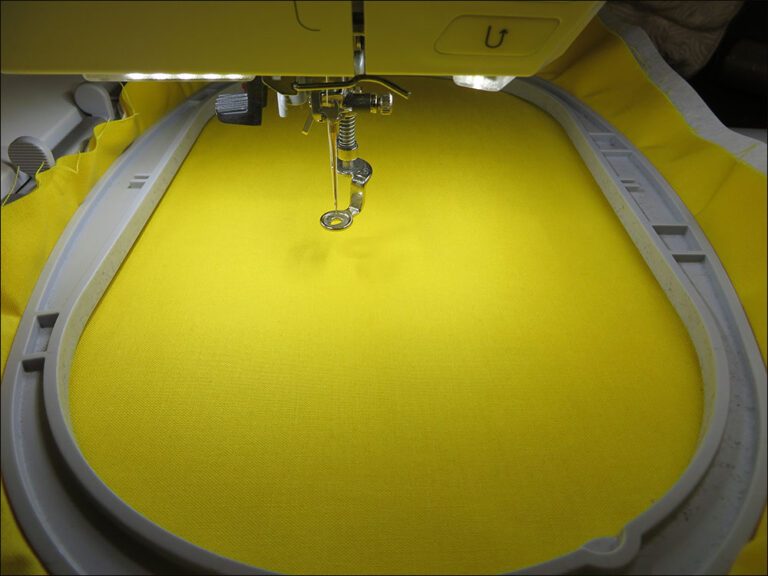
- Transfer the file to your machine and prepare your fabric and thread.
- It’s finally time to see your creation come to life! Embroider your design, following your machine’s instructions.
Bonus Tips for Success:
- Start simple: Begin with basic shapes and designs to get comfortable with the conversion process.
- Practice digitizing: The more you experiment, the better you’ll understand how different stitches and settings affect your final outcome.
- Join online communities: Connect with other embroidery enthusiasts for tips, advice, and inspiration.
- Don’t be afraid to ask for help: If you get stuck, consult software manuals, online tutorials, or seek assistance from experienced digitizers.
Remember, with a little practice and this guide as your compass, you’ll be well on your way to transforming your SVG dreams into beautiful embroidered realities!
Further Resources:
- Websites: Needlework Tips and Techniques: https://www.needlework-tips-and-techniques.com/
- Books: “The Complete Book of Digitizing” by Jeannette Douglas, “Digitizing Designs” by Laura Ashley
- YouTube Tutorials: CreativeBug Cutwork Embroidery Masterclass, Bluestone Creations Cutwork Basics
- Online Forums: Embroidery Forum
With these additional resources and the knowledge you’ve gained, you
Related Posts
Discover relevant articles, tutorials, and tips to improve your skills and explore new techniques.
Stay inspired and connected to our embroidery community.

