embroidery Tips
welcome to the embroidery-pro.com blog
you will find the essential advice for your embroidery machine
discover our best choice of alphabet for embroidery machine
Stitching Style: Choosing the Best Alphabet for Your Embroidery Machine The world of embroidery machine fonts, also known as alphabets, can be vast and dazzling. From classic block letters to…
How To Monogram On Ribbon With Embroidery Machine
Adding a Personal Touch: How to Monogram on Ribbon with Your Embroidery Machine Embroidery machines have revolutionized the art of personalization, allowing you to create custom designs on a variety…
Embroidery-pro Patterns reviews
A Review of Embroidery-pro Pattern Library The rhythmic hum of an embroidery machine, the vibrant dance of colorful threads, and the satisfaction of creating a beautiful piece – these are…
Master the Craft
Welcome, embroidery enthusiasts, to a comprehensive guide designed to elevate your stitching skills! Whether you're a complete novice or a seasoned stitcher, there's always something new to learn in the…
10 tips for buying your embroidery machine
Embroidery Machine Essentials: 10 Tips for Navigating the Market and Choosing the Perfect Machine Embroidery machines have revolutionized the crafting world, allowing individuals to add intricate designs and personal touches…
Scarecrow Tutorial
Stitch a Spooky Friend: A Step-by-Step Scarecrow Embroidery Tutorial Scarecrows, those guardians of the harvest, add a touch of whimsy and folklore to the fall season. Capturing their rustic charm…
Discover a World of Creativity:
Discover a World of Creativity: Explore Our Free Embroidery Machine Designs! Calling all embroidery enthusiasts! Are you looking to add a touch of personalization and handmade charm to your projects?…
The best Embroidery free software
Embroidery is a beautiful and intricate art form that has been around for centuries. With the advent of technology, embroidery has become easier and more accessible to everyone. Embroidery software…
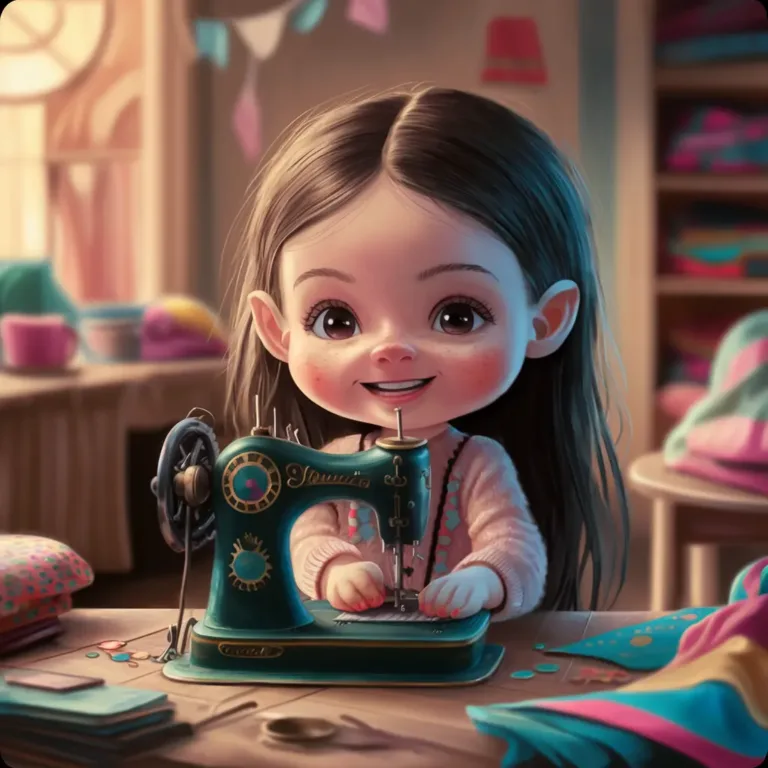
Should I Buy Cheap Embroidery Supplies?
Should You Buy Cheap Embroidery Supplies? A Beginner's Guide to Making Smart Choices Embroidery is a beautiful and rewarding craft. It allows you to create stunning pieces of art, personalize…
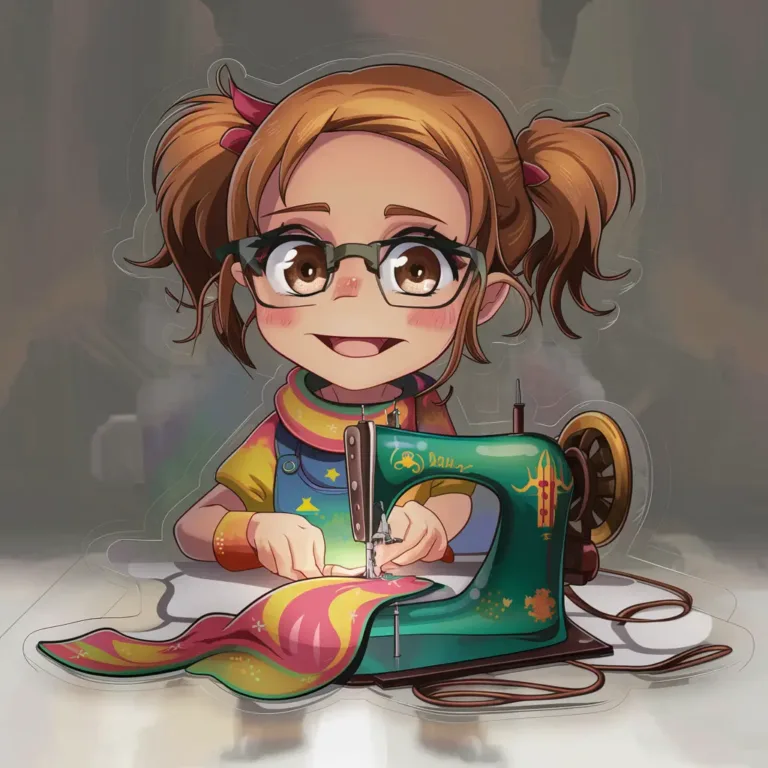
Border tips
Endless Borders: Elevate Your Craftsmanship with Seamless Designs In the realm of embroidery, endless borders stand as a testament to creativity and versatility. These continuous patterns, often floral motifs or…


