Endless Borders: Elevate Your Craftsmanship with Seamless Designs
In the realm of embroidery, endless borders stand as a testament to creativity and versatility. These continuous patterns, often floral motifs or intricate designs, add a touch of elegance and refinement to various textiles, from clothing to home décor. Whether you’re a seasoned embroiderer or a beginner looking to expand your skills, endless borders offer endless possibilities.
Diversity and Versatility of Endless Borders
Endless borders encompass a vast array of styles, ranging from delicate floral patterns to bold geometric designs. These borders can be tailored to complement specific projects and personal preferences. Floral borders add a touch of whimsy and femininity, while geometric borders exude a sense of modern sophistication.
The versatility of endless borders extends beyond their aesthetic appeal. These patterns can be used to enhance a wide range of projects, including:
-
Clothing: Embellish necklines, sleeves, hems, and pocket flaps with endless borders for a touch of sophistication.
-
Home Décor: Adorn pillows, curtains, table runners, and bedspreads with endless borders to add a touch of luxury to your living space.
-
Gifts and Personalizations: Create personalized gifts by stitching endless borders on towels, dish towels, or tote bags.
Embroidery Techniques for Endless Borders
There are two primary techniques for creating endless borders: manual embroidery and machine embroidery.
Manual Embroidery:
Manual embroidery involves using a needle and thread to create the desired pattern. This technique requires patience, skill, and a keen eye for detail. However, it offers the flexibility to personalize the design and adapt it to the specific fabric.
Machine Embroidery:
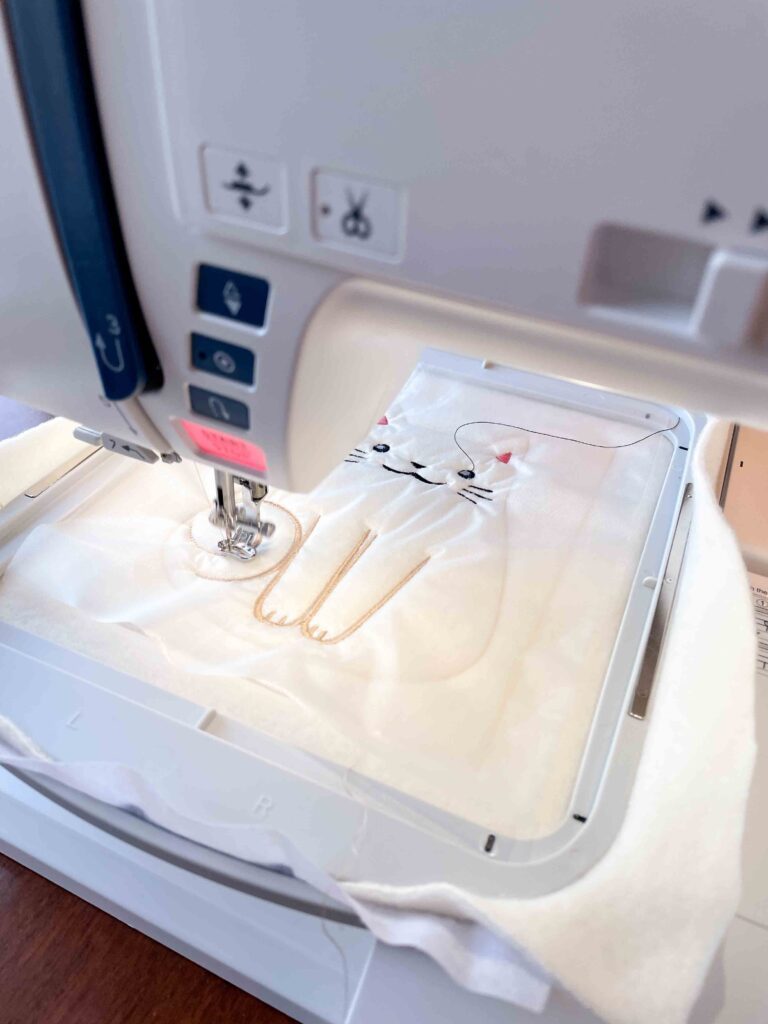
Machine embroidery automates the process, allowing for faster and more precise stitching. Embroidery machines offer a wide range of endless border designs, ranging from simple motifs to elaborate patterns. This technique is perfect for beginners and experienced embroiderers alike.
Tips for Working with Endless Borders
When working with endless borders, consider the following tips to achieve the best results:
-
Choose the right fabric: Select a fabric that is soft and drapes well to allow the border to flow smoothly.
-
Use high-quality thread: Opt for embroidery thread that is color-fast and resists fading.
-
Secure the fabric: Use a hoop or frame to secure the fabric tautly while stitching.
-
Start and end the border cleanly: Use specialized ending techniques to ensure the border looks seamless.
-
Adjust the tension: Adjust the tension of the thread to achieve the desired stitch quality.
Embrace Endless Possibilities with Endless Borders
Endless borders offer a wealth of possibilities for embroidery enthusiasts. Whether you’re creating personalized gifts, adding elegance to clothing, or enhancing home décor, endless borders can elevate your craftsmanship to new heights. With endless patterns and techniques to explore, you’ll never run out of ways to express your creativity and showcase your unique style. So, grab your embroidery tools, unleash your imagination, and embark on a journey of endless possibilities with endless borders.
Nothing says elegance like an endless border, these designs work great on handkerchiefs, doilies, curtains, pillows, and of course curtains and valances. The first thing you must do is choose the right
type of design. Some designs are created with repeat borders in mind and some aren’t. Repeat borders are designed with an overlapping section, these are the most difficult to lay out and embroider properly so that is what we will focus on in this tutorial.

Step one illustrates the overlap section of the design we chose. Step two is where you are going to start measuring the valance. Lay the valance over a flat surface and mark with a disappearing ink pen
halfway up the border on the valance, this will be the center point of the design. In step 3 we will continue placing marking dots in the exact center point along the towel every six inches or so.


In step 4 we will connect all of the dots creating al line across the whole valence, this will be important when we place the designs. Step 5 illustrates the line. Print the design out that you want tot embroider, printing two copies of the design will allow you ro properly measure the repeat. Step 6 shows us placing the first design along the center line.
Step seven shows the two printouts being placed side by side. Step eight shows the proper overlapping of designs that we are trying to achieve. Once you have the designs where you want them it is time to measure the distance between the center points. Step 9 shows the two designs and the cross hairs illustrate the two center points.
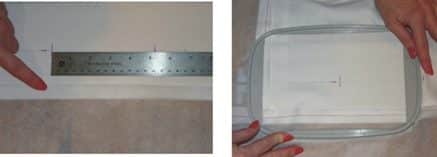

In step 10 we are taking our measurement. The center point of these two designs is 5.25” apart. Once we have that measurement step 11 shows us marking the point with an X along the horizontal line we have already drawn on the valance. We will continue marking the valance as far across as we want the design to repeat. The valance is now ready to hoop and embroider.
Step 12 illustrates how we attach a piece of cutaway stabilizer to the edge of the valance to make it more stable in the hoop. Simply use a basting stitch to affix it. When you hoop the design use standard hooping techniques, don’t use sticky backing, sticky backing will not be stable enough for a long job like this and may cause puckering and registration problems.
Related Posts
Discover relevant articles, tutorials, and tips to improve your skills and explore new techniques.
Stay inspired and connected to our embroidery community.
