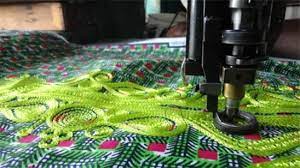
1 Introduction
When designing embroidery using a machine, it is important to master the basics of “hooping” and the use of stabilizers. Hooping, first of all, involves inserting fabric into a hoop (also called a hoop or embroidery hoop) to hold it flat. The stabilizer (also called backing or backing or interfacing) has the effect of fixing the fabric, which is otherwise subject to multiple deformations during the embroidery process. These processes intervene before the realization of the embroidery and consequently make it possible to improve the quality of the result obtained, by making it closer to its digital model. Depending on the materials used, the size of the embroidered objects and the desired result, it is possible to use a multitude of different hoops and stabilizers.
2 Hooping and embroidery frames
Hooping is an important factor in creating embroidery that is as flat as possible and looks like the pattern you see on the computer screen. The making of an embroidery indeed requires taking into account a certain number of material constraints, in particular the nature of the fabric, the density of the design, the density of the stitches and the types of patterns.
embroidery frame with screw for the Brother PR1050X allowing to embroider an area of 10x10cm
Hooping is done using a hoop, also called a drum or embroidery hoop. Generally made of plastic, this piece can be of variable size, depending on the size of the piece of fabric it accommodates. In the case of machine embroidery, this size can however be limited by that of the machine; for example, the Brother PR1050X has frames from 8 x 6 cm to 39.5 x 22 cm, the latter requiring an external support for stabilization. There are mainly round/oval or rectangular frames As you will see in the various tutorials, it is advisable to create embroidery of modest size to start.
The hoops are equipped with a so-called “adjustment” system, allowing the inserted fabric to be stretched. The most common is a two-part system with screws for the outer frame (image 1): tightening the screw increases the tension on the fabric.
There are also clip systems that are mainly used for heavy fabrics such as shoes or jeans pockets. Finally, in the case of caps, the frames are cylindrical and can rotate on the X axis.
2.1 Strapping methods
There are two ways to make a strapping:
(1) Attach a stabilizer (also called stabilizer or embroidery backing, see next section) with the fabric in the hoop.
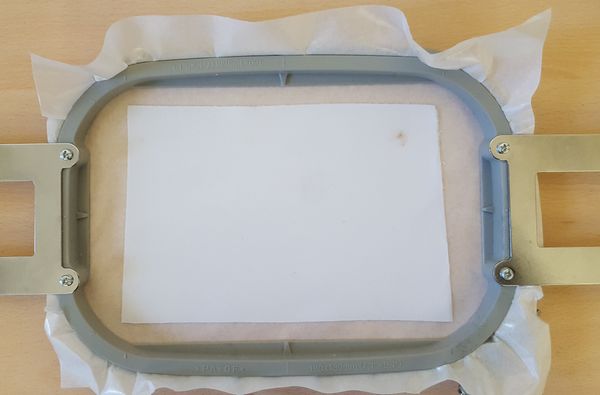
(2) Hoop only the stabilizer and simply place the fabric on top, for example using fixing glue or self-adhesive stabilizer. This last method (sometimes referred to as “off the frame”), shown in the following image, is used to create patches or appliqués, but can also be used in some “normal” situations, for example with delicate fabrics.
Fabric for crest placed on a circled stabilizer.
The best known method is the first. It consists of squeezing the hoop with just enough space so that the fabric and the hoop can be pressed into it.
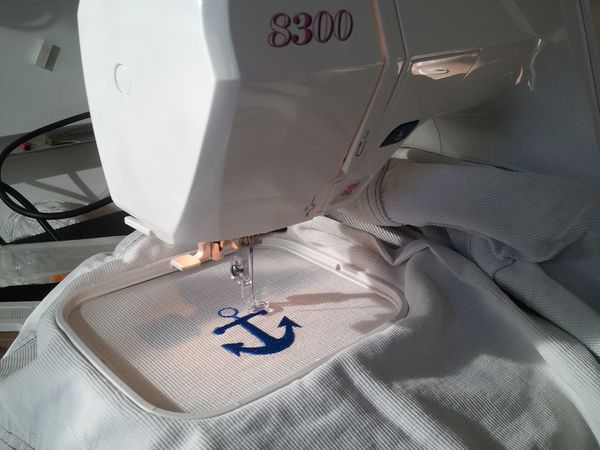
Embroidery hoop “Hoop A” for Elna 8300. The hoop is attached to the pantograph with a single stitch
Here is a “traditional” strapping method in a few steps:
Identify the “lower” and “upper” ring of the embroidery hoop. Normally, the inner ring can be slid into the outer screw ring on the table. This is the case of the “Hoop A” for the Elna 8300 and the PRH100 for the Brother PR1050X displayed at the beginning of the article.
Test with a similar old fabric if the outer hoop is tight enough to pinch the fabric.
Lay the outer/bottom ring of the hoop on a flat surface.
Attach the stabilizer to the fabric,
Lay the fabric with the stabilizer down on the lower part of the hoop and make sure the fabric is straight and aligned.
Lay the inner/upper ring of the hoop on top, and press down until the 2 rings are completely interlocked. At the end, you can optionally tighten the screw a little more.
Attention, on some machines you can insert an embroidery frame in both directions. In this case, care must be taken that the stabilizer is facing down and not facing the needle when inserting into the machine.
If that doesn’t work, you can try pulling corners of the fabric. To do this, you will need to loosen the outer ring screw. As a general rule, it is advisable to repeat the above procedure instead, because pulling the fabric may tear it. In this case, it is also advisable to loosen the screw, but do not forget to
4 Use of stabilizers
Stabilizer (also called backing or backing or interfacing) is a material applied to a fabric to fix it before the embroidery process, in order to avoid possible deformations. A distinction is made between bottom stabilizers and surface stabilizers. As a general rule, the vast majority of fabrics require the use of a background stabilizer. As the name suggests, it makes the fabric stable during embroidery, or even afterwards. It is almost always circled, with or without the fabric to be embroidered. The surface stabilizer, on the other hand, is used to flatten the fabric to be embroidered. It is used in particular to make lettering on bath towels or thick sweaters.
There are several stabilizing materials, including:
Water soluble: used for “self-stabilizing” lace (FSL) and as a surface stabilizer (therefore on top) for certain fabrics, e.g. towels.
Tear-off self-adhesive: the easiest stabilizer to use. Preferred for heavy fabrics, but also usable with lighter and softer fabrics, although this does not provide as good results.
Tear-proof: preferable for medium and heavy woven fabrics or robust fabrics. The stabilizer should be ironed on or glued to the fabric depending on the brand.
To cut, light (polyester mesh to cut): used for t-shirts and similar
To cut, heavy: used for sweaters and other thick textiles
Related Posts
Discover relevant articles, tutorials, and tips to improve your skills and explore new techniques.
Stay inspired and connected to our embroidery community.
