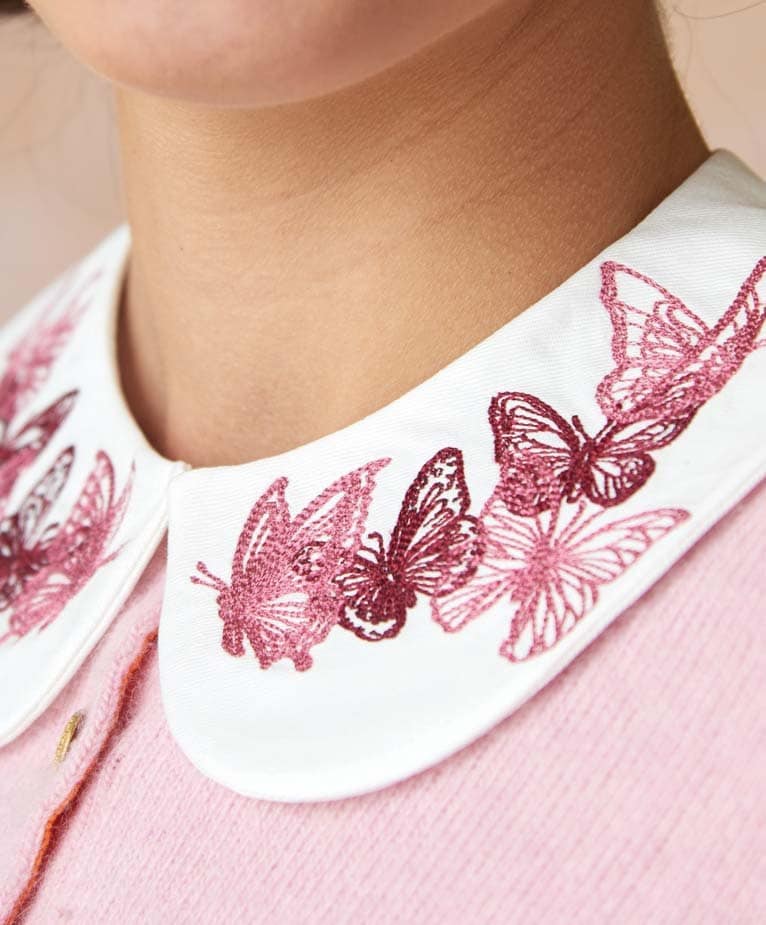
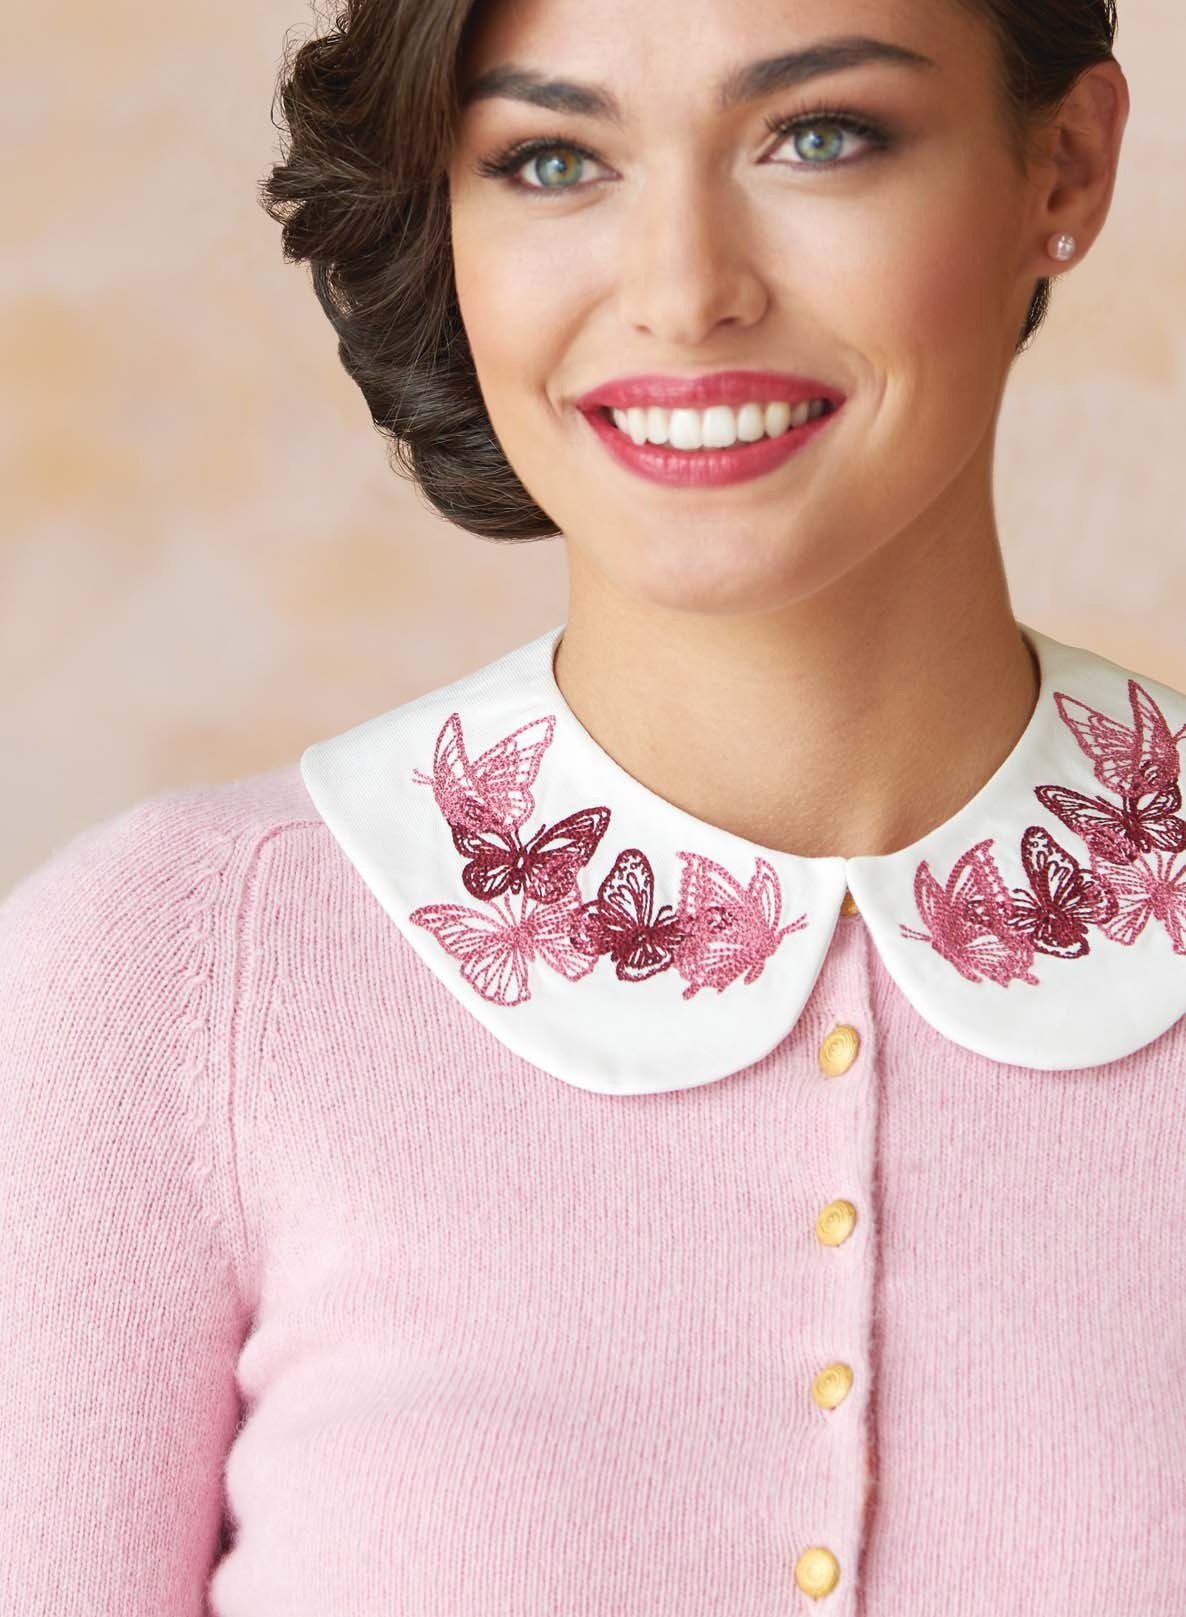
Create a faux-layered look with a detachable collar that will add style to any top. Choose a delicate openwork design, such as butterflies, for a chic feminine look.
MATERIALS
+ 3/8 yard of mediumweight woven cotton fabric
+ 10˝x13˝ rectangle of lightweight fusible interfacing
+ Cut-away stabilizer
+ Thread: all-purpose & embroidery
+ Removable fabric marker
+ Hand sewing needle
+ Hook & eye
+ Butterfly design (approximately 3½˝x3¾˝)
+ Collar pattern
PREPARE
• Download the collar pattern from
cmemag.com/freebies until Feb. 29,
2016. Cut out the pattern.
• Trace the collar template onto the
woven cotton fabric using a removable
fabric marker. Designate as the
upper collar.
• Print a placement template for the
chosen embroidery design. Draw
the horizontal and vertical centerlines
on each template.
• Position the upper collar right side
up on a flat work surface. Center the
design template over the right-collar
center front as desired. Mark the
design center and horizontal and
vertical centerlines at the template
perimeter
EMBROIDER
• Hoop the upper collar and a piece of cut-away stabilizer, centering the
design markings within the hoop.
• Load the butterfly design onto
the machine. Thread the machine needle and bobbin with embroidery
thread. Embroider the design, changing thread colors as desired.
• Remove the hoop from the machine and the fabric from the hoop. Carefully
remove the excess stabilizer from the design just beyond the stitches.
• Repeat to position and embroider
the design, mirroring the design on the left-collar center front.
CONSTRUCT
Use ¼” seam allowances unless otherwise noted.
• Cut out the upper collar along the pattern markings.
• From the remaining fabric, cut one collar. Designate as the undercollar.
From the fusible interfacing, cut one collar.
• Adhere the interfacing collar to the undercollar wrong side, following
the manufacturer’s instructions.
• With right sides together, stitch the upper and lower collar perimeter,
leaving a 4”-long opening along the collar center-back edge.
• Clip the corners and trim the seam allowance to a scant 1/8”. Turn the
collar right side out through the opening. Gently push the corners
out if necessary, and then press flat.
• Slipstitch the collar opening closed.
• Position the hook on the undercollar left upper corner; hand stitch. Repeat
to stitch the eye on the undercollar right upper corner . If desired,
omit the hook and eye and secure the collar closed with a brooch.

Related Posts
Discover relevant articles, tutorials, and tips to improve your skills and explore new techniques.
Stay inspired and connected to our embroidery community.


Hi to every body, it’s my first visit of this webpage; this blog consists of awesome and in fact excellent material in favor of visitors.
Very nice article, exactly what I needed.
Hey There. I discovered your weblog the usage of msn. This is an extremely well
written article. I will make sure to bookmark it and return to
read extra of your helpful information. Thank you for the post.
I will definitely comeback.
Hi to every body, it’s my first visit of this webpage; this website carries remarkable and genuinely excellent
stuff in favor of readers.
Hi, i think that i saw you visited my weblog so i came to “return the favor”.I am attempting to find
things to enhance my site!I suppose its ok to use some of your
ideas!!