How to Embroider on Athletic Wear
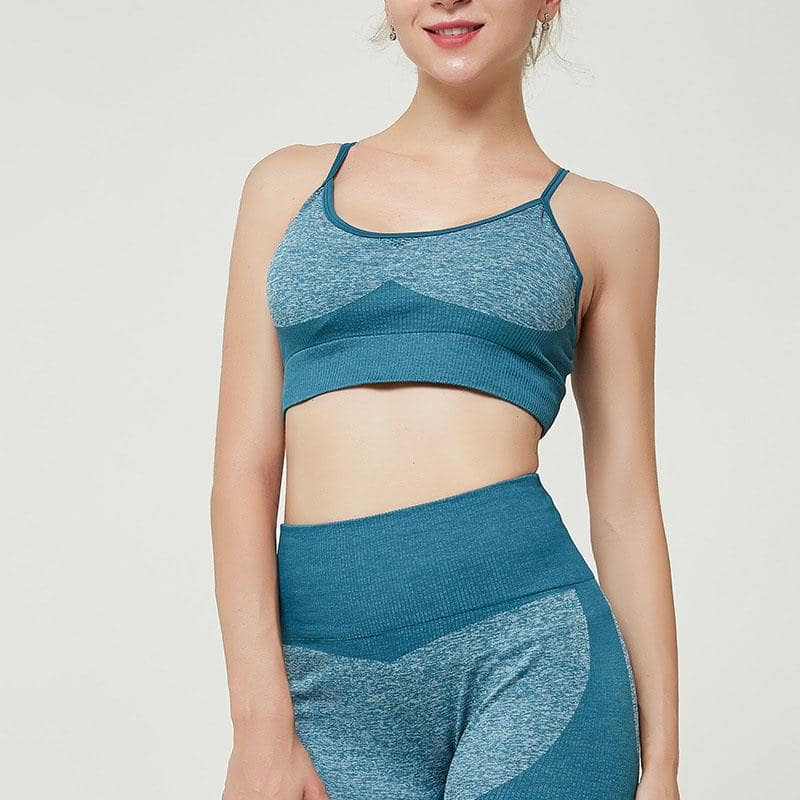
Embroidering on athletic wear can be a challenging task, but with the help of an embroidery machine, it is possible to create professional-looking designs on any type of fabric. Whether you are creating custom uniforms for a sports team or adding a personal touch to your workout clothes, the following steps will guide you on how to embroider on athletic wear with an embroidery machine.
Step 1: Choose the Right Fabric and Thread
The first step to embroidering on athletic wear is to choose the right fabric and thread. Athletic wear is typically made from synthetic materials, such as polyester, spandex, or nylon, which can be difficult to embroider because they are stretchy and prone to puckering. To avoid these issues, it is best to choose a lightweight fabric with a tight weave and minimal stretch.
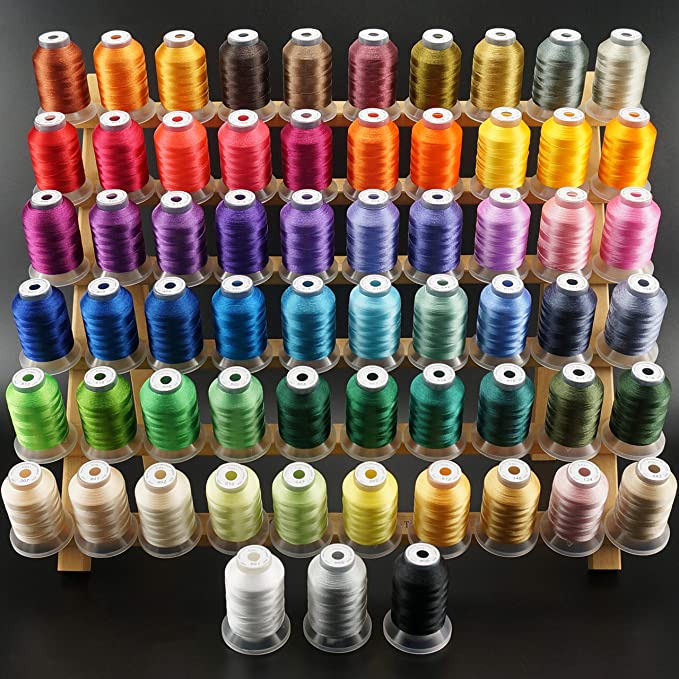
When it comes to thread, you will want to use a high-quality polyester thread that is specifically designed for athletic wear. This type of thread is strong, durable, and can withstand the wear and tear of sports activities. Additionally, polyester thread has a slight stretch to it, which will help prevent the design from puckering or distorting when the fabric is stretched.
Step 2: Prep the Fabric
Before you begin embroidering, it is essential to prep the fabric. Start by washing and drying the fabric to remove any sizing or residue that may affect the embroidery. If the fabric has wrinkles, iron it before hooping to ensure a smooth surface. It is also a good idea to use a stabilizer to prevent the fabric from shifting or stretching during the embroidery process. Choose a cutaway stabilizer for knit fabrics or a tearaway stabilizer for woven fabrics.
Step 3: Hoop the Fabric
Once the fabric is prepped, it is time to hoop it. Place the stabilizer on the bottom of the hoop and lay the fabric on top, making sure that it is smooth and wrinkle-free. If you are using a sticky stabilizer, you can place the fabric directly on top of it without hooping. However, if you are using a cutaway or tearaway stabilizer, you will need to hoop the fabric and stabilizer together.
Make sure that the fabric is taut but not stretched, and that it is centered within the hoop. Tighten the hoop screw to secure the fabric in place.
Step 4: Set up the Embroidery Machine
Before you start embroidering, you will need to set up the embroidery machine. Choose the design you want to embroider and load it onto the machine. Adjust the size and position of the design as needed. Choose the appropriate needle size and thread color, and thread the machine according to the manufacturer’s instructions.
Step 5: Embroider the Design
Now it is time to embroider the design. Place the hoop onto the machine and lower the needle to the starting point of the design. Begin the embroidery process, making sure that the needle penetrates both the fabric and stabilizer.
As the machine embroiders, monitor the progress to ensure that the design is stitching out correctly. If the fabric puckers or distorts, stop the machine and adjust the tension or stitch length as needed.
Step 6: Finish the Embroidery
Once the embroidery is complete, remove the hoop from the machine and carefully remove the fabric from the hoop. If you used a cutaway stabilizer, trim away the excess stabilizer from around the design. If you used a tearaway stabilizer, gently tear away the excess stabilizer from around the design.
Finally, give the embroidered garment a final press to remove any wrinkles or puckers that may have formed during the embroidery process.
Conclusion
Embroidering on athletic wear may seem daunting, but with the right tools and techniques, it is possible to create beautiful designs on any
Related Posts
Discover relevant articles, tutorials, and tips to improve your skills and explore new techniques.
Stay inspired and connected to our embroidery community.
