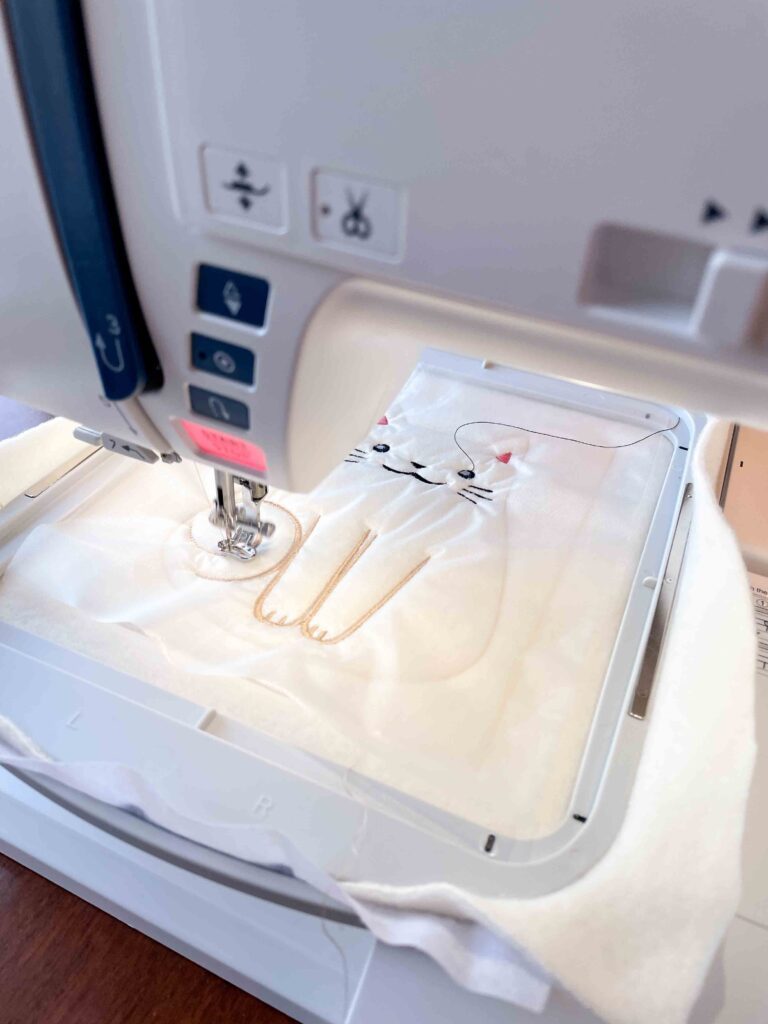
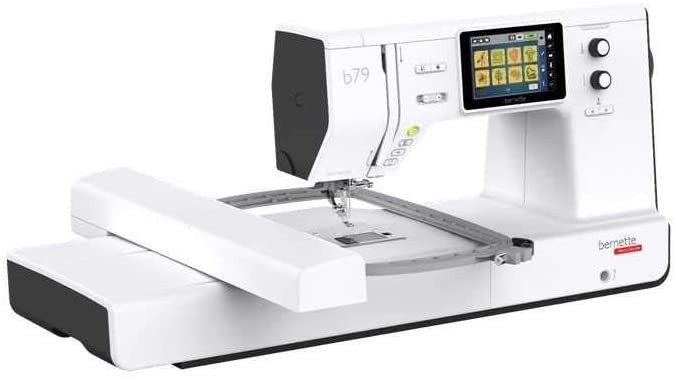
Embroidery machines have made it easy to create intricate designs on fabric with precision and accuracy. However, one of the common issues that come with machine embroidery is the presence of jump stitches. These are long threads that appear between two separate design elements, and they can be unsightly and difficult to remove without damaging the fabric. In this article, we will guide you through the steps on how to remove jump stitches with an embroidery machine.
What are Jump Stitches?
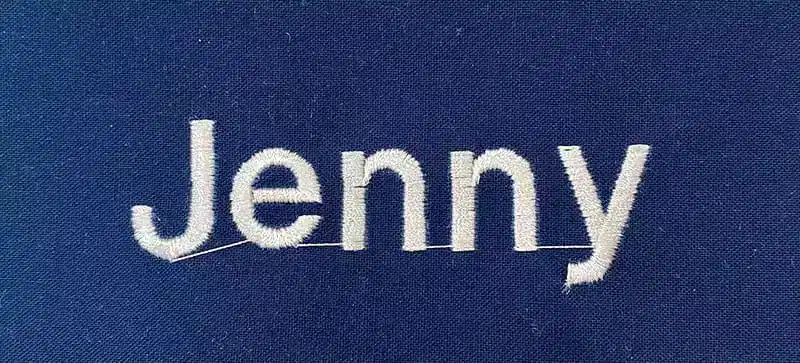
Jump stitches occur when an embroidery machine moves from one design element to another without cutting the thread. Instead, it jumps over a gap between two design elements, leaving a long thread in its wake. These threads can be difficult to remove and can create a mess of tangled threads on the back of the fabric, making the embroidery project look unprofessional.
Removing Jump Stitches with an Embroidery Machine
To remove jump stitches with an embroidery machine, you will need to follow these steps:
Step 1: Load the Design onto the Machine
The first step is to load the embroidery design onto the embroidery machine. Make sure the design is centered and aligned correctly on the fabric before you start stitching.
Step 2: Stitch the Design
Begin stitching the design according to the manufacturer’s instructions. As the machine moves from one design element to another, it may leave a jump stitch behind.
Step 3: Identify the Jump Stitches
Once the design is complete, it’s time to identify the jump stitches. You can do this by turning the fabric over and examining the backside of the embroidery. Jump stitches will appear as long threads that are not part of the design.
Step 4: Cut the Jump Stitches
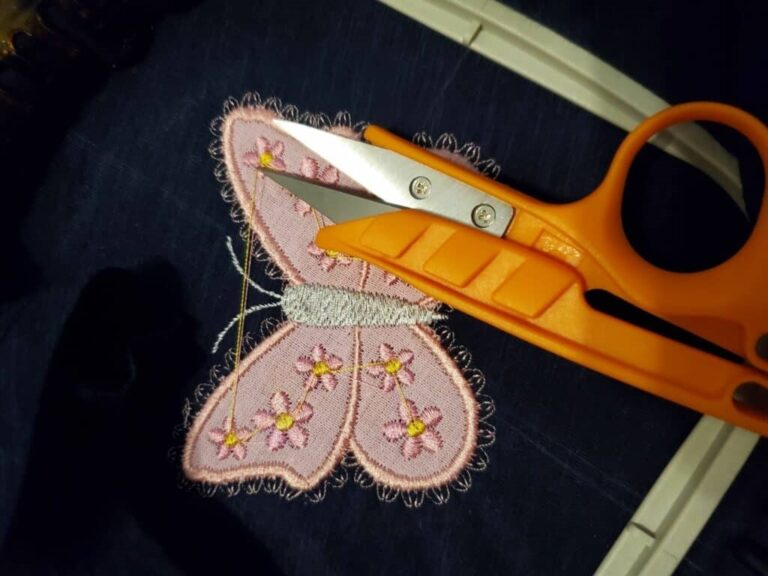
Using a pair of sharp embroidery scissors, carefully cut the jump stitches close to the fabric. Be careful not to cut any of the stitches of the design or the fabric itself.
Step 5: Repeat the Process
Continue cutting the jump stitches until they are all removed. Depending on the complexity of the design, this process may take some time. Once all the jump stitches are removed, you can examine the embroidery to make sure it looks clean and professional.
Tips for Removing Jump Stitches
Here are some tips to make the process of removing jump stitches with an embroidery machine easier and more effective:
-
Use sharp embroidery scissors to cut the jump stitches. Dull scissors can cause the thread to fray or snag, making it difficult to remove the jump stitches cleanly.
-
Use a magnifying glass to see the jump stitches more clearly. This can help you identify the thread more easily and avoid accidentally cutting any of the embroidery stitches or the fabric.
Related Posts
Discover relevant articles, tutorials, and tips to improve your skills and explore new techniques.
Stay inspired and connected to our embroidery community.
