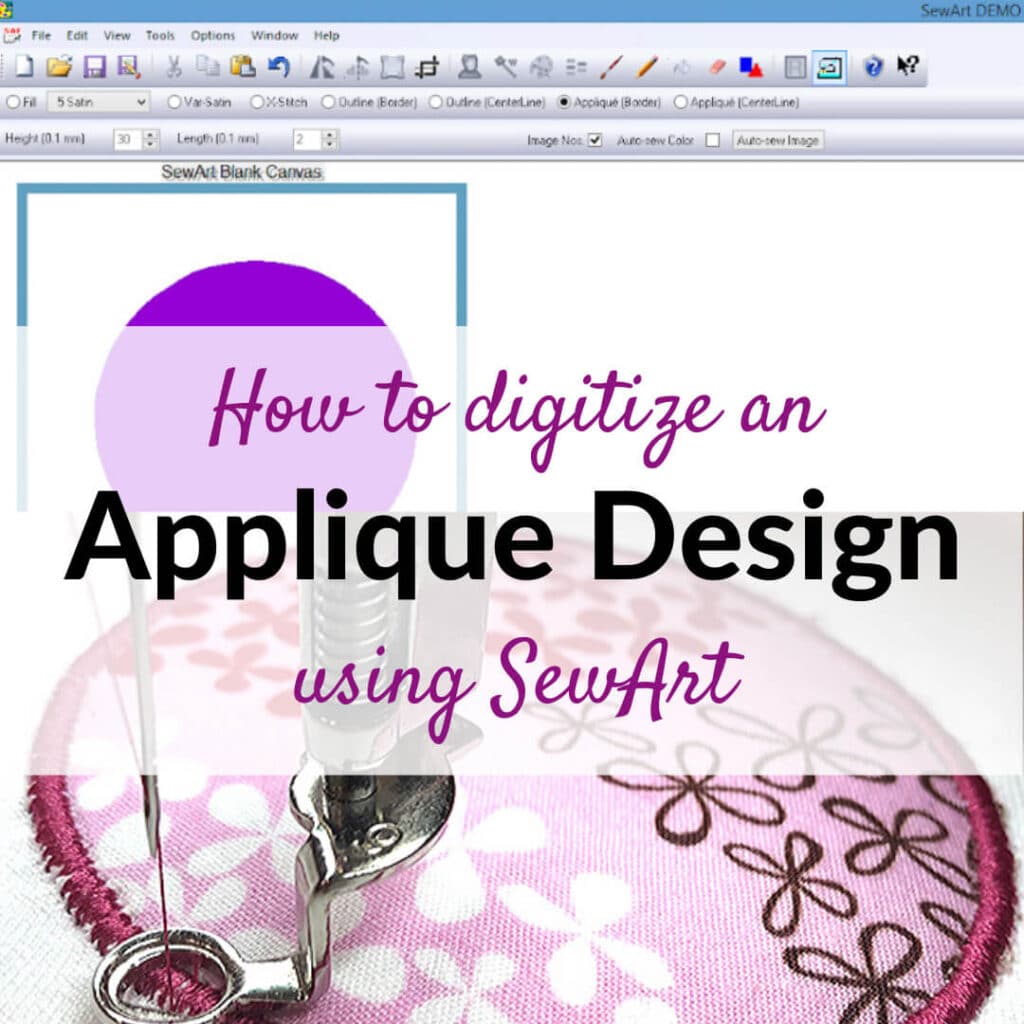
Digital applique is a fascinating technique that brings together the traditional art of applique with the convenience and precision of digital embroidery. In this article, we will delve into the process of digitizing an applique design using SewArt software. SewArt is a powerful tool that allows you to transform your designs into digital files ready for embroidery. Whether you’re a seasoned embroidery enthusiast or a beginner looking to explore the world of digital applique, this article will guide you through the steps involved in digitizing and stitching a beautiful applique design. Get ready to unleash your creativity and embark on a journey to bring your applique designs to life with the help of SewArt!
1. Introduction to SewArt and digital applique
What is SewArt?
SewArt is like the magical wand for transforming your applique designs into digital masterpieces. It’s a software program specifically designed for digitizing applique, taking your sewing projects to a whole new level of awesomeness.
The benefits of digital applique
Now, you might be wondering, “Why go digital with my applique?” Well, my friend, digital applique offers a world of advantages. First off, it gives you the flexibility to resize and adjust your designs without losing any of the intricate details. Plus, you can easily replicate your designs and share them with fellow craft enthusiasts. And let’s not forget that with digital applique, you can go wild with all sorts of colors and patterns without worrying about running out of fabric. It’s like having your own personal rainbow at your fingertips.
2. Gathering the necessary materials and tools
List of materials needed for digitizing applique
Before you embark on your digital applique adventure, make sure you have the following goodies by your side:
– A computer (obviously, we’re going digital here)
– SewArt software (you can purchase it online and download it in a jiffy)
– A design or image you want to turn into applique (got something in mind? Great!)
– A USB cable (to connect your sewing machine to the computer)
– Some good ol’ patience (because learning new things takes time, my friend)
Overview of the required tools
Now, let’s talk about the tools you’ll need to conquer this applique digitization mission:
– A computer mouse (to navigate through the SewArt software)
– A cup of tea (or coffee, if you’re feeling fancy) for those moments when inspiration strikes
– A notepad and pen (for jotting down any brilliant ideas that may pop into your head)
– A sprinkle of creativity (because that’s the secret ingredient to making your applique designs truly unique)
3. Preparing the design for digitization
Selecting the appropriate design for applique
When it comes to choosing a design for your applique, the world is your oyster. You can go for something simple and elegant, or opt for a design that screams “look at me, I’m fabulous!” It’s all about finding that perfect design that speaks to your creative soul.
Prepping the design for digitization
Before you dive headfirst into digitizing your applique, it’s important to prepare your design. Make sure it’s clean and free from any unwanted marks or smudges. You can use image editing software (or good old scissors and tape) to clean up the design if needed. Trust me, a little bit of prep work goes a long way in ensuring a smooth and successful digitization process.
4. Using SewArt to digitize the applique design
Getting familiar with the SewArt software
Alright, it’s time to get cozy with SewArt. Open up the software on your computer and take a moment to explore its features. Don’t worry if it seems a bit daunting at first, we’re in this together. Familiarize yourself with the different menus and options, and soon enough, you’ll be navigating through SewArt like a pro.
Step-by-step guide to digitizing the applique
Now, let’s get down to business and digitize that applique design of yours. Follow these simple steps:
1. Import your design into SewArt.
2. Use the software’s tools to trace and convert the design into stitches.
3. Select the applique style you desire and customize it to your heart’s content.
4. Preview and adjust any details that need fine-tuning.
5. Save your digitized applique design to your computer, ready to be unleashed onto your sewing machine.
And voila! You’ve successfully digitized your applique design using SewArt. Now it’s time to let your creativity run wild and bring your digital applique creations to life. Happy stitching!
5. Adjusting and refining the digitized design
Reviewing and editing the digitized design
Once you have digitized your applique design using SewArt, it’s time to review and make any necessary edits. Take a close look at the design to ensure that all the elements are captured accurately. Maybe your digitized flower looks more like a blob or your digitized cat resembles a potato. Fear not, my friend! SewArt allows you to easily adjust and refine your design to make it just right. Play around with the different editing tools to resize, rotate, and reshape your applique elements until they look perfect.
Optimizing stitch settings for the applique
Now it’s time to get into the nitty-gritty of stitch settings. You want your applique to look sharp and professional, not like a kindergarten art project gone wrong. SewArt gives you the power to optimize your stitch settings to achieve the desired effect. Experiment with stitch lengths and densities to find the perfect balance. Remember, you want your stitches to secure the applique fabric firmly, but not so much that it resembles a tightly woven carpet. It’s all about finding that sweet spot, my friend!
6. Transferring the design to the embroidery machine
Preparing the design file for embroidery machine transfer
At this stage, you’re almost ready to bring your digitized applique design to life! But first, you need to prepare the design file for transfer to your embroidery machine. Save your design in a format that your machine can understand. Consult your embroidery machine’s manual or do a quick online search to find out the compatible file formats. Remember, compatibility is key here. You don’t want to show up to the machine with the equivalent of a floppy disk in a USB world.
Using the appropriate file format
Now that you have figured out the correct file format, it’s time to transfer the design to your embroidery machine. Connect your machine to your computer using the appropriate cables or transfer methods, depending on the model. Once the connection is established, it’s as simple as dragging and dropping the design file from your computer to the machine. Think of it as virtual embroidery teleportation. Just make sure you don’t accidentally spill coffee on the machine or confuse it for a toaster. Let’s keep things smooth sailing!
7. Stitching and finishing the applique design
Preparing the fabric and stabilizer
Now comes the exciting part—stitching your applique design! But before you jump headfirst into the embroidery adventure, make sure you prepare your fabric and stabilizer properly. Choose a fabric that complements your design and cut it to the appropriate size. Remember, you want your applique to stand out, not disappear into the void. Additionally, select a stabilizer that suits the fabric and design requirements. You don’t want your applique to resemble a crumpled-up tissue, do you? Thought not.
Embroidery machine setup and stitching instructions
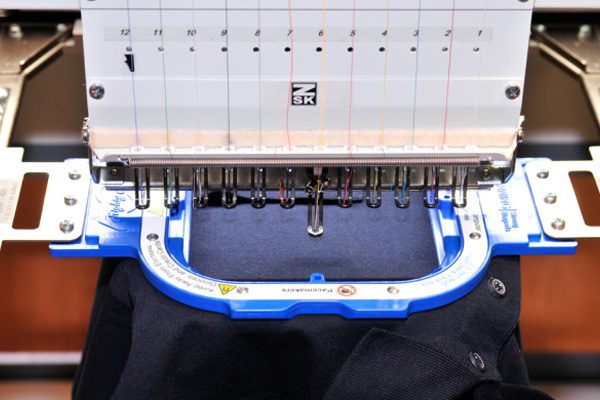
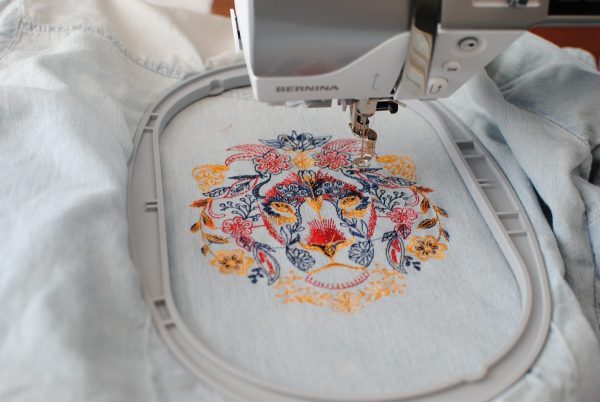
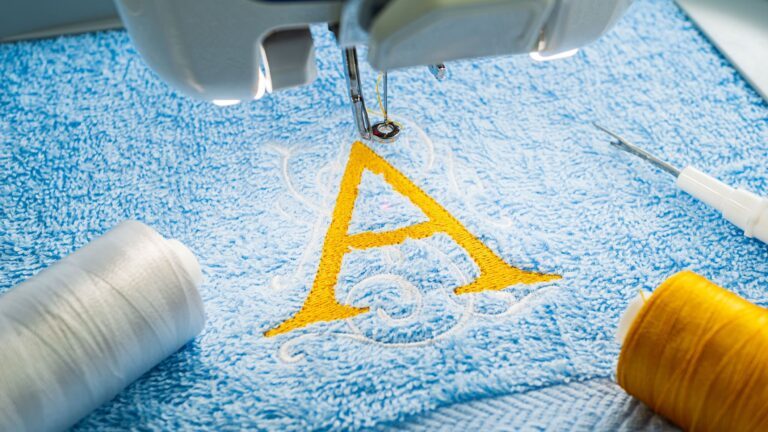
It’s showtime, my friend! Set up your embroidery machine according to the manufacturer’s instructions. Ensure that the fabric and stabilizer are securely hooped and positioned correctly. Double-check that your machine is threaded properly, and prepare for the magic to happen. Load the design file onto your machine, select the appropriate thread colors, and let the embroidery machine work its stitching wonders. Sit back, relax, and enjoy the fascinating sight of your digitized design coming to life. It’s like watching a masterpiece unfold before your very eyes!
8. Tips and troubleshooting for successful digitization and embroidery
Common challenges in digitizing applique
Digitizing and embroidery may not always be smooth sailing. Don’t worry, it’s not just you. Many face common challenges when it comes to digitizing applique designs. Some stitches may not align properly, edges may appear jagged, or colors might turn out wonky. Don’t let these hurdles discourage you! With a little practice and experimentation, you’ll conquer these challenges like a pro. Remember, Rome wasn’t built in a day, and neither will your digitizing mastery be.
Troubleshooting tips for embroidery issues
Embroidery mishaps happen to the best of us. If you encounter issues while stitching your digitized applique design, fear not! Troubleshooting is your trusty sidekick in these times of embroidery distress. If the tension is off, try adjusting it. If the fabric puckers, consider using a different stabilizer. If the thread keeps breaking, take a deep breath, check your machine’s needle, or even try a different type of thread. Patience and problem-solving skills are the heroes of the embroidery kingdom. Before you know it, you’ll be back to smooth stitching and impeccable appliques in no time!In conclusion, digitizing an applique design using SewArt opens up a world of possibilities for embroidery enthusiasts. By following the steps outlined in this article, you can confidently transform your applique designs into digital files and bring them to life through embroidery. Remember to experiment, refine, and troubleshoot as needed to achieve the best results. With SewArt and your creative vision, the opportunities for stunning applique designs are endless. So, grab your materials, fire up your embroidery machine, and let your imagination soar as you embark on this exciting journey of digitizing and stitching beautiful applique designs. Happy stitching!
FAQ
1. Can I use SewArt for digitizing other types of designs besides applique?
Yes, SewArt is a versatile software that allows you to digitize various types of designs, including applique, regular embroidery designs, and even free-motion embroidery patterns. The software provides a range of tools and features to accommodate different design styles and techniques.
2. Do I need prior embroidery or digitizing experience to use SewArt?
While it can be helpful to have some basic knowledge of embroidery and digitizing, SewArt caters to users of all skill levels. The software offers an intuitive interface and user-friendly tools, making it accessible even for beginners. Additionally, SewArt provides detailed tutorials and resources to assist you in learning and mastering the digitizing process.
3. Can I import existing designs into SewArt for digitization?
Yes, SewArt allows you to import existing designs in various file formats, such as JPG, BMP, or PNG. Once imported, you can use the software’s tools to digitize and refine the design as per your requirements. This feature is particularly useful if you’d like to digitize a hand-drawn design or work with pre-existing artwork.
4. Can I resize the digitized applique design in SewArt?
Absolutely! SewArt enables you to resize and scale your digitized applique design to fit your desired embroidery area. This flexibility allows you to adapt the design to different projects and garment sizes without compromising the quality or integrity of the applique.
Related Posts
Discover relevant articles, tutorials, and tips to improve your skills and explore new techniques.
Stay inspired and connected to our embroidery community.
