Jersey fabrics are pleasant to wear and the trade offers very beautiful models. Nevertheless, due to their elasticity and flexibility, the sewing of these fabrics can cause fear. We invite you to discover everything you need to know to sew jersey and get started in the creation of jersey clothing or accessories, without necessarily owning a serger.
Jersey: what is this material?
Jersey is often used for making T-shirts, children’s clothing, etc. It is more precisely a fabric with a certain type of stitch. It is knitted with yarns of different thicknesses depending on the desired result. What characterizes it is its place which is composed of stitches forming V while the reverse is composed of stitches in the shape of bridges.
Jersey can be made with natural, synthetic or even artificial fiber yarns. It is also possible to mix these different fibers depending on the desired properties.
The most common is cotton jersey. It is also quite easy to sew. We appreciate its ease of maintenance and its comfort.
For a garment closer to the body, opt for a cotton elastane jersey. It is then more stretchy.
Linen jersey, like bamboo jersey, is made from natural fibres. Its properties are close to those of cotton jersey.
Fleece jersey is thicker and less elastic. As a result, it can be sewn more easily. There are different variations, lighter versions for all seasons, others warmer,…
Viscose jersey is more difficult to work with, but has a nice fall.
The Ponti Roma jersey or the Milano jersey also have a nice fall. A particular technique is necessary to work them.
To simplify your beginnings, opt for a medium-weight jersey. A thin jersey will tend to roll up.
Preparing Jersey for Sewing
If you want to use jersey to make a garment, it is best to opt for a pattern suitable for making it in jersey fabric. Then follow these various steps:
First, wash your coupon, because it is a fabric that tends to shrink. He better do it before he’s been transformed!
To make sure that each element benefits from the same elasticity, it is then necessary to identify the direction of the fabric. And yes, jersey has a direction and, to recognize it, you just have to identify in which direction your fabric is stretchy. It is then the width. The straight grain is in the same direction as the V. Be sure to respect this straight grain, otherwise your garment will twist over the washes.
Then pin your fabric. Be careful not to stretch your fabric at this time, because once the pins are removed the fabric will return to its original shape and the elements will no longer match.
You can then trace the contours of your pattern, respecting the indications for the seam allowances. To be able to draw without deforming or damaging the fabric, it is preferable to opt for a “soft” tool that does not require too much pressure to be exerted.
You can finally proceed to cutting. If you have one, choose the rotary cutter. Otherwise, be careful when cutting with scissors so as not to risk deforming your elements.
What material to use?
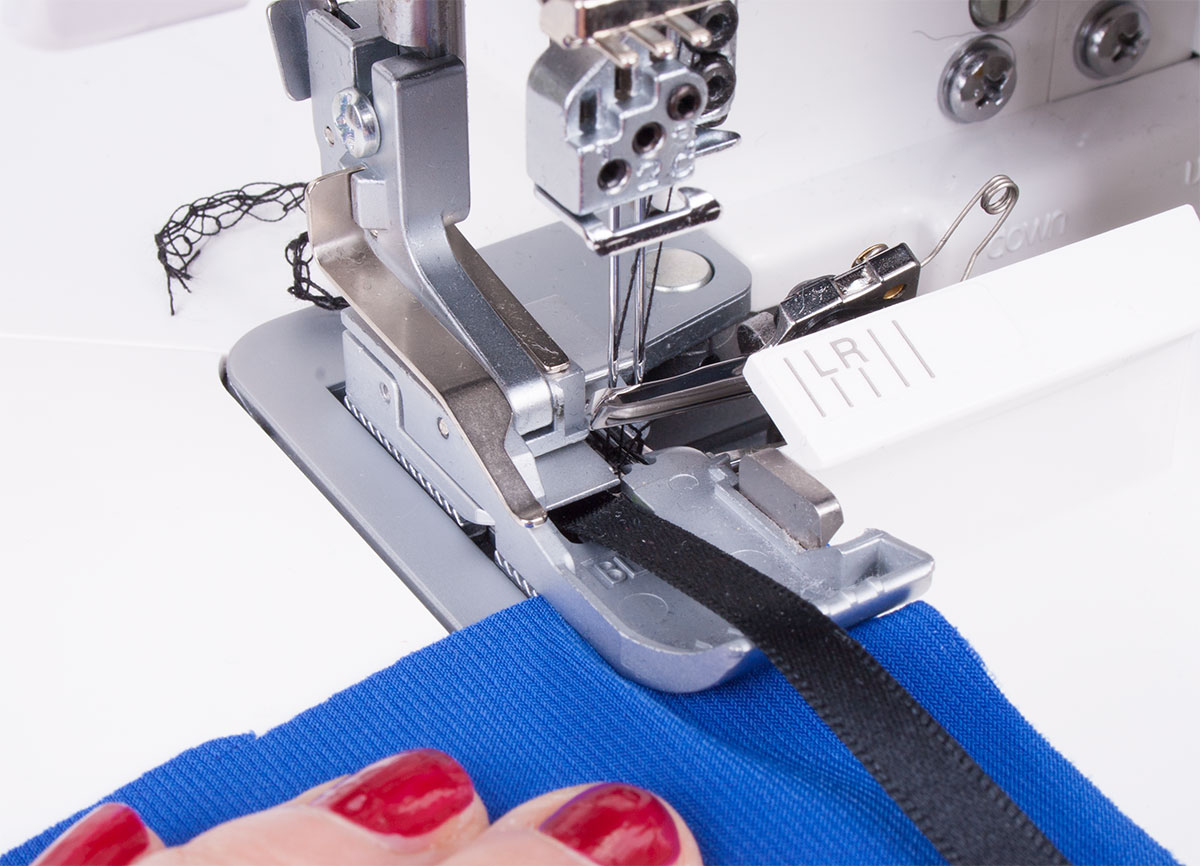
To sew jersey, the easiest way is to use a serger. So you can sew, overlock and cut in one pass and the seam will be suitable for stretch fabrics.
However, if you do not have one, it is still possible to sew jersey with a sewing machine. For this, you must equip yourself with a jersey needle. The end of it is slightly rounded so as not to risk damaging your fabric.
Next, you will need to determine its size:
from 60 to 80 for a fine jersey,
from 80 to 90 for a medium jersey,
from 90 to more for a thick jersey.
For the bobbin, you can opt for a garter thread, but you should not use it as the top thread. This will give you a stretchier and softer seam.
How to sew jersey?
Start by pinning the different elements. It is also possible to sneak them, depending on your habit.
When everything is ready, you can start sewing. When sewing stretch fabric, the main rule is to let the fabric move at its own pace. Under no circumstances pull on the fabric, as this will distort it or stretch the seam. You just have to guide it.
If you want to sew jersey more often, it is better to equip yourself with a double feed foot which has the advantage of making it easier to advance the fabric under the presser foot. If you do not want to invest, a solution is to reduce the pressure of the presser foot or to slip a tissue paper underneath.
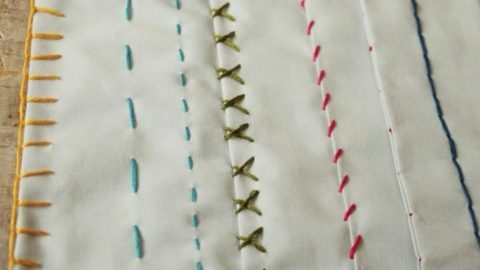
For the choice of the stitch to use, you can check in the user manual of your machine if a specific stitch is provided for this purpose. However, you can use:
the straight stitch to assemble the elements. The result will be seams that are not elastic, for example for the sides or shoulders. However, by using the foam yarn as seen above, we benefit from sufficient elasticity. Be sure to opt for stitches of around 2.5 mm. Thus, they will be neither too small nor too large;
the zig-zag stitch will be used for the seams which must remain elastic such as the collar, for example. You can set the stitch to 2.5mm long and 1mm wide;
the overlock stitch not only allows you to sew, but also to overcast at the same time;
the stretch stitch is not available on all machines, but in addition, it is not very beautiful. However, it allows sewing while maintaining elasticity.
Some highly stressed seams, such as those on the shoulders, can be reinforced with an additional strip of jersey or cotton twill sewn onto the underside of the fabric. Jersey does not necessarily need to be overcast, as it does not fray. To make a hem, simply sew it with a zig-zag stitch or with a double needle. In the latter case, two upper wires must be installed either on the two locations provided, or you can possibly overlap them.
Related Posts
Discover relevant articles, tutorials, and tips to improve your skills and explore new techniques.
Stay inspired and connected to our embroidery community.


