INSTRUCTIONS FOR LACE SCULPTURE ROSE
PLEASE READ ALL INSTRUCTIONS BEFORE STARTING YOUR ROSE
STEP 1
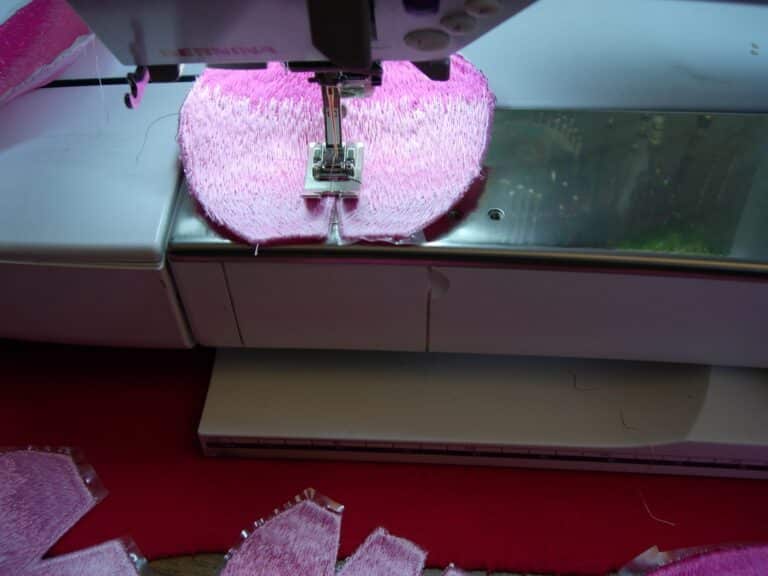
Stitch all *darts* in the petals and center petal. These are the little v shape openings in the bottom of the petals and petal center. To stitch these, starting at the top o f the *v*, zig zag the dart closed to the bottom of the petal:
STEP 2
Soak and rinse all petals and leaves according to the directions that came with the stabilizer you are using. To hand shape the petals, grasp the petal on each side and pull gently. This will produce a slight curve in the petal making it easier to assemble. For the outer petals if you wish, bend back the top edge of the petal.
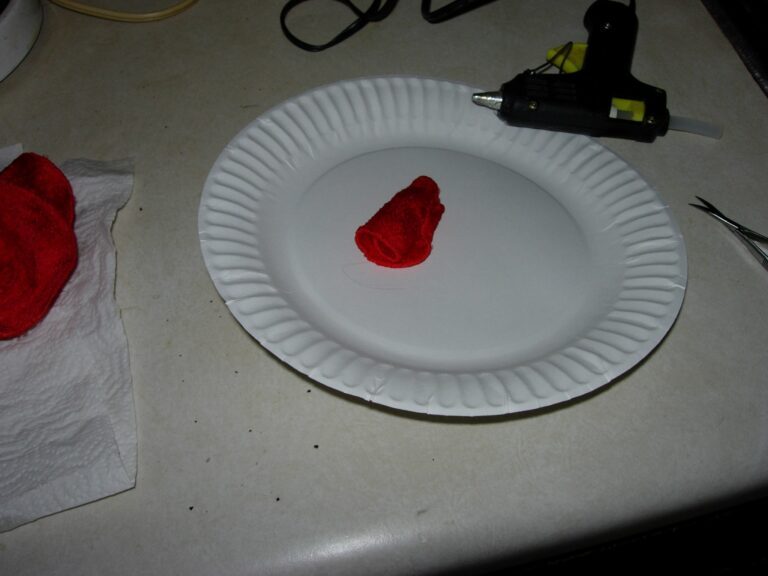
Roll the center petal around itself:
The leaves will curl naturally once they rinsed. Lay them out in a pleasing arrangement.
Allow all pieces to dry thoroughly. If after dry any you don’t like the shaping on any of your pieces, moisten them again until soft enough to reshape.
STEP 3: ASSEMBLE ROSE
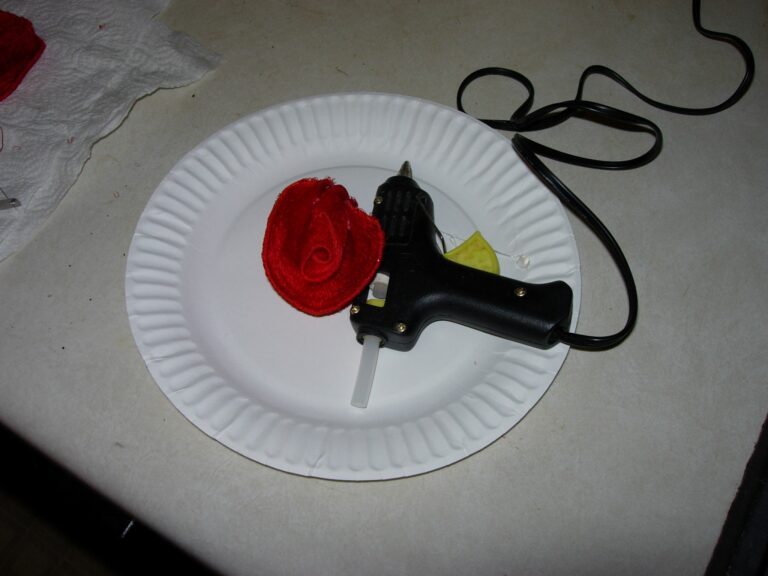
You can use either hot glue or hand stitching to hold the petals together. I used hot glue when assembling my samples. I will write these instructions assuming use of the Hot Glue gun, but they would be the same for hand stitching.
First take your center petal and glue down the outer edge so that it will stay nicely rolled.
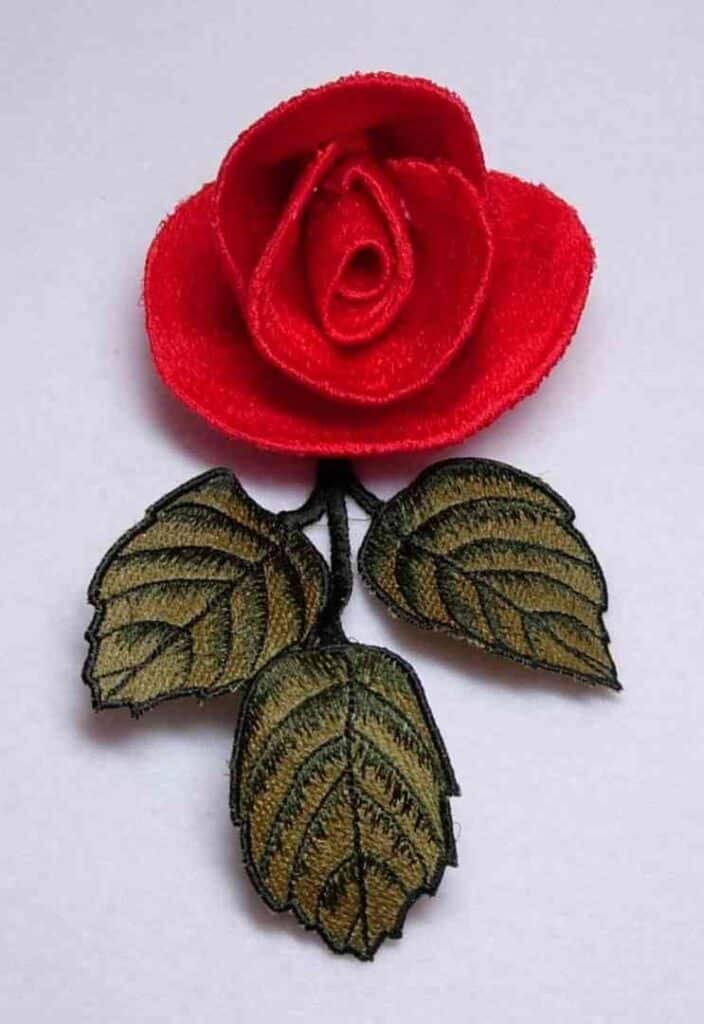
Next, take your first petal and roll it around the center – about halfway around to see how it will look. Then apply hot glue to the lower edge of the petal and wrap it around the center holding it until set.
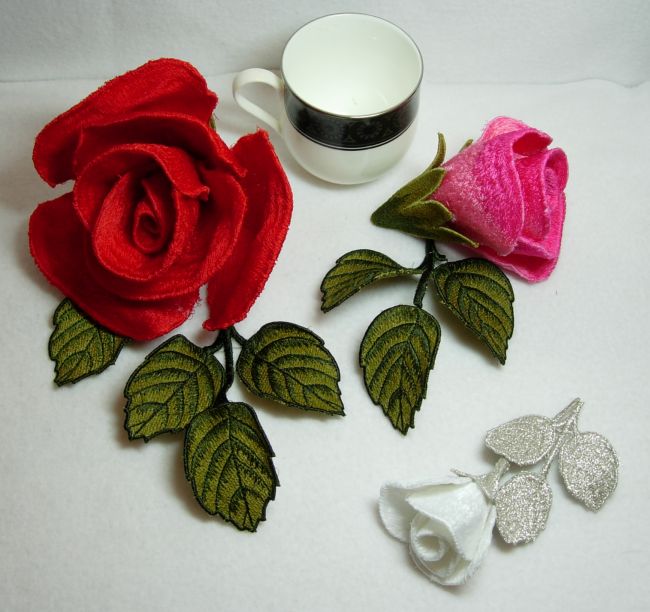
As you can see from the picture, the center and one small petal are all that are needed to make rosebuds.
Continue adding petals around the flower, overlapping just slightly, until you have the size you want. I recommend you experiment a little and hold them together with pins before actually gluing your first rose just to get the feel for it.
STEP4 Finish
If you will be using the sepal, apply some hot glue along one side at the lower edge for about ½ inch. Pinch the sepal together at the bottom, butting the two lower edges. Once dry, bend out the petals of the sepal and glue to the rose bud.
The stem design will not hold the flower, but can be inserted before you pinch the end of the sepal together. Another alternative is to insert heavy florists wire (be sure it is heavy enough to hold the flower). You can wrap this with florists tape afterward.
Once your rose (and stem if used) are assembled, you can add the leaves under the flower if you are going to lay the flower on a table or attach to a bag or box. For the small white rose I glued the stem of the leaf to the stem of the flower. Before making a final decision, lay out your roses and leaves in different positions to see how they look. You can leave them as just freestanding or when finished, you can attach them to an item, a piece of pretty wood, a heavy velvet mat, or a coaster.
Don’t hesitate to contact me if you have any questions on these instructions.
the full free file is available here
the tutorial is included of course the designs are available for many machines
