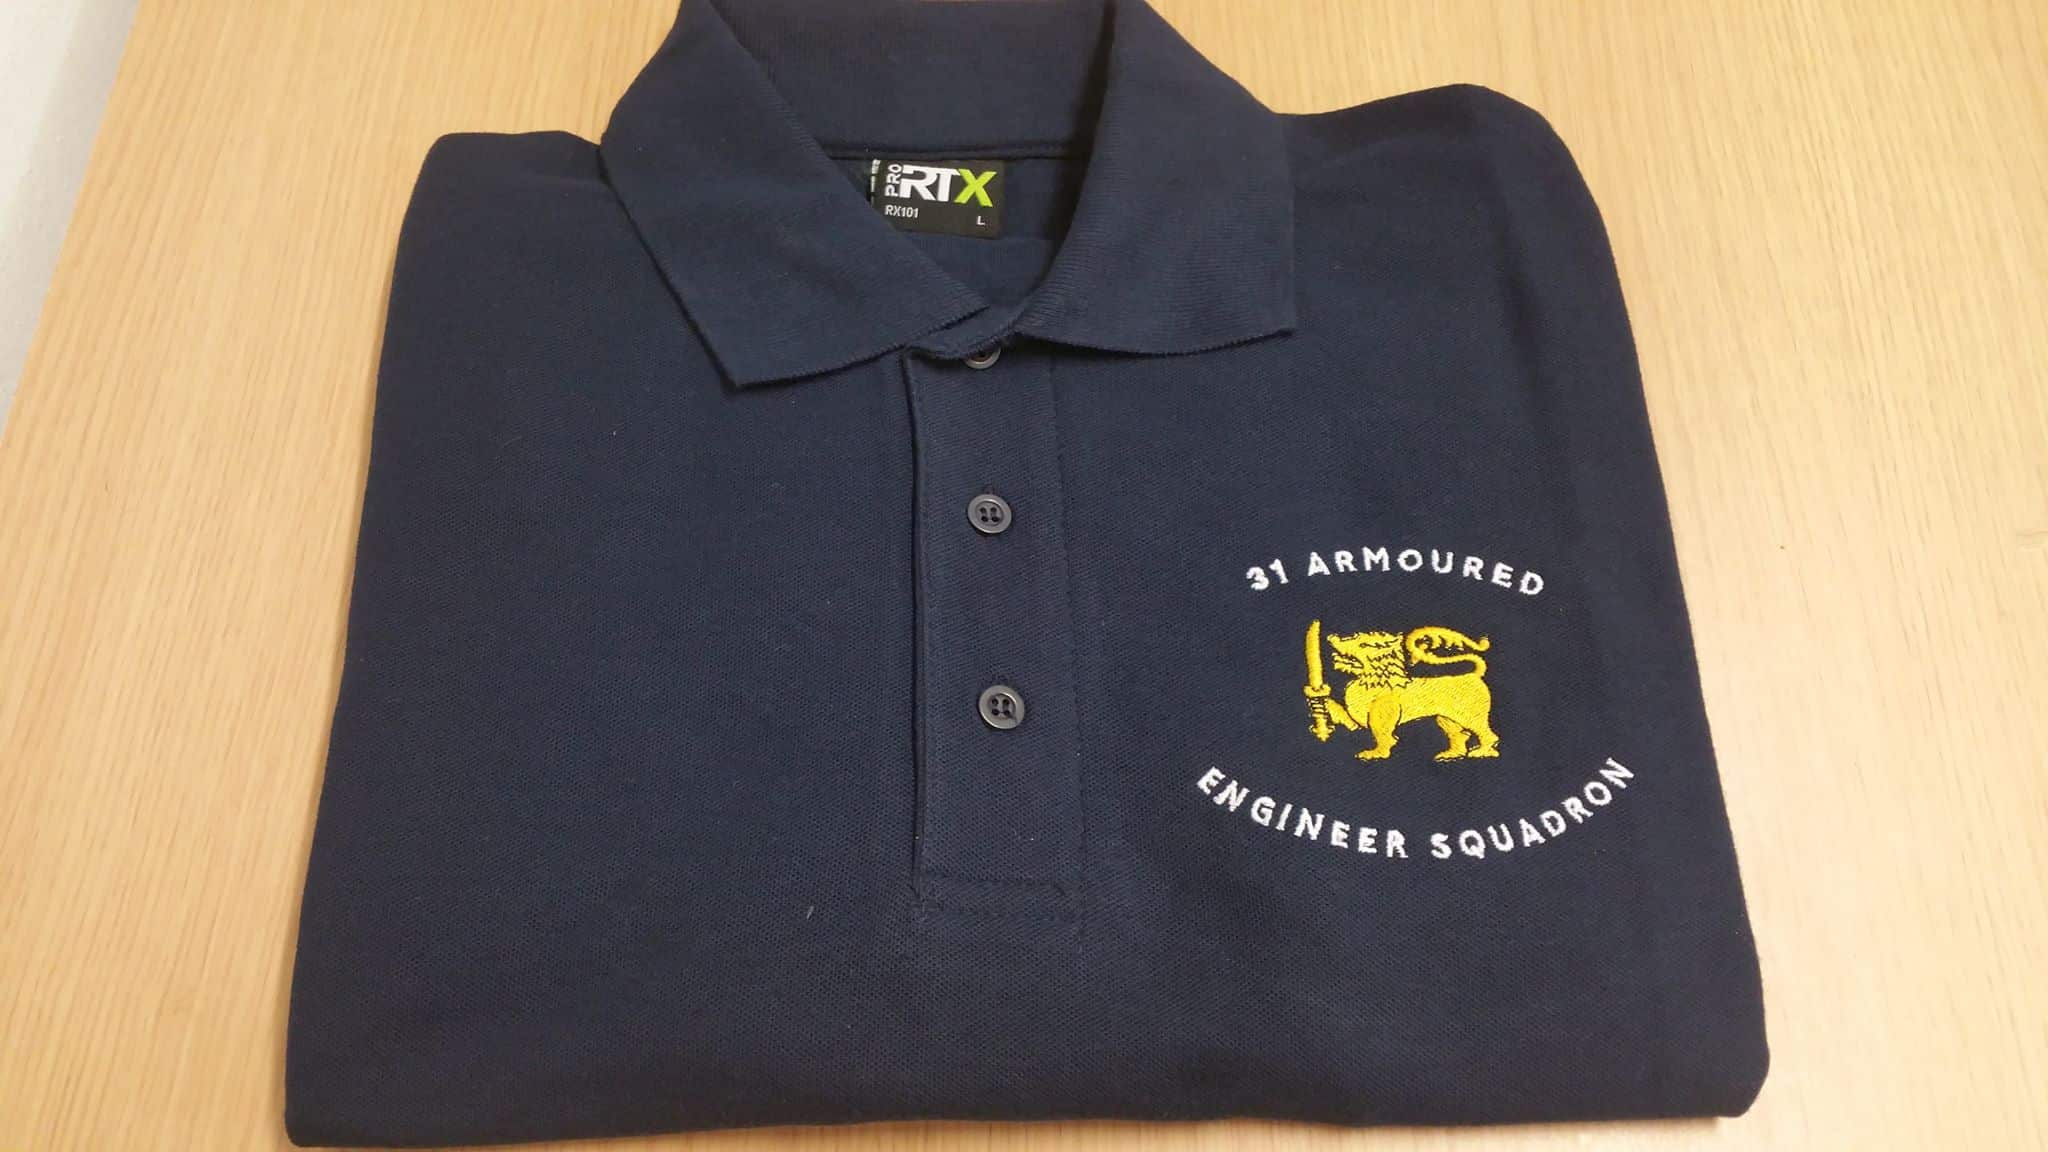
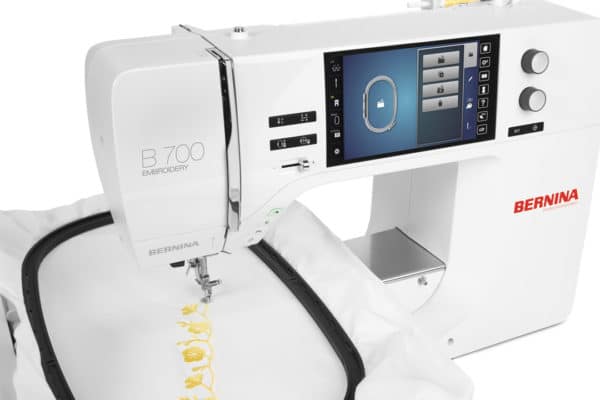
Embroidery is a fun and creative way to add your own personal touch to your clothes, and what better way to do that than embroidering your favorite polo shirt? Embroidering a polo shirt may seem daunting at first, but with the right materials and techniques, it can be a fun and easy project to take on. In this article, we will guide you through the steps to embroider a polo shirt.
Step 1: Gather Your Materials To embroider a polo shirt, you will need some basic materials such as:
- A polo shirt
- Embroidery floss or thread
- Embroidery hoop
- Embroidery needle
- Scissors
- Pencil or water-soluble fabric pen
Once you have all your materials, you can start the embroidery process.
Step 2: Choose Your Design Before you start embroidering your polo shirt, you need to choose a design. You can use any design you like, from a simple monogram to a more complex design. You can even create your own design or use a pre-made embroidery pattern. Once you have chosen your design, you need to transfer it onto your polo shirt.
Step 3: Transfer Your Design To transfer your design onto your polo shirt, you can use a pencil or a water-soluble fabric pen. Place your embroidery hoop over the area where you want to embroider and trace your design onto the shirt. Make sure the design is centered and straight.
Step 4: Prepare Your Thread Next, you need to prepare your embroidery thread. Embroidery thread comes in many different colors, so choose the color that matches your design. You will also need to separate the embroidery floss into individual strands. Most embroidery floss comes in six strands, but you only need to use one or two strands for a more delicate look. Cut a length of thread that is about 18 inches long, and thread your needle.
Step 5: Start Embroidering Now it’s time to start embroidering your polo shirt. Place your embroidery hoop over the area where you want to embroider, and start stitching. There are many different embroidery stitches you can use, but the most common stitch for embroidering on clothing is the satin stitch. The satin stitch is a simple stitch that creates a smooth, solid line.
To create a satin stitch, bring your needle up through the fabric at the start of your design, and then stitch across the design, filling in the area with your embroidery thread. Make sure your stitches are close together and straight, and continue stitching until you have filled in the entire design.
Step 6: Finishing Touches Once you have finished embroidering your polo shirt, it’s time to remove the embroidery hoop and admire your work. You can also add some finishing touches to your embroidery to make it look even better. For example, you can add some beads or sequins to your design to give it some extra sparkle. You can also add some embroidery stitches around the edge of your design to make it stand out more.
Step 7: Care for Your Embroidered Polo Shirt Now that you have finished embroidering your polo shirt, it’s important to take care of it properly so that your embroidery lasts for a long time. When washing your polo shirt, turn it inside out and wash it on a gentle cycle. Avoid using bleach or fabric softener, as these can damage the embroidery. Hang your polo shirt to dry, and avoid drying it in direct sunlight.
Conclusion
Embroidering a polo shirt is a fun and creative way to add your own personal touch to your clothes. With the right materials and techniques, it can be a fun and easy project to take on. By following these simple steps, you can create a beautiful embroidered polo
Related Posts
Discover relevant articles, tutorials, and tips to improve your skills and explore new techniques.
Stay inspired and connected to our embroidery community.


