Discover the must-have and some nice-to-have tools and materials to help achieve embroidery success.
HOOPS
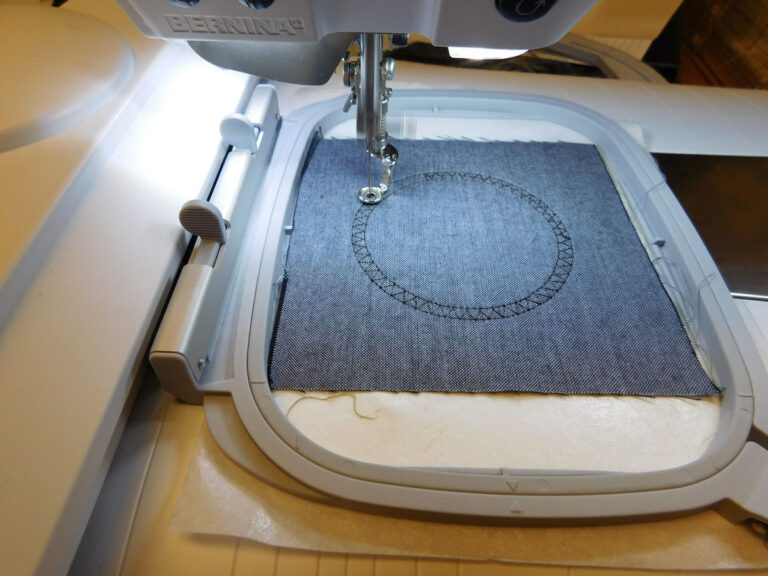
• Most machines include at least one hoop and offer additional hoop sizes for purchase. Hoop size depends on the machine sewing field, so check with your machine dealer to see if
other hoop sizes are available. The larger the hoop size, the larger the design
that can be stitched. However, for best results select a hoop size as close to the design size as possible.
STABILIZER
• Choose high-quality stabilizers. This makes a noticeable difference in the finished design appearance. Poor quality stabilizers make even the best digitized design look bad.
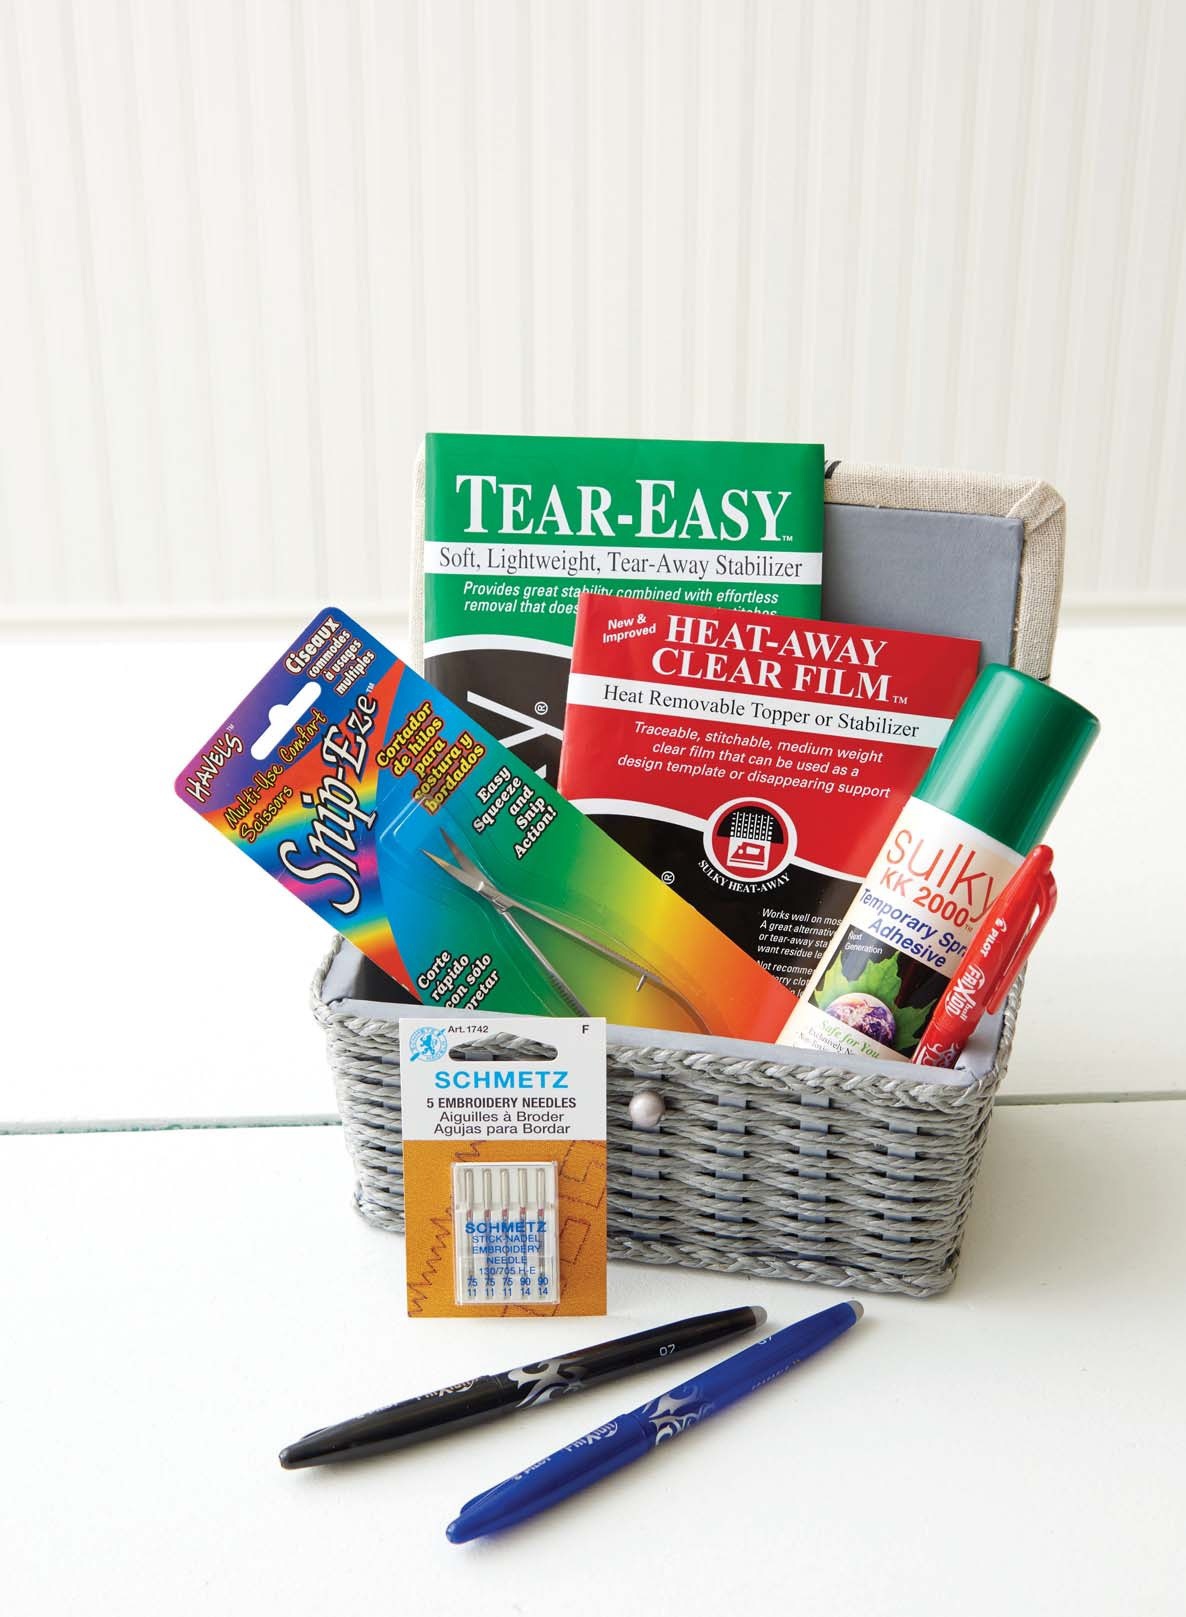
• Keep at least one cut-away, one tearaway, and one water-soluble stabilizer and topper in your stash. Use cut-away stabilizer when embroidering on knits or stretchy fabrics. Tear-away stabilizer is suitable for a variety of projects, especially when combined with a water-soluble topper. The topper is used on napped fabrics and items such as towels, to prevent the stitches from sinking into the fabric pile
TEMPORARY SPRAY ADHESIVE
• Applying temporary spray adhesive and the chosen stabilizer to the project- fabric wrong side prevents the fabric layers from shifting during stitching. If using two stabilizer layers, adhere the two layers together before securing to the project fabric.
NEEDLES
• Use a needle designed specifically for embroidery. An embroidery needle has a larger eye than universal needles. The large eye prevents the thread from fraying when embroidering at high speeds.
• Typically, size 80/12 works for most projects, but always select the needle
size according to the fabric type. The lighter the fabric weight, the smaller the needle and the heavier the fabric weight, the larger the needle. Select a ballpoint needle for knits.
• Titanium needles are more expensive, but last longer. In addition, the coating on titanium needles helps prevent needles from gumming up when using adhesive-backed stabilizers.
EMBROIDERY THREAD
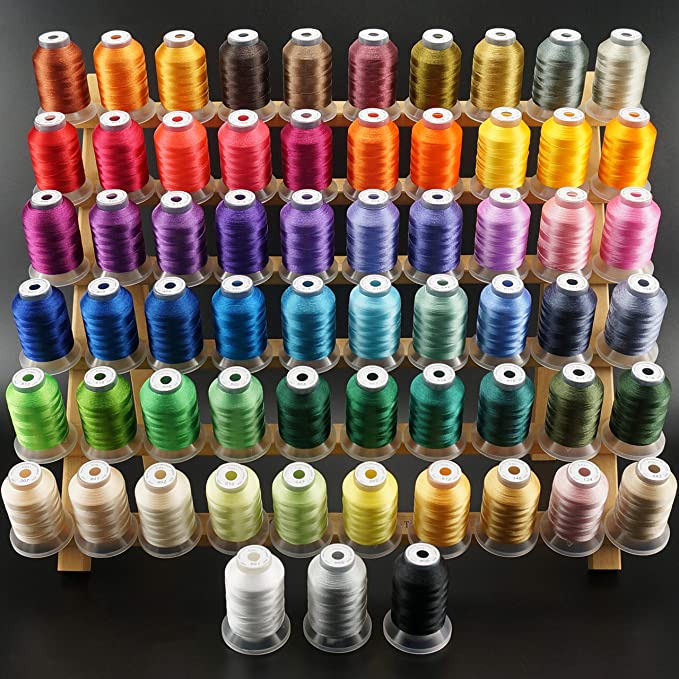
• Most embroidery thread is 40-wt., is thicker than all-purpose thread and provides better coverage in an embroidery design.
• Rayon thread has a very high shine, but is fragile, which causes more thread breakage during embroidery and isn’t bleach resistant.
• Polyester thread is best for items are laundered often or with bleach because it’s bleach resistant and won’t fade.
• Specialty polyester embroidery thread is available in many colors and has a
three-sided thread strand that creates a more reflective surface that shines
almost as well as rayon.
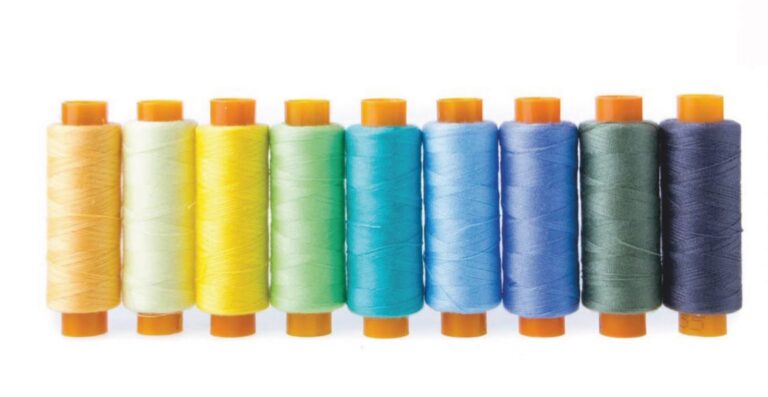
When starting your thread collection, purchase a light, medium and dark shade of each primary color and three shades each of your favorite colors. Many designs are created with shading and highlights, and purchasing multiple shades of a color provides the most flexibility and options for designs.
BOBBIN THREAD
• Use a lighter weight thread in the bobbin than in the needle. Most bobbin threads are 60-wt. The difference in weight helps pull the needle thread to the fabric wrong side and makes the
design look smooth and professional.
• The bobbin thread doesn’t have to match the needle thread since it doesn’t show on the fabric right side. Typically, white bobbin thread is used but select a black bobbin thread when
embroidering on dark fabric.
• Purchase bobbin thread in 3,000 to 5,000 yard cones because it’s less expensive and a lot is used during stitching.
SMALL SCISSORS OR SNIPS
• Select small scissors or snips with curved tips to precisely clip thread tails . Look for scissors with microserrated blades that grip the thread tail as it cuts.
PAINTER’S TAPE
• Painter’s tape is wonderful to use when securing a topper. The tape holds the topper in place and is easily removed even if stitched over .
NON-SKID MAT
• Purchase a non-skid mat, such as shelf liner or a place mat, to make hooping easy. Place the mat on a flat surface, and then place the outer hoop over the mat. The non-skid surface
prevents the outer hoop from moving as you insert the inner hoop and fabric or stabilizer .
MARKING PEN OR PENCIL
• Marking the design horizontal and vertical centerlines onto a garment or project helps ensure the correct design placement.
merci pour ces explications et ces conseils
Hi, all the time i used to check web site posts here early in the break of day,
for the reason that i enjoy to learn more and more.
I think this is among the most important info for me.
And i am glad reading your article. But want to remark on some general things,
The site style is ideal, the articles is really nice :
D. Good job, cheers
What’s up to every one, the contents existing at this
site are genuinely awesome for people knowledge, well, keep up the nice work fellows.