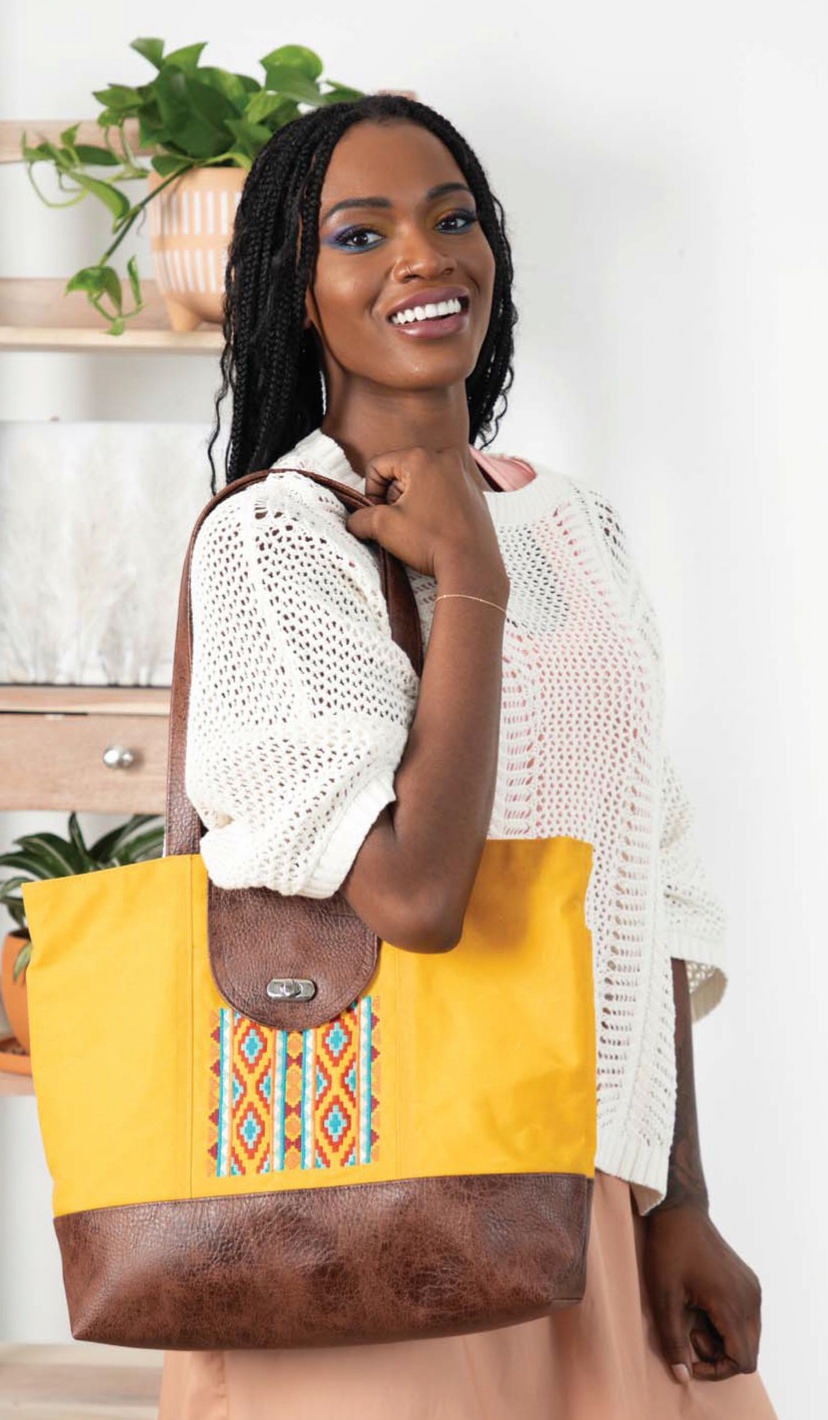
Stitch a stunning tote using waxed canvas and faux leather with a colorful embroidery design featured front and center on the pocket area. Get tips for working with waxed canvas along the way.
MATERIALS
+ Tote bag pattern (such as the
Explorer Tote by Noodlehead
Sewing Patterns)
+ Waxed canvas for bag exterior
(amount according to pattern)
+ Faux leather for contrast
bottom, flap and straps
(amount according to pattern)
+ Quilting cotton for bag lining
(amount according to pattern)
+ Fusible woven interfacing for
bag lining (amount according
to pattern)
+ Notions (according to pattern)
+ Cut-away stabilizer
+ Embroidery thread
+ Temporary spray adhesive
+ Wonder or binder clips
+ Quilt block embroidery design
(approx. 4.97″x4.96″;
PREPARE
Note: For the featured sample, the small size Explorer Tote Bag pattern was used, with a finished size of 18” wide, 13” high and 4” deep.
• From the waxed canvas, cut the bag exterior pieces according to the pattern instructions.
• From the faux leather, cut the contrast bottom, flap and straps according to the pattern instructions.
• From the quilting cotton and interfacing, cut the lining pieces according to the pattern instructions and fuse the interfacing to the coordinating cotton pieces according to the manufacturer’s instructions.
WORKING WITH WAXED CANVAS
Waxed canvas is a fantastic medium to work with —it’s durable, waterproof and one of the few materials that actually looks better after a bit of wear and tear. These qualities make it one of the best fabrics to work with when bag making. As an added bonus, this material supports almost any embroidery design, so the sky is the limit with your creativity.
• Since waxed canvas is simply a paraffin- or beeswaxcoated fabric, you can expect it to perform like any other sturdy fabric and should be treated as such. This particular material supports all types of embroidery, so no special treatment is required other than floating the fabric on top of the stabilizer to prevent hoop burn.
• If you need to mark your fabric for placement, consider “creasing” the material with your fingers or using a blunt end of a tool or awl for marking. Fabric pens and pencil marks are not easily removed.
• Be sure to use a larger needle, such as a 100/16 or 110/18 (the kind designed for jeans works well) and thicker thread. It’s also recommended that you increase the stitch length, especially when topstitching.
• A regular presser foot generally works fine, but if you find that your material isn’t feeding through the machine evenly because it’s sticking, switch to a Teflon or roller foot.
• Pin holes tend to leave permanent marks on the fabric. Use fabric clips as much as possible or keep pins within the seam allowance.
• Because the material is so sturdy, interfacing can be skipped. If you find that the waxed canvas has become more translucent because of the waxing process (such as in the case of the yellow in the featured sample) and the
lining material is visible through the exterior, add a bit of interfacing to the lining fabric only.
• Keep heat away from this material, as it will melt away the wax. Instead of pressing with an iron, finger press or use a bone folder.
• When you’re finished with the project, be sure to thoroughly
EMBROIDER
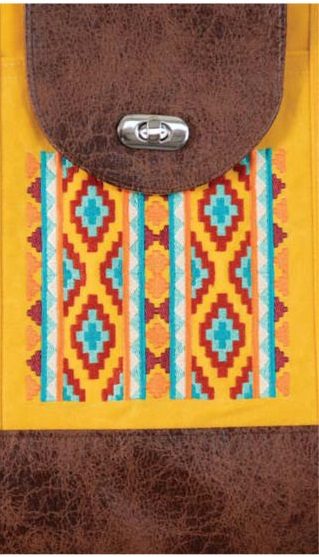
• Print a template of the design.
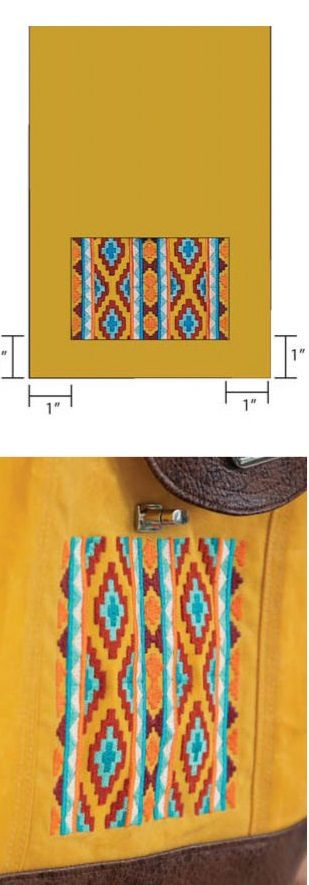
• Position the design template over the front pocket piece 1″ from the lower raw edge and centered between the side edges, rotating it 90° if necessary. Mark the center of the design on the canvas or secure the template in place using a few pieces of tape.
• Hoop the cut-away stabilizer
• Spray adhesive on the wrong side of the waxed canvas front pocket piece and position it over the stabilizer, centering the mark/ template in the hoop. Gently finger press to adhere.
• Load the design onto the machine. Rotate the design if necessary to match the template alignment.
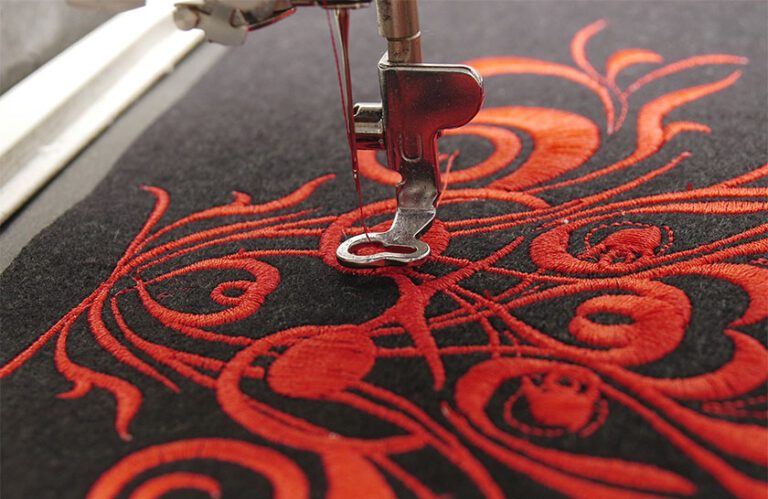
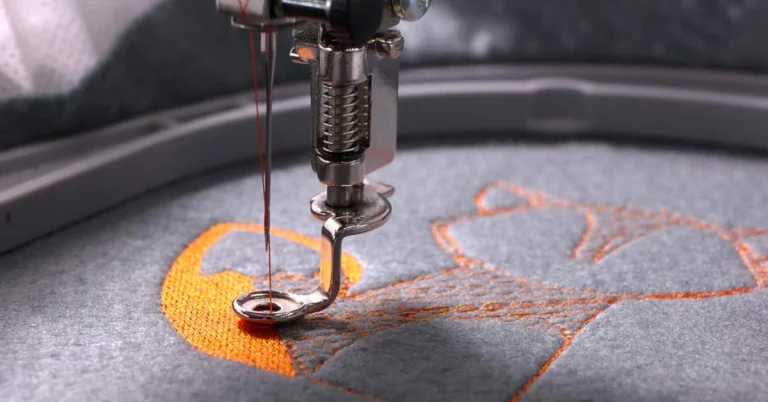
• Stitch the design, changing colors as desired.
• Remove the stabilizer from the hoop and trim the excess stabilizer away from the design perimeter.
FINISH
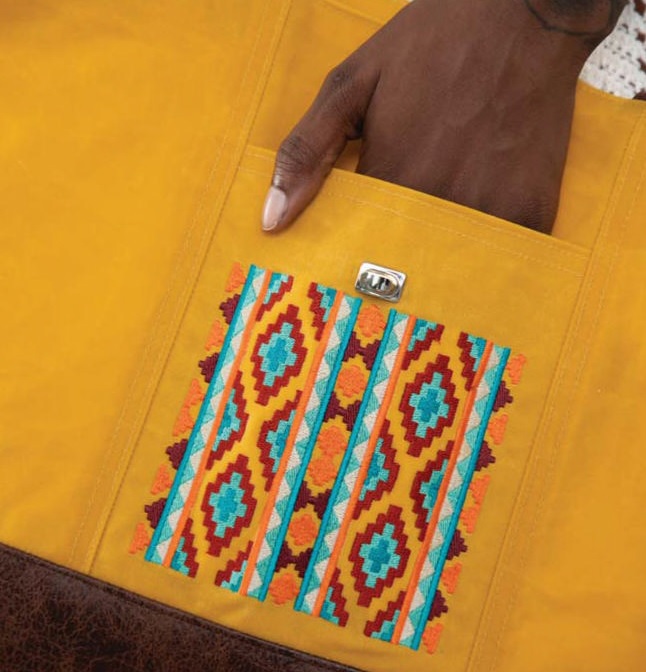
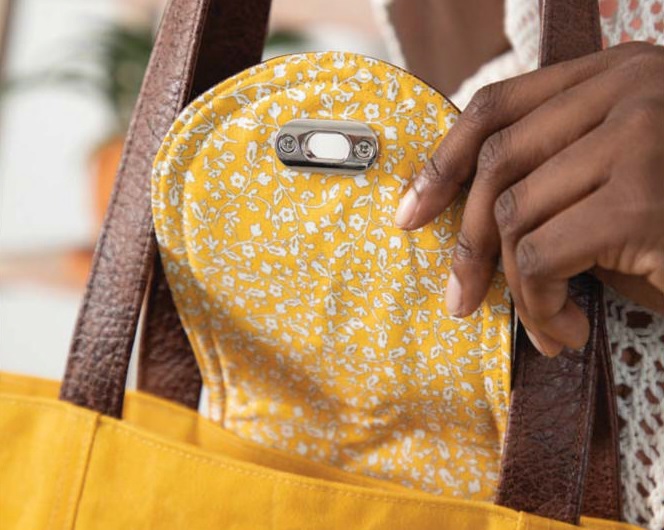
• Construct the bag according to the pattern instructions.
Related Posts
Discover relevant articles, tutorials, and tips to improve your skills and explore new techniques.
Stay inspired and connected to our embroidery community.


I know this if off topic but I’m looking into starting my own weblog and was wondering what all is required to get setup?
I’m assuming having a blog like yours would cost a pretty penny?
I’m not very web savvy so I’m not 100% positive. Any suggestions or advice
would be greatly appreciated. Appreciate it
Thank you for any other wonderful post. Where else could anybody get that kind
of information in such a perfect manner
of writing? I have a presentation next week, and I am on the look for such info.
Good blog post. I certainly appreciate this website.
Stick with it!
Excellent post. I was checking constantly this blog and I’m inspired!
Very helpful info specially the last section 🙂 I care for such information much.
I was looking for this particular information for a long time.
Thank you and best of luck.
I used to be able to find good information from your articles.