How To Remove Jump And Trim From Your Embroidery
Embroidery is a beautiful and intricate art form that requires patience and precision. However, one of the most frustrating aspects of embroidery is dealing with jump and trim threads. These threads are excess threads that are left behind when the machine moves from one part of the design to another. They can be unsightly and even cause the embroidery to become tangled. In this article, we will explore how to remove jump and trim threads from your embroidery to achieve a flawless finish.
What Are Jump and Trim Threads?
Jump threads are created when the embroidery machine moves from one part of the design to another without cutting the thread. This creates a long thread that can be unsightly and may even cause the embroidery to become tangled.
Trim threads are created when the embroidery machine cuts the thread after completing a stitch. However, sometimes the thread is not cut close enough to the fabric, leaving behind excess thread.
How to Remove Jump and Trim Threads
-
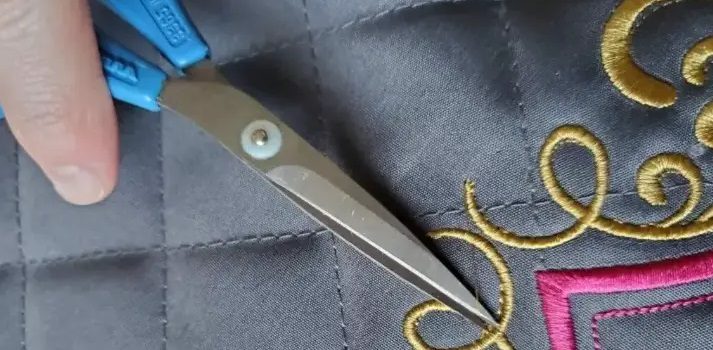
Use Embroidery Scissors
The easiest way to remove jump and trim threads is to use embroidery scissors. These scissors have a sharp point that allows you to get close to the fabric without cutting it. Simply trim the excess thread close to the fabric, being careful not to cut the fabric or the remaining stitches.
-
Use a Seam Ripper
A seam ripper is another tool that can be used to remove jump and trim threads. Gently slide the seam ripper under the excess thread and lift it away from the fabric. Be careful not to pull on the thread too hard, as this can cause the embroidery to become tangled or even rip.
-
Use a Tweezers
Tweezers can also be used to remove jump and trim threads. Gently grasp the excess thread with the tweezers and pull it away from the fabric. Be careful not to pull too hard, as this can cause the embroidery to become tangled or even rip.
-
Use a Thread Cutter
A thread cutter is a specialized tool that is designed to cut jump and trim threads close to the fabric. Simply slide the thread cutter under the excess thread and press down to cut it. Be careful not to cut the fabric or the remaining stitches.
-
Use a Heat Tool
A heat tool is a specialized tool that uses heat to melt away excess thread. Simply hold the heat tool over the excess thread and it will melt away. Be careful not to hold the heat tool too close to the fabric, as this can cause it to melt or become damaged.
Tips for Removing Jump and Trim Threads
-
Use the Right Tool
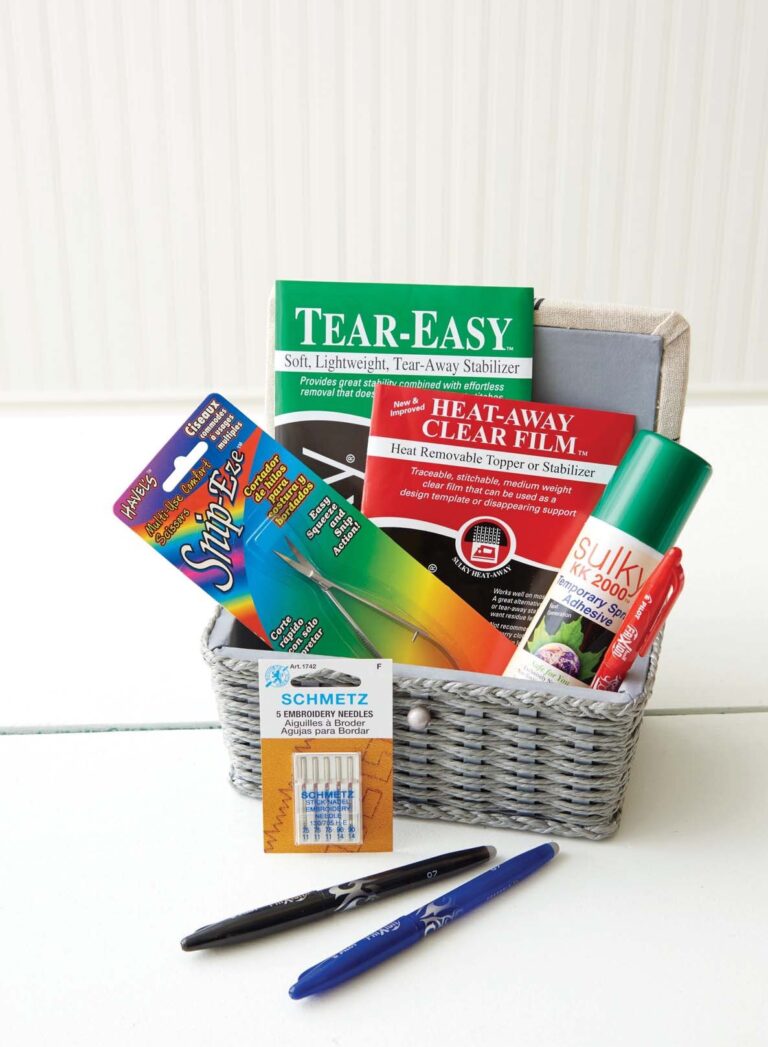
Using the right tool for the job can make all the difference when it comes to removing jump and trim threads. Make sure you have a sharp pair of embroidery scissors, a seam ripper, tweezers, a thread cutter, or a heat tool on hand.
-
Be Gentle
When removing jump and trim threads, it is important to be gentle. Pulling too hard or cutting too close to the fabric can cause the embroidery to become tangled or even rip. Take your time and be patient.
-
Check Your Tension
If you are experiencing a lot of jump and trim threads, it may be an indication that your tension is off. Check your machine’s tension settings and make adjustments if necessary.
-
Use a Thread Stand
Using a thread stand can help to reduce jump and trim threads. This is because the thread is able to unwind more easily, which reduces the tension on the thread as the machine moves from one part of the design to another.
-
Use the Right Thread
Using the right thread can also help to reduce jump and trim threads. Choose a high-quality thread that is less likely to break or create excess threads.
Related Posts
Discover relevant articles, tutorials, and tips to improve your skills and explore new techniques.
Stay inspired and connected to our embroidery community.
