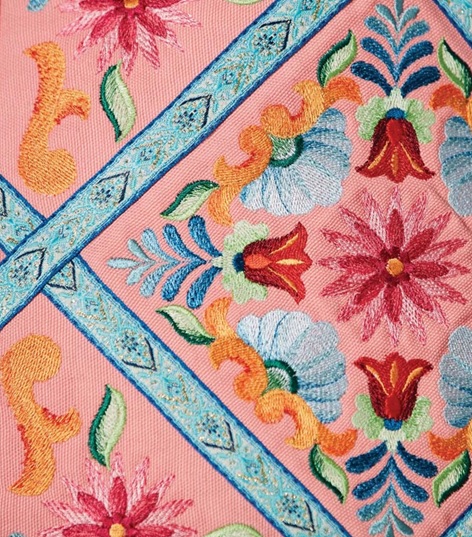
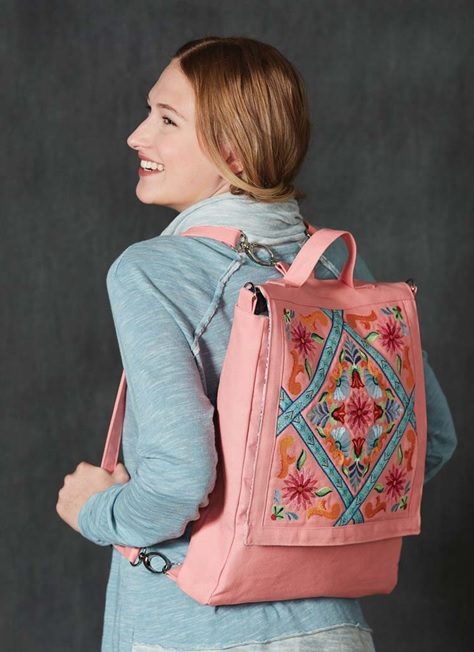
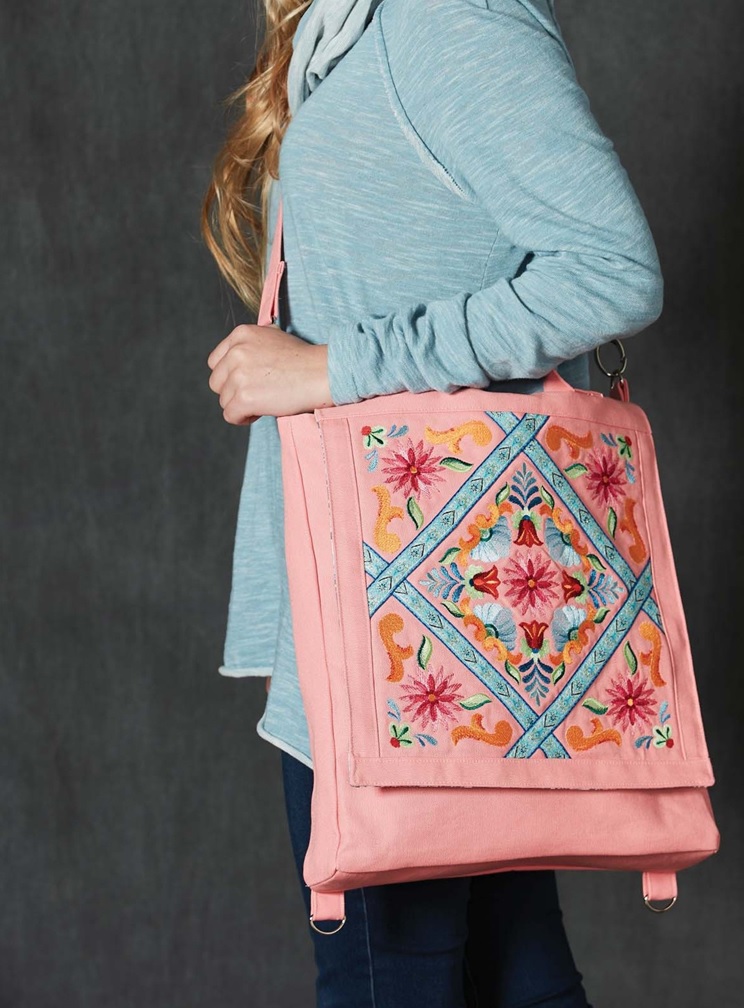
Make a roomy canvas bag with a tapestry-inspired panel to coordinate with your spring wardrobe.
Adjustable straps allow you to carry the bag as a backpack, shoulder or cross-body purse, or use the handle and carry it as a large tote.
CUT
- From the canvas, cut one 9” square for the central square motif; four 9½” squares for the corner motifs; two 2”x12” rectangles, one 2”x14”
rectangle and one 3½”x14” rectangle for the front flap panel; one 4”x18” rectangle for the D-rings; one 4”x12” rectangle for the bag handle; two 4”x50” rectangles for the straps; two 14”x16” rectangles for the bag body; two 3½”x16” rectangles for the bag sides and one 3½”x14” rectangle
for the bag base. Label all canvas pattern pieces.
- From the lining fabric, cut one 14”x15¼” rectangle for the flap lining, one 10”x12” rectangle for the interior pocket; two 14”x16” rectangles
for the lining body; two 3½”x16” rectangles for the lining sides and one 3½”x14” rectangle for the lining base. Label all lining pattern pieces.
- From the interfacing, cut one 12” square for the embroidered panel
rectangles for the bag and lining sides and two 3½”x14” rectangles for bag and lining base.
- Fuse the interfacing to the wrong side of each canvas and lining piece following the manufacturer’s directions, except for the 12” square
for the embroidered panel. Note that the straps, handle, D-ring rectangle and interior pocket will not be interfaced. If using thick fusible interfacing for added structure and support on the bag base, fuse it to the canvas wrong side and add the additional interfacing layer on top.
MATERIALS
Supplies listed are enough to make one 2½”x13”x15” bag.
+ 2 yards of canvas fabric
+ 1 yard of cotton fabric (lining)
+ 1½ to 2 yards of ¾”- to 7⁄8”-wide tapestry ribbon
+ 3 yards of woven interfacing
+ 2½” x 13” scrap of thick fusible polyester interfacing (optional)
+ Two adjustable sliders
+ Six 1” D-rings
+ Four 1” swivel snap hooks or lobster clasps with D-rings attached
+ Two magnetic snaps
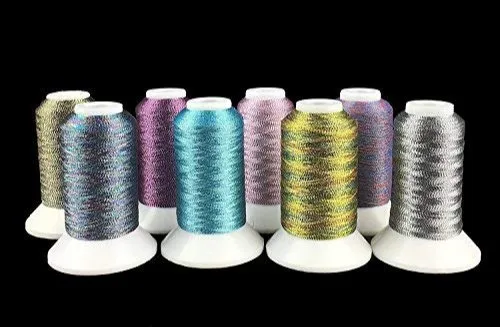
+ Thread: embroidery & coordinating all-purpose
+ Cut-away stabilizer
+ Removable fabric marker
+ Square and corner embroidery designs (approximately 5.87” square and 3.85”x3.85”; see “Designs.”)
- two 2”x12” rectangles, one 2”x14” rectangle and one 3½”x14” rectangle for the embroidered panel flap;
one 14”x15¼” rectangle for the flap lining; four 14”x16” rectangles for bag and lining body; four 3½”x16”
EMBROIDER
Note: The square embroidery design has been reduced to 5½” square and the corner embroidery design has been increased to 4”x4¼” to form a perfect square when pieced.
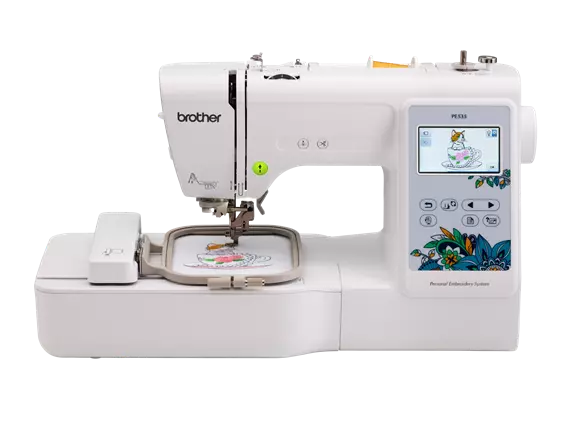
- Load the designs onto the
embroidery machine. Adjust the sizes as needed so that when pieced together, the
square and corner designs form a perfect square.
- Center and embroider the square design onto the 9” canvas square.
- Center and embroider the corner design onto one 9½” canvas Repeat to stitch a total of four squares.
-
- Cut around the square embroidery, leaving a ¾” border and centering
CONSTRUCT
Use ¼” seam allowances to construct the embroidered panel and ½” seam allow- ances for the bag construction unless otherwise noted.
the design. The square should measure approximately 7”.
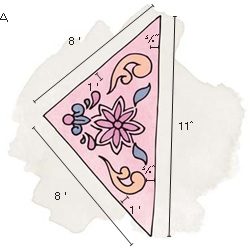
- Cut around each corner embroidery, leaving ¾” along the long edge
and 11⁄8” along each shorter side edge . The triangle should
measure 8½”x8½”x11”. Repeat for the remaining corner motifs.
- Cut around the square embroidery, leaving a ¾” border and centering
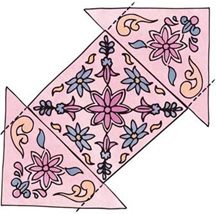
- Center a triangle on opposite edges of the square; stitch in place. To reduce bulk, trim the points from the triangles in line with the square’s straight edge (B).
- Center the two remaining triangles along the remaining square edges; stitch in place. Don’t worry if the
triangles are slightly short, as the panel will be squared up in a later step.
- Center tapestry ribbon over the seams. Edgestitch both sides of the ribbon in place.
- Trim the pieced panel to 12” square, ensuring the design is centered. Fuse the 12” square of interfacing to the panel back following the manufacturer’s instructions.
- Stitch one 2”x12” strip to each embroidered panel side edge. Press the seams toward the strips and
- Stitch one 2”x14” strip to the embroidered panel lower Press the seams toward the strip and topstitch.
- Stitch one 3½”x14” strip to the embroidered panel upper edge. Press the seams toward the strip and
- Fold the 4”x12” handle rectangle in half lengthwise, wrong sides together. Open the rectangle and
-
- Fold each handle end under ½”, creating a finished edge. Center the handle on the upper strip. Pin the handle 3” away from the panel side edges. Stitch close to the pressed edge and again 1½” away. Reinforce the handle by stitching an X in the middle of the square
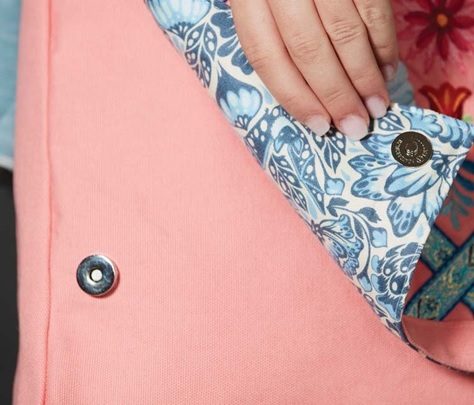
- Following the manufacturer’s instructions, attach the male snaps 1½” in from the lower and side edge on the front flap lining rectangle (14”x15¼” rectangle).
- With right sides together, stitch the flap lining and embroidered panel
together, making sure that the snaps are at the flap lower edge and the handle is at the top and leaving
the upper edge unstitched. Clip the corners, turn right side out and
topstitch close to the finished edges. If desired, baste the raw upper edges of the flap together.
- Stitch the short end of the bag sides to each end of the bag base.
- Stitch the joined strip to the bag front with right sides together, pivoting at the seams. Clip the corners; press. Repeat to attach the strip to the bag back, and turn bag right side out.
- Attach a D-ring to each bag side, matching the raw edges. Baste in place. Find the center of the bag back, mark and place the remaining two D-ring segments on either side of this mark; baste in place.
- With right sides together, baste the flap to the bag back. Set aside.
-
Stitch the sides and the lower edge, leaving a 3” opening for tuning. Clip the corners and turn right side out. If desired, topstitch 1” from the folded edge.
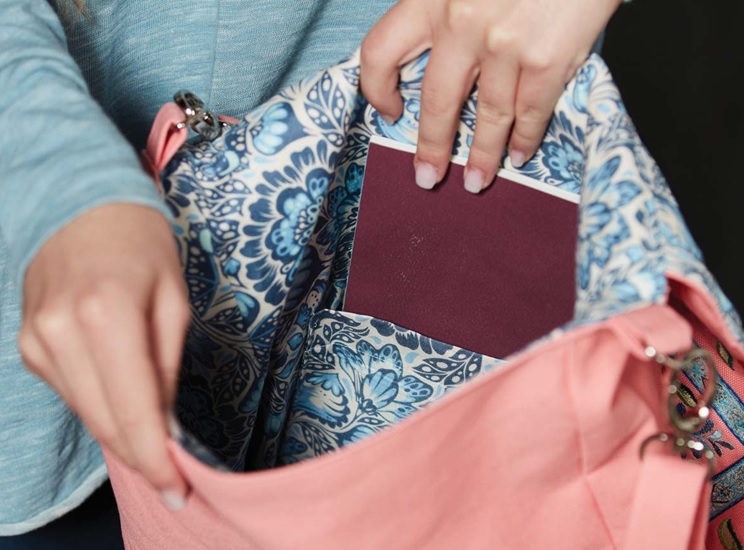
- Attach the pocket to the lining back so the pocket lower edge is centered 3½” from the lining back lower edge. Edgestitch the sides and lower edge. Stitch again 1” from the pocket right edge to create a pen slot.
FINISH
- With right sides together, place the bag inside the lining. Stitch around the bag upper edge.
- Turn the bag right side out through the lining opening.
- Topstitch the bag upper edge, keeping the flap free from stitching.
- Slipstitch the lining opening
- Fold each strap in half lengthwise with wrong sides together. Open the rectangle and fold the raw edges in to meet at the crease. Re-fold and topstitch along each edge.
- Fold one strap end under ½”, thread the strap 2” through a lobster clasp and stitch the folded end to the Stitch again 1” away and secure by making an X in the middle of the square.
- Slide the other strap end through the slider buckle and another lobster clasp, bring the strap end back up through the buckle and thread it through the slider bar, under the existing strap. Fold under the raw edge and stitch the folded end of the strap to itself 2” away from the buckle . Stitch again 1” away and secure by making an X in the middle of the square. Repeat to create the remaining strap.
Related Posts
Discover relevant articles, tutorials, and tips to improve your skills and explore new techniques.
Stay inspired and connected to our embroidery community.


Whoa! This blog looks exactly like my old one! It’s on a completely different
topic but it has pretty much the same page layout and design.
Great internet site! It looks extremely expert!
Maintain the helpful job!
Howdy! This article couldn’t be written any better! Going
through this article reminds me of my previous roommate!
He continually kept talking about this. I’ll forward this article
to him. Pretty sure he will have a good read.
Thank you for sharing!
What’s Happening i am new to this, I stumbled upon this I have discovered
It positively helpful and it has aided me out loads.
I am hoping to give a contribution & help different customers like its aided me.
Great job.