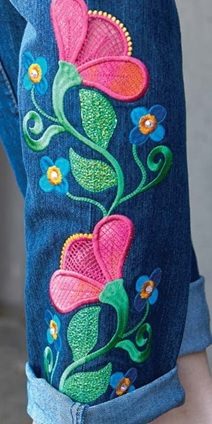
Embroidering denim is a great way to reinvent an old pair of jeans,
and hooping jeans for embellishment isn’t as tricky as it may look. The key is using the right tools and methods to open and close the seams and hems so that it looks like the jeans were never opened for hooping.
PREPARE
Pre-wash denim to remove any ex- cess fabric dye, especially if the jeans are brand new or if using dark jeans with lighter embellishment fabrics.
Most jeans have a double seam or a flat-fell seam on one side. Open the
side opposite of the embroidery to en- sure the least amount of work. When removing the hemline stitching on the side you’ve decided to open, only remove about 2” on both sides of the seam instead of the whole hemline; this step will make it much easier to get the hem back into position later.
Determine the placement for the designs to know how much of the seam needs to be ripped, and then stick a pin along the seam or mark it with a removable fabric marker. After opening the hem, position the jeans on a table and slide the seam ripper into the seam crease. Support the fab- ric on both sides, and then slide the ripper up to simply
smoothly cut the stitches. Continue sliding and rip- ping up to the marked stopping point. Since it isn’t hard to restitch the seam, don’t be afraid to rip a little extra. It’s much easier to rip the seam now than when you’re ready to hoop the jeans.
HOOP
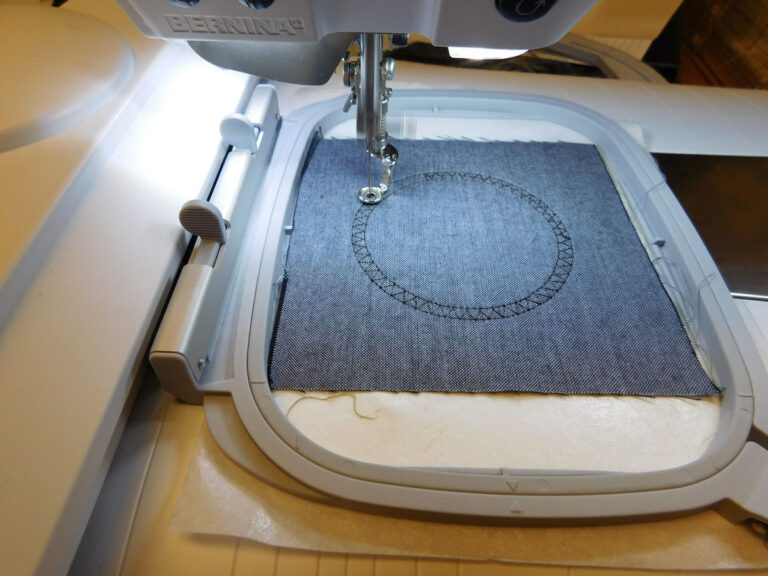
Denim is a diagonally woven fab- ric, so it stretches even without built-in spandex. Despite being a heavier fabric, denim must always be stabilized to avoid stretching.
Cut a piece of non-stretch fusible mesh stabilizer that’s larger than the embroidery and position it with the fusible side toward the garment wrong side. Using the wool setting on the iron, press the stabilizer on temporarily by holding the iron for
two to four seconds in each position.
To hoop the jeans, hoop a piece of self-adhesive stabilizer with the paper side up. Lay the hoop on a flat surface and mark a large X diagonally across the middle using a pin. Use the tip
of the pin to lift the area in the center and tear away all the paper covering.
Find the center of the hoop by drawing the vertical and horizontal diameter, and then draw a con- necting set of cross hairs on the sticky surface of the stabilizer.
Place the printed template as de- sired on the jeans. Insert one pin through the design center where the horizontal and vertical lines cross in the middle, and then one on each end of the design. The pins should go straight through the template and the denim fabric so the points are sticking out the back of the garment.
hoop. Line up the center pin first at the centerpoint of the hooped stabilizer, and then position the bottom and top pins. Finger-press the fabric onto the stabilizer. Remove the pins and use fingers to smooth the area to be sure there aren’t folds or loose areas of fabric or stabilizer.
After completing the embroidery, the seams need to be sewn back together.
factory seamlines as a guide, carefully pin the seam together along the side edge. Restitch the factory seamline using matching sewing thread, a size 80/12 or 90/14 needle and a 3mm stitch length. To reinforce the seam, sew over the first line of stitching again or use a
PREPARE
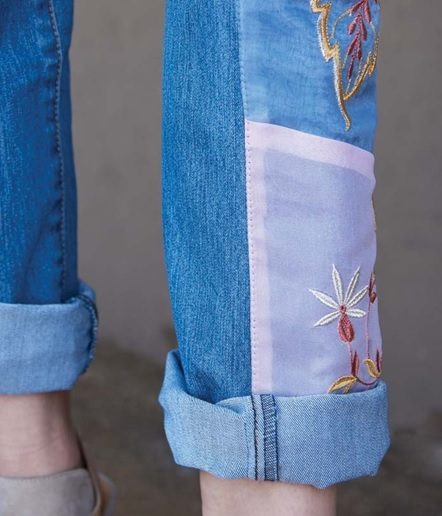
- Cut two 12” pink fabric squares and one 12” blue fabric square, making sure the panels are larger than the hoop.
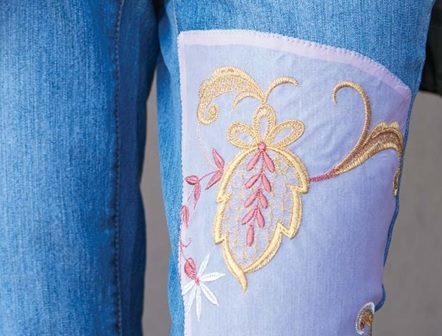
- Print the design templates and posi- tion them on each sheer fabric square, designating the two pink fabrics as the upper and lower panels and the blue fabric as the middle panel.
- Mark the placement with a removable fabric marker or take a reference photo.
- Hoop two layers of water-soluble stabilizer and lay the one pink fabric panel over the hoop. Gently hold- ing the fabric over the hoop, baste the fabric to secure it in place.
EMBROIDER
- Embroider the first
- Remove the hoop from the machine and the fabric from the hoop. Trim away the excess stabilizer. Repeat for the remaining sheer fabric squares.
- Rinse out the excess stabilizer, and then soak the fabrics for 2 to 3 hours or overnight. Rinse again, roll in a towel and let air-dry.
- Lay the fabrics right side down on an ironing board. Press with a
press cloth, using the wool setting and either steam or a fine mist.

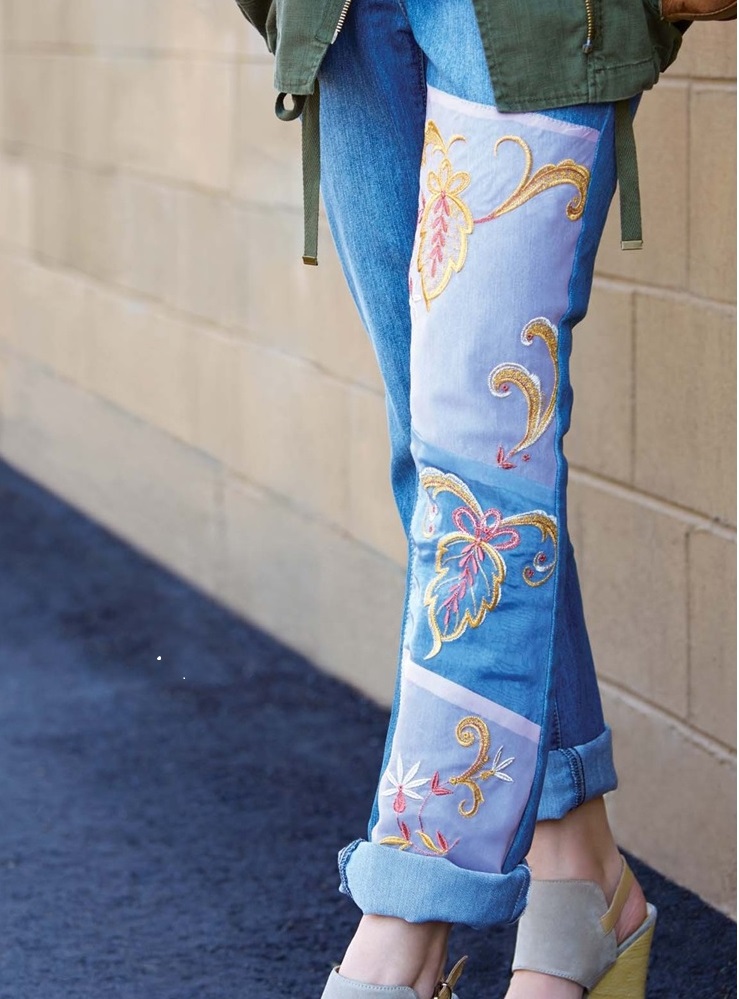
but not through, the anchor stitch- ing at the pocket. Open the leg and position the embroidered fabrics over the leg front, placing the upper, middle and lower panels, in that order. Cut the panels down to size, keeping approximately ½” excess
at each edge. This excess will be turned under at the upper and lower edge and at the inseam; the rest
will be sewn into the side seam.
- Using a removable fabric marker and a ruler, mark the fabric placement at the upper edge of the upper panel and along the seamline on both Pin around the upper panel.
- Place the middle panel over the first panel with right sides together and the raw lower edges aligned; pin
- With a ½” seam allowance, stitch the pieces together and to the jean front, stopping ½” from the inseam to allow for turning later.
- Position the lower panel in the same manner. Stitch it to the middle panel with right sides together, again stopping ½” from the in-
seam to allow for turning later.
- Turn under and press the upper edge, the long inner edge and the lower edge of the sheer embroidered panels; pin.
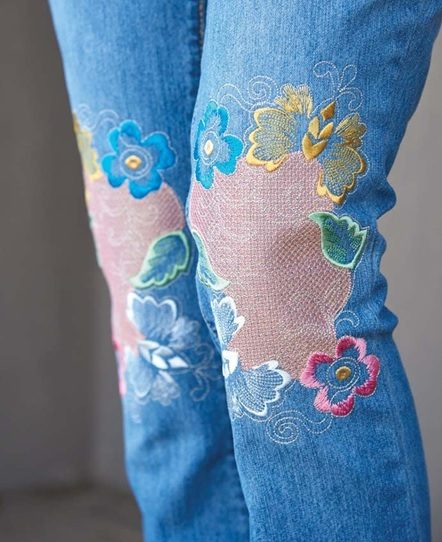
Embroidering the knees of jeans can serve
a practical purpose, covering holes or re- inforcing thin, worn fabric. Or, in this case, simply create pretty custom patches.
MATERIALS
+ One pair of ready-made jeans
+ Stabilizer: adhesive & fusible mesh (see “Source.”)
+ Thread: all-purpose, embroidery & bobbin
+ Dense floral embroidery design (approximately 5½”x9”; see “Designs.”)
PREPARE
- Load the desired embroidery design onto the machine.
- Hoop the adhesive stabilizer with the paper side facing up. Lay the hoop on a flat surface and re- move the paper covering.

Related Posts
Discover relevant articles, tutorials, and tips to improve your skills and explore new techniques.
Stay inspired and connected to our embroidery community.


Unquestionably believe that which you said. Your favorite justification seemed to be
on the web the simplest thing to be aware of.
I say to you, I certainly get irked while people think about
worries that they just don’t know about. You managed to hit the nail upon the top and also defined out the whole thing without having side effect , people can take a signal.
Will probably be back to get more. Thanks
Wow! Finally I got a website from where I can actually obtain valuable facts regarding my study and knowledge.
I appreciate, lead to I discovered just what I used to be having a look for.
You have ended my four day long hunt! God Bless you
man. Have a great day. Bye
Hello there, I discovered your website via Google at the same time as searching
for a similar subject, your web site got here up, it seems good.
I have bookmarked it in my google bookmarks.
Hi there, just become aware of your weblog through Google, and located that it’s truly informative.
I am gonna be careful for brussels. I’ll appreciate in case you continue this in future.
A lot of folks might be benefited out of your
writing. Cheers!
This blog was… how do I say it? Relevant!! Finally I have found something
which helped me. Thanks a lot!