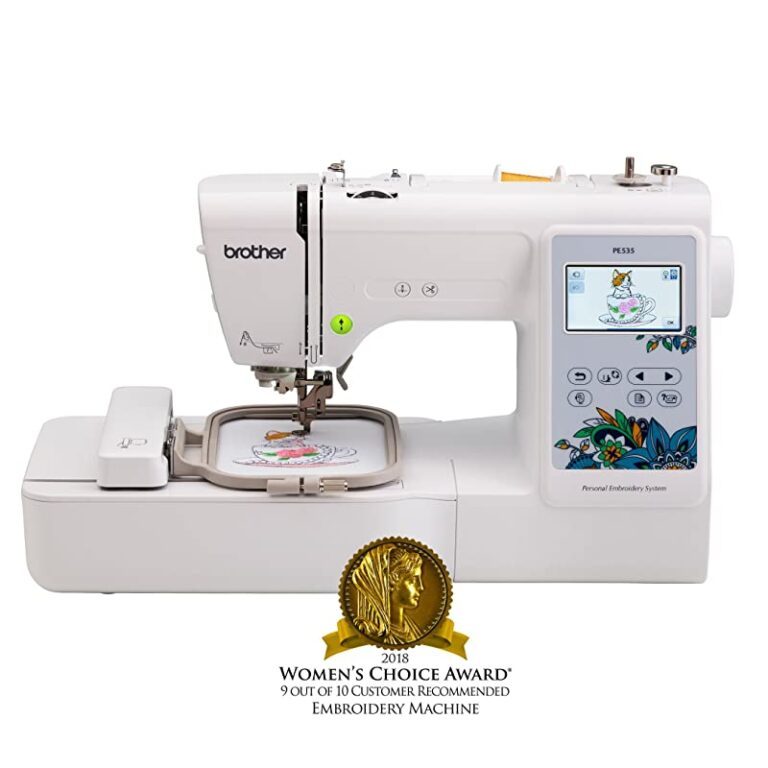
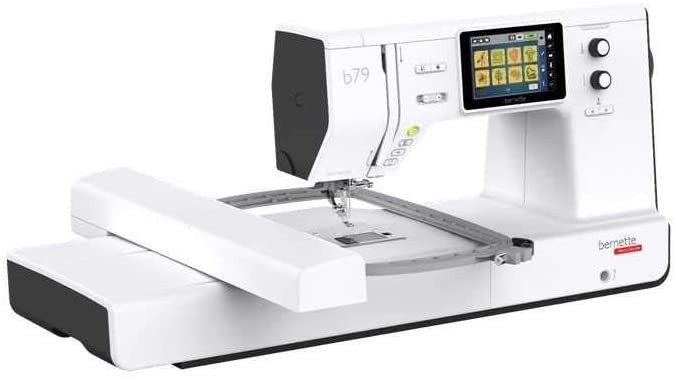
A Beginner’s Guide to Creating Digital Files for Your Machine
The whirring of the machine, the dance of the needle, the vibrant colors coming together to form a stunning design – embroidery is a captivating art form. But before your machine stitches its magic, a digital roadmap needs to be created. This digital file, often called an embroidery file or an embroidery design, tells the machine exactly where to place each stitch and in what color.
If you’re new to the world of embroidery machines and want to create your own designs, this comprehensive guide will equip you with the knowledge and steps to transform your ideas into digital instructions. Buckle up, and let’s dive into the fascinating world of embroidery digitizing!
Understanding the Digitizing Process
Embroidery digitizing is the process of converting an image or artwork into a format that an embroidery machine can understand. This format typically consists of vectors (lines and shapes) and stitch information (type, length, color). The digitizing software translates the image into these instructions, essentially creating a map for the needle to follow.
There are two main approaches to digitizing:
- Manual Digitizing: This is the traditional method where a skilled digitizer uses specialized software to meticulously create the stitch instructions point-by-point. It requires a deep understanding of embroidery techniques, stitch types, and fabric properties.
- Automatic Digitizing: With advancements in software technology, some programs offer automatic digitizing tools. These tools can simplify the process for basic designs, but often require manual adjustments to achieve optimal results.
For beginners, starting with automatic digitizing software can be a good option. However, as you progress, understanding the principles of manual digitizing will give you more control and flexibility in creating high-quality embroidery designs.
Tools of the Trade: Embroidery Digitizing Software
The heart of the digitizing process is the software. Several embroidery digitizing programs are available, catering to different skill levels and budgets. Here are some popular options to consider:
- Wilcom Embroidery Studio: A powerful and industry-standard software offering a comprehensive set of tools for manual digitizing. It comes with a steeper learning curve but is highly versatile.
- Hatch Embroidery: A user-friendly software with strong automatic digitizing features and a good balance of ease of use and functionality.
- Inkstitch (Free, Open-Source): A free and open-source software designed for vector art conversion into embroidery files. It’s a good option for beginners or those comfortable with vector editing software. However, it may require more manual adjustments compared to paid options.
When choosing software, consider factors like your budget, skill level, desired features (automatic vs. manual digitizing), and compatibility with your embroidery machine format (discussed later).
Additional Software: Depending on your workflow, you might find other software helpful:
- Vector Editing Software (e.g., Adobe Illustrator, Inkscape): For creating or editing vector artwork before importing it into the digitizing software.
- Image Editing Software (e.g., Adobe Photoshop, GIMP): For preparing images for digitizing, such as reducing colors and cleaning up details.
Preparing Your Design for Digitizing
Before diving into the software, some prep work on your design can significantly improve the digitizing process and final embroidery outcome. Here’s what to keep in mind:
- Design Choice: Embroidery machines excel at creating bold outlines and filled areas. Opt for designs with clear, well-defined shapes for optimal results. Avoid intricate details and small text, as they might not translate well into stitches.
- Image Format: Embroidery software typically works with vector formats like DST, EXP, PES, etc. If you’re working with an image (e.g., JPG, PNG), you might need to convert it to a vector format using image editing or vector editing software. There are also online tools that offer basic image-to-vector conversion, but the results may require further refinement.
- Color Reduction: Embroidery machines typically have a limited number of threads (usually up to 15-20). If your design has many colors, you might need to reduce the color palette to match your machine’s capabilities. Software tools can help with color reduction, but it’s also a good idea to experiment and choose colors that complement each other well.
Step-by-Step Guide to Digitizing with Embroidery Software
1. Import Your Design: Open your chosen embroidery digitizing software and import your prepared design (vector or converted image). The software might offer different import options depending on the file format.
2. Define the Embroidery Area (Hoop Size): Embroidery hoops come in various sizes, limiting the size of your design. Specify the hoop size you plan to use for embroidery to ensure your design fits within the designated area.
3. Underlay : An underlay is a layer of stitches placed beneath the main design elements. It helps stabilize the fabric and prevent puckering, especially for delicate fabrics or designs with dense stitch fills. Some software offers automatic underlay generation, while others allow for manual customization of underlay stitch type, density, and placement.
4. Digitizing Objects:
This is where the magic happens! Here’s a breakdown of the digitizing process for different design elements:
- Outlines ( (satin stitch) or (back stitch)): For outlines, you’ll define the path the needle will follow using satin stitch (for a smooth, filled look) or back stitch (for a more defined edge).
- Fill Areas ( (satin stitch) or ((tatami stitch)): For areas of solid color, you’ll choose a fill stitch type like satin stitch (for a smooth, dense fill) or tatami stitch (for a textured fill). The software will automatically generate fill patterns based on your chosen stitch type and density settings.
- Text: Digitizing text requires careful attention to detail. Some software offers automatic text conversion tools, but you might need to adjust stitch types, sizes, and spacing for optimal results.
5. Defining Stitch Parameters:
Once you’ve outlined and filled your design elements, you can refine the stitch properties for each area. Here are some key parameters to adjust:
- Stitch Type: Choose the most appropriate stitch type for each element based on desired texture and effect (e.g., satin stitch for smooth fills, bean stitch for textured fills).
- Stitch Density: This determines how close the stitches are placed. Denser stitches create a more solid look but take longer to embroider. Experiment to find a balance between coverage and stitch count.
- Stitch Length: This controls the individual stitch size. Shorter stitches provide more detail but increase stitch count. Longer stitches can save time but might not capture intricate details as well.
- Thread Color: Assign thread colors to each digitized element based on your chosen color palette.
6. Editing and Cleanup:
After defining the stitch parameters, it’s crucial to review your work and make any necessary adjustments. Here are some things to look for:
- Jump Stitches: These are non-essential stitches used to move the needle between disconnected areas. Minimize jump stitches to prevent thread breaks and improve embroidery quality.
- Overlapping Stitches: Ensure stitches don’t overlap unintentionally, as this can create unwanted bulk in the finished embroidery.
- Smoothness of Curves: Review how well the digitized outlines follow the curves of your design. Refine anchor points or adjust stitch density if needed to achieve smooth curves.
7. Test & Save:
Once you’re satisfied with your digitized design, it’s wise to create a test stitch-out on a scrap piece of fabric similar to your final project fabric. This allows you to verify the stitch quality, identify any errors, and make adjustments before embroidering on your final project.
Finally, save your embroidery file in a format compatible with your embroidery machine. Most software allows exporting to various file formats like DST, EXP, PES, etc. Consult your machine’s manual for the specific format it requires.
Additional Tips for Beginners
- Start Simple: Begin with basic designs that don’t have excessive details or complex color variations. As you gain experience, you can tackle more intricate designs.
- Practice Makes Perfect: The more you digitize, the better you’ll understand the software and the nuances of embroidery techniques. Experiment with different stitch types and settings to see how they affect the final outcome.
- Online Resources: There are many online tutorials, forums, and communities dedicated to embroidery digitizing. Utilize these resources for additional learning and troubleshooting.
- Consider Digitizing Services: If you find the digitizing process overwhelming, there are professional digitizing services available. They can create embroidery files based on your artwork for a fee.
With dedication and practice, you’ll be well on your way to creating stunning embroidery designs from your own digital artwork. Remember, the journey of digitizing is as rewarding as the finished embroidered product. So, unleash your creativity, explore the possibilities, and happy stitching!
Related Posts
Discover relevant articles, tutorials, and tips to improve your skills and explore new techniques.
Stay inspired and connected to our embroidery community.


