DIY Tips for Creating Your Own Embroidery Machine Designs
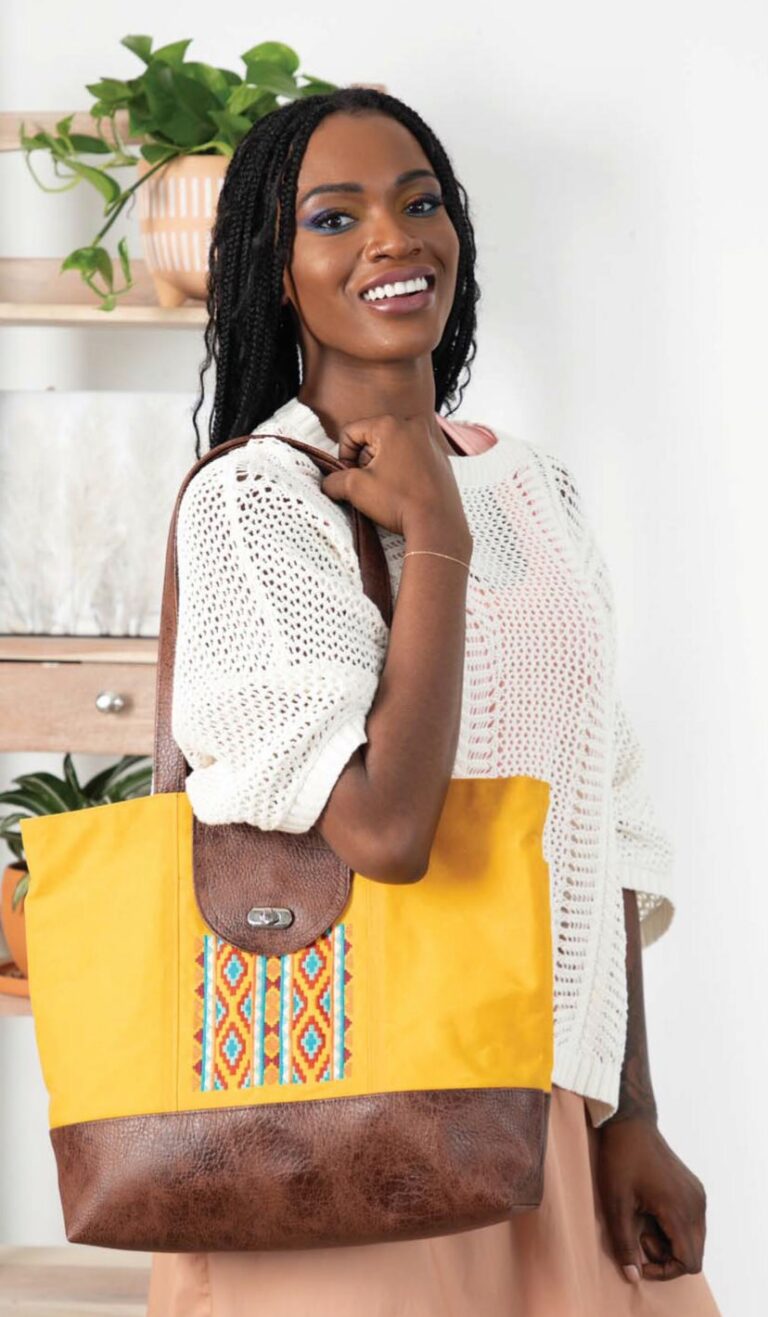
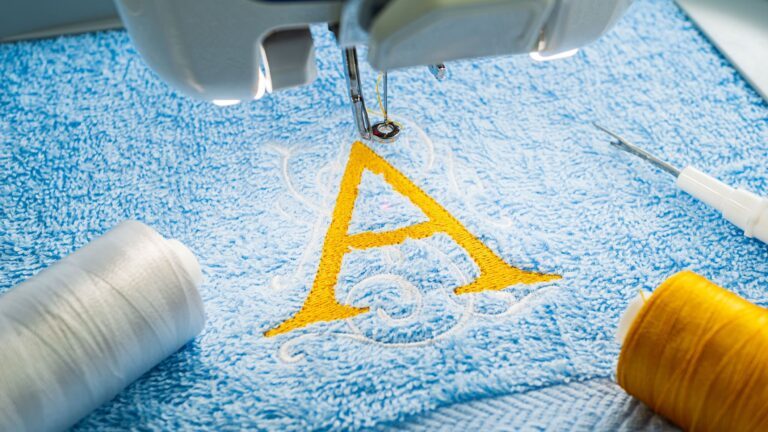
Embroidery, the art of embellishing fabric with needle and thread, has captivated individuals for centuries. With the advent of embroidery machines, this time-honored craft has become more accessible and versatile than ever before. Embroidery machines allow you to create intricate designs with ease, from simple monograms to complex patterns, transforming ordinary items into personalized masterpieces.
If you’re a creative soul with a passion for embroidery, you might be interested in taking your skills to the next level by creating your own custom embroidery designs. This can be a rewarding and gratifying experience, allowing you to express your unique style and personalize your creations.
Essential Tools and Supplies for DIY Embroidery Design
Before embarking on your DIY embroidery design journey, it’s essential to gather the necessary tools and supplies:
-
Graphics software: A powerful graphics software program is essential for creating and editing embroidery designs. Popular options include Adobe Illustrator, Inkscape, and CorelDRAW.
-
Digitizing software: Digitizing software converts your graphic designs into embroidery machine formats, ensuring they can be read and stitched by your machine. Popular options include Hatch Embroidery, Wilcom EmbroideryStudio, and Embrilliance Essentials.
-
Tracing paper or lightbox: A tracing paper or lightbox allows you to trace existing images onto your embroidery design.
-
Pencils, erasers, and rulers: These basic drawing tools are essential for sketching and refining your designs.
-
Color swatches or embroidery thread samples: Choose embroidery threads that match your design’s color scheme.
Converting Your Designs into Embroidery Format
Once you’ve created your graphic design, it’s time to convert it into embroidery format using a digitizing software program. This process involves breaking down the design into individual stitches, specifying their color, placement, and stitch types.
Here’s a general overview of the digitizing process:
-
Color separation: Separate the design into its constituent colors.
-
Stitch selection: Choose the appropriate stitch types for different elements of the design.
-
Stitch placement: Determine the placement of each stitch, ensuring it aligns with the original design.
-
Stitch editing: Fine-tune the stitch parameters, such as stitch length and density, to achieve the desired effect.
-
File export: Export the completed embroidery design file in a format compatible with your embroidery machine.
Tips for Creating Effective Embroidery Designs
Here are some tips for creating effective embroidery designs:
-
Simplicity is key: Strive for simple, clean lines and avoid excessive detail that may be difficult to stitch accurately.
-
Consider stitch types: Choose stitch types that complement the style and texture of your design. Satin stitch is ideal for filling in areas, while outline stitches add definition.
-
Optimize placement: Position your design elements strategically to avoid overlapping or distortion when stitched on fabric.
-
Use negative space: Don’t underestimate the power of negative space. Strategic use of negative space can enhance the overall balance and appeal of your design.
-
Test and refine: Test your design on a scrap piece of fabric to ensure it looks as expected and make adjustments as needed.
Additional Resources for DIY Embroidery Design
Numerous resources are available to help you learn and improve your embroidery design skills:
-
Online tutorials and courses: Numerous websites and online communities offer embroidery design tutorials and courses, ranging from beginner to advanced levels.
-
Embroidery design forums: Engage with fellow embroidery enthusiasts on online forums to share ideas, ask questions, and seek feedback on your designs.
-
Embroidery design books and magazines: Numerous books and magazines dedicated to embroidery design provide valuable insights and techniques for creating stunning artwork.
-
Embroidery design workshops and classes: Consider attending embroidery design workshops or classes to receive personalized instruction and guidance from experienced professionals.
Embrace Your Creativity and Have Fun
Creating your own embroidery machine designs is a journey of creativity and experimentation. Embrace your unique style and don’t be afraid to experiment with different techniques and designs. With practice and dedication, you’ll develop your skills and unleash the power of your imagination to create personalized masterpieces that reflect your artistry.
