Unleashing Your Inner Artist: A Comprehensive Guide to Creating Your Own Embroidery Designs
Embroidery, an ancient art form that involves embellishing fabric with intricate stitches, has captivated generations with its ability to transform plain fabrics into works of art. From personalizing apparel to adorning home décor, embroidery offers a boundless canvas for creativity, allowing you to express your unique style and passions.
If you’re ready to embark on the exciting journey of creating your own embroidery designs, this comprehensive guide will equip you with the knowledge and techniques to turn your imagination into reality. We’ll explore the essential tools, explore the various methods of creating designs, and delve into the intricacies of design elements and stitch types.
Gathering Your Arsenal: Essential Tools for Embroidery Design Creation
Before embarking on your design creation journey, it’s crucial to gather the essential tools that will transform your ideas into embroidery masterpieces. These essential tools include:
-
- Computer: A computer serves as the foundation for your design creation, providing a digital canvas for crafting and editing your embroidery designs.
-
- Embroidery software: Embroidery software, specifically designed for the craft, allows you to create, edit, and manipulate embroidery designs with precision and ease.
-
- Drawing tablet: A drawing tablet, connected to your computer, provides a more natural and intuitive way to draw your designs directly onto the computer screen.
-
- Embroidery digitizing software: If you plan to create complex and detailed designs, embroidery digitizing software is essential for converting your designs into machine-readable embroidery files.
-
- Sketchpad and pencils: While computer software is essential, having a sketchpad and pencils handy can be useful for sketching out your initial design ideas.
Exploring Methods: From Traditional to Digital
There are two primary methods for creating embroidery designs: traditional and digital.
-
Traditional methods: Traditional methods involve hand-drawing your designs using pencils, pens, or markers. These designs can then be digitized using embroidery digitizing software.
-
Digital methods: Digital methods involve creating your designs directly on a computer using embroidery software or drawing tablet.
Crafting Your Design: A Step-by-Step Guide
Whether you’re using traditional or digital methods, the process of creating your embroidery design generally follows these steps:
-
Brainstorming: Begin by brainstorming ideas and themes for your embroidery design. Consider the purpose of your design, the fabric you’ll be using, and your personal style.
-
Sketching: Once you have a general idea, sketch out your design on paper. This allows you to visualize your design and make adjustments before committing to a digital format.
-
Digitizing (if using traditional methods): If you’ve created your design traditionally, use embroidery digitizing software to convert it into a machine-readable embroidery file. This process involves tracing your design, assigning stitch types, and adjusting stitch parameters.
-
Editing and refining: Once your design is digitized, use embroidery software to edit and refine it. This may involve adjusting stitch angles, spacing, and sizes to achieve the desired look and feel.
-
Testing and refining: It’s always a good practice to test your design on a small piece of fabric before committing to a larger project. This allows you to identify any issues or areas that need improvement.
-
Transferring the design: Once your design is finalized, transfer it to the fabric using a stabilizer, a mesh-like material that provides support and prevents the fabric from puckering during embroidery.
-
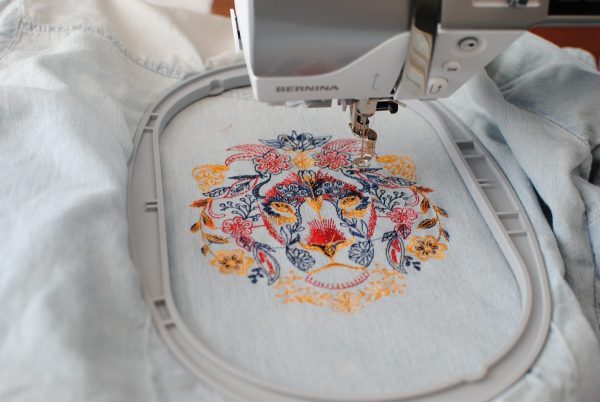
Embroidering: Set up your embroidery machine and carefully follow the stitch instructions provided in your embroidery file. The machine will automatically sew your design onto the fabric, following the specified stitch types and parameters.
-
Finishing touches: Once the embroidery is complete, remove the stabilizer and any loose threads. You may also want to add a backing or frame to your creation.
-
Enjoy your masterpiece! Admire your handiwork and the beautiful embroidery design you’ve brought to life.
Related Posts
Discover relevant articles, tutorials, and tips to improve your skills and explore new techniques.
Stay inspired and connected to our embroidery community.
