Learn to Digitize Designs for Embroidery Machines – A Comprehensive Guide
Are you an embroidery enthusiast looking to take your skills to the next level? Perhaps you’ve been admiring intricate embroidered designs and wondering how to create your own custom patterns. Look no further! This comprehensive guide will walk you through the process of digitizing designs for embroidery machines, allowing you to unleash your creativity and bring your artistic visions to life.
In this era of digital crafting, the art of embroidery has evolved beyond traditional hand-stitching. With the help of specialized software and embroidery machines, you can transform your digital artwork into stunning, stitched masterpieces. The key to unlocking this world of possibilities lies in the process of digitizing designs, which involves converting your artwork into machine-readable instructions.
To help you navigate this exciting journey, we’ll be following the expert guidance of Nate Matthews, a self-taught graphic designer and digitizing pro. Through his step-by-step tutorial, we’ll uncover the secrets of digitizing designs for embroidery machines, empowering you to create unique and personalized embroidered works of art.
Step 1: Import Reference Artwork and Resize It to Fit the Embroidery Hoop Area The first step in the digitizing process is to import your reference artwork into the software. This could be a sketch, a photograph, or any digital image that you wish to transform into an embroidered design. Nate recommends using the Wilcom Hatch software, a powerful tool specifically designed for embroidery digitizing.
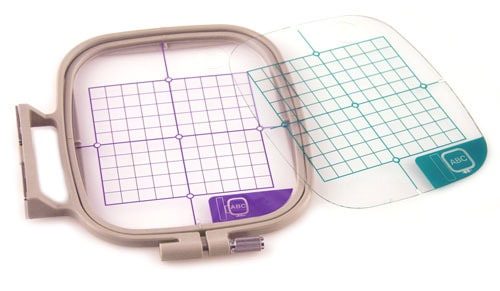
Once your artwork is imported, it’s crucial to resize it to fit within the embroidery hoop area. Most standard home embroidery machines have a maximum hoop size of 4×4 inches (100×100 millimeters). By adjusting the size of your artwork to these dimensions, you ensure that your final design will stitch out properly without exceeding the hoop boundaries.
Step 2: Use the “Digitize Open Shape” Tool to Trace Outlines with Left/Right Clicks for Straight Lines and Curves With your reference artwork resized and ready, it’s time to start digitizing the outlines. Nate introduces us to the “Digitize Open Shape” tool, which allows you to trace the outlines of your design using a series of left and right clicks.
Left clicks create straight lines, while right clicks introduce curves. As you trace the outlines, the software registers each click, creating a continuous line that follows the contours of your design. This step requires patience and precision, as you’ll need to meticulously follow the lines of your artwork, zooming in when necessary to capture intricate details.
Step 3: Use the “Digitize Closed Shape” Tool to Create Filled Areas by Tracing Enclosed Shapes Once you’ve digitized the outlines, it’s time to add depth and dimension to your design by creating filled areas. This is where the “Digitize Closed Shape” tool comes into play. Similar to tracing outlines, you’ll use a combination of left and right clicks to trace enclosed shapes within your design.
As you complete the tracing of a closed shape, the software automatically fills the area with a stitch pattern. This step is particularly useful for creating shaded or textured areas, adding depth and visual interest to your embroidered piece.
Step 4: Adjust Stitch Angles, Colors, and Stitch Order Before Exporting the Design File for the Embroidery Machine With the outlines and filled areas digitized, it’s time to fine-tune your design before exporting it for the embroidery machine. Nate demonstrates how to adjust the stitch angles, which can create unique textures and patterns within the filled areas.
Next, he tackles color selection, allowing you to choose the perfect thread hues to bring your design to life. Finally, Nate explains the importance of
stitch order, ensuring that the different elements of your design stitch out in the correct sequence for optimal results.
Once you’ve made all the necessary adjustments, it’s time to export your design as a machine-readable file format, such as .PES or .DST. This file can then be loaded onto your embroidery machine, and you’re ready to stitch out your masterpiece!
Throughout the tutorial, Nate shares valuable tips and insights gained from his experience as a self-taught graphic designer and digitizer. He emphasizes the importance of saving your work frequently, as digitizing can be a time-consuming process, and you wouldn’t want to lose your progress.
Additionally, I encourages viewers to explore more complex designs and techniques by checking out resources on his website, neverdenim.com. For those who prefer to skip the digitizing process, he offers the option to purchase pre-digitized designs, allowing embroidery enthusiasts of all skill levels to enjoy the art of machine embroidery.
The world of embroidery digitizing opens up a realm of endless possibilities. With the right tools and techniques, you can transform any artwork, logo, or design concept into a stitched masterpiece. Imagine creating personalized embroidered gifts, customizing clothing and accessories, or even turning your artistic visions into wall hangings or home decor pieces.
As you embark on this journey, remember to embrace the learning process and don’t be afraid to experiment. Digitizing designs for embroidery machines is an art form that requires practice and patience, but the rewards are truly gratifying. Each stitched design is a unique expression of your creativity and a testament to the marriage of technology and traditional craftsmanship.
So, what are you waiting for? Gather your inspiration, fire up your embroidery software, and let your creativity soar. With Nate Matthews’ guidance and the power of digitizing at your fingertips, you’re well on your way to becoming a master of embroidered art. Happy stitching!
Q&A related to digitizing designs for embroidery machines:
Q: What software does recommend for digitizing embroidery designs?
A: I recommends using the Wilcom Hatch software, which is a powerful tool specifically designed for embroidery digitizing.
Q: How do you ensure that your design fits within the embroidery hoop area?
A: You need to resize your reference artwork to fit within the maximum hoop size of your embroidery machine, which is typically 4×4 inches (100×100 millimeters) for standard home machines.
Q: What is the difference between the “Digitize Open Shape” and “Digitize Closed Shape” tools?
A: The “Digitize Open Shape” tool is used to trace outlines, while the “Digitize Closed Shape” tool is used to create filled areas by tracing enclosed shapes within the design.
Q: How do you create curves and straight lines when digitizing outlines?
A: Left clicks create straight lines, while right clicks introduce curves when using the “Digitize Open Shape” tool.
Q: Can you adjust the stitch angles and colors of your digitized design?
A: Yes, before exporting your design, you can adjust the stitch angles to create unique textures and patterns, as well as choose the desired thread colors for your embroidery.
Q: What file formats are commonly used for exporting embroidery designs?
A: Common file formats for exporting embroidery designs include .PES and .DST, which can be loaded onto embroidery machines for stitching.
Q: Why is it important to save your work frequently during the digitizing process?
A: Digitizing can be time-consuming, and saving your work frequently ensures that you don’t lose progress if you encounter any issues or interruptions.
Q: Can you use digitized designs without going through the digitizing process yourself?
A: Yes, we offers pre-digitized designs for purchase on his website, for those who prefer not to digitize designs themselves.
Q: What tips does offer for those interested in creating more complex embroidery designs?
A: I encourages exploring more complex designs and techniques by checking out resources
Q: What are some potential applications for digitized embroidery designs?
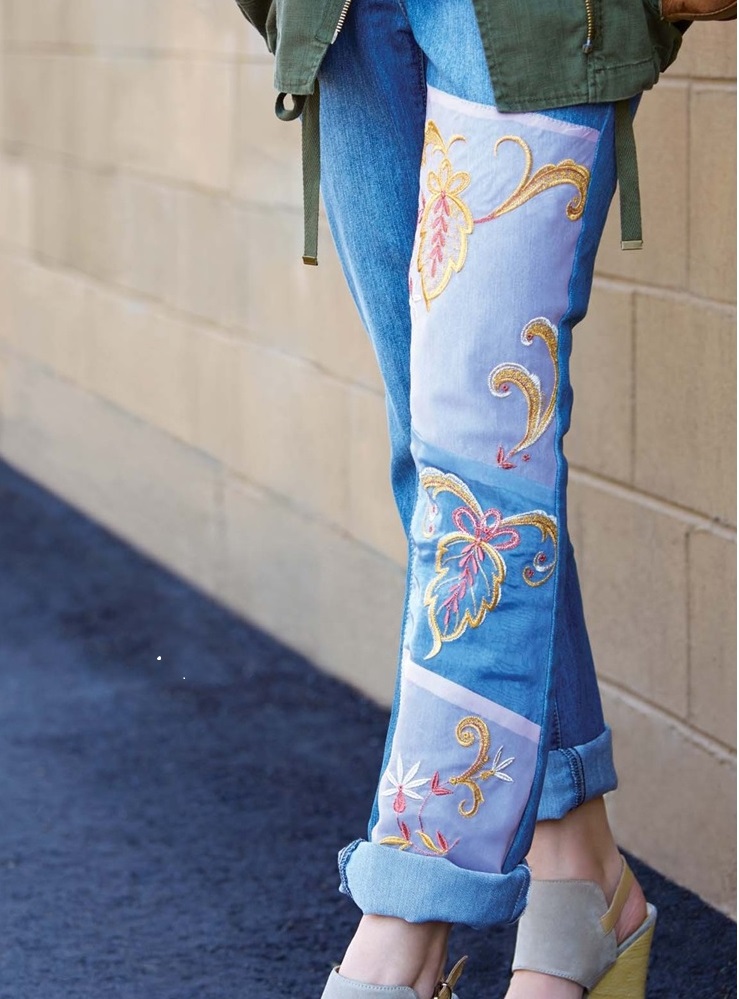
A: Digitized embroidery designs can be used for personalized gifts, customizing clothing and accessories, creating wall hangings or home decor pieces, and bringing artistic visions to life through stitched masterpieces.
Related Posts
Discover relevant articles, tutorials, and tips to improve your skills and explore new techniques.
Stay inspired and connected to our embroidery community.


trying to take a Embroidery class