How to embroider on paper cards
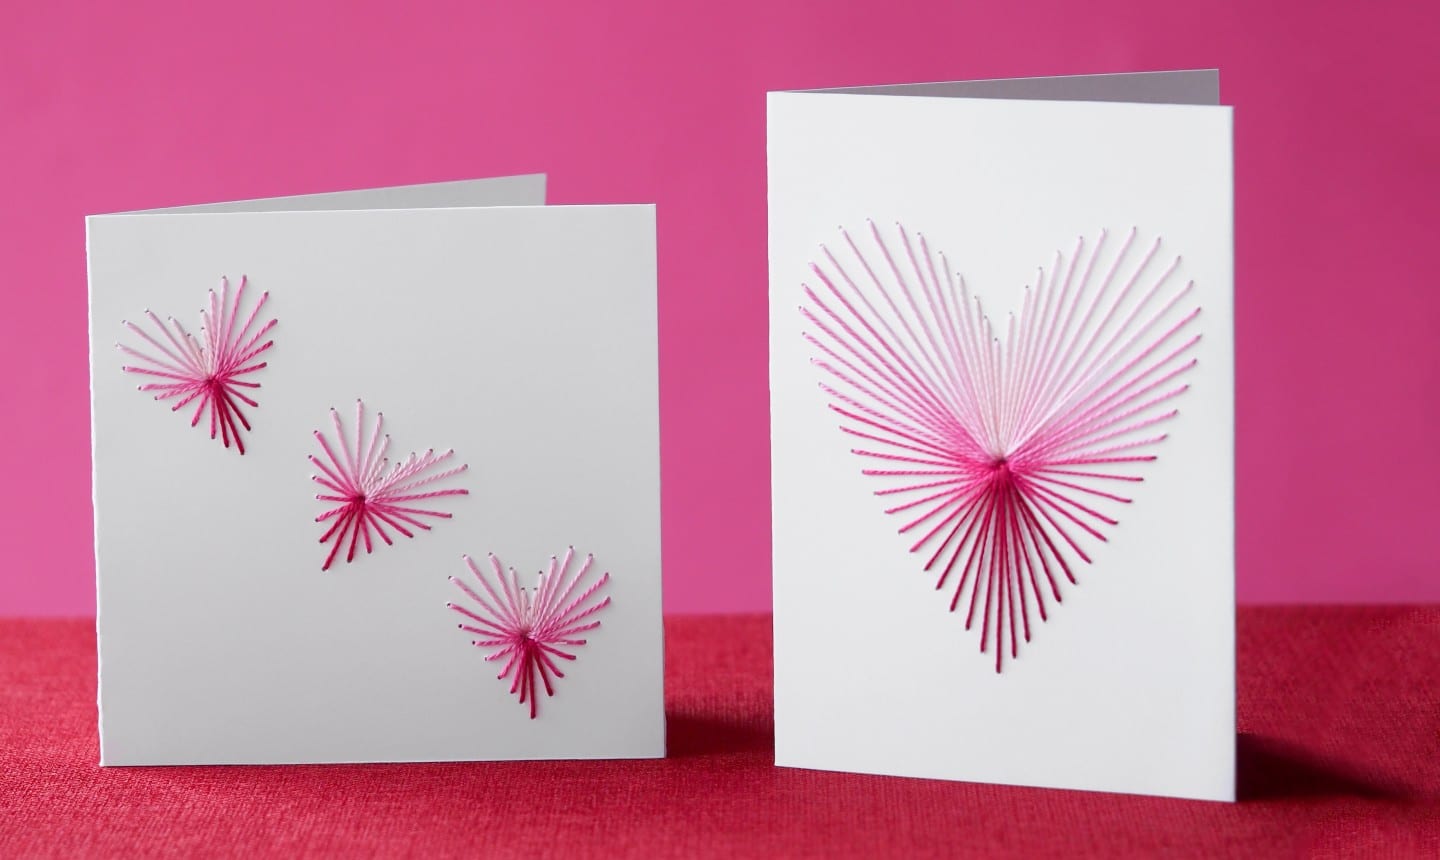
Embroidering on paper cards is a creative and unique way to personalize your greeting cards, invitations, or any other paper craft projects. With a few basic supplies and techniques, you can create stunning designs that will impress your recipients. In this article, we will discuss how to embroider on paper cards.
Supplies You Will Need
- Paper cardstock
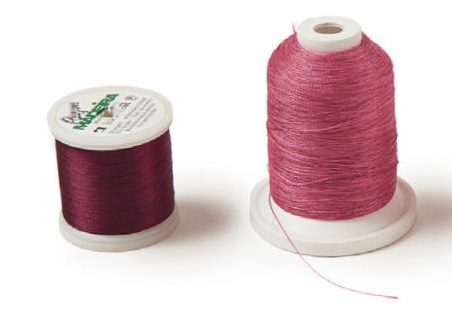
- Embroidery thread in your desired colors
- Embroidery needle
- Pencil
- Scissors
- Ruler
- Hole puncher
- Glue
- Optional: embroidery hoop
Steps to Embroider on Paper Cards
Step 1: Prepare Your Design
Before you start embroidering, you need to prepare your design. You can create your design using a computer program or draw it by hand. Once you have your design ready, use a pencil to lightly trace it onto the paper cardstock.
Step 2: Punch Holes
Using a ruler, mark the spots where you want to punch holes for the embroidery. You can create a simple design with just a few holes or a more intricate design with many holes. Once you have marked the spots, use a hole puncher to punch the holes.
Step 3: Embroider the Design
Thread your embroidery needle with your desired color of embroidery thread. Start from the back of the paper card and bring the needle up through one of the punched holes. You can use a knot to secure the thread at the back of the card.
Once the thread is in place, start embroidering your design. You can use any embroidery stitch that you like, such as backstitch, running stitch, or French knot. Use a gentle touch when embroidering on paper to avoid tearing the card.
Continue embroidering until your design is complete. When you finish, tie a knot at the back of the card to secure the thread.
Step 4: Add Finishing Touches
Once your embroidery is complete, you can add finishing touches to your paper card. You can glue a piece of colored paper to the back of the card to cover up the thread ends and give a neater appearance. You can also add embellishments such as stickers or ribbons to enhance the design.
Tips for Embroidering on Paper Cards
-
Choose a sturdy cardstock for your paper card to avoid tearing while embroidering.
-
Avoid using too many holes too close together, as this can weaken the paper and cause tearing.
-
Use a light touch when embroidering on paper to avoid creating holes or tearing the card.
-
Practice your embroidery stitches on a scrap piece of paper before embroidering on your card.
-
Use contrasting colors of embroidery thread to make your design stand out.
-
If you’re having trouble threading the needle, try using a needle threader.
Conclusion
Embroidering on paper cards is a fun and creative way to add a personal touch to your paper craft projects. With a few basic supplies and techniques, you can create stunning designs that will impress your recipients. Just remember to choose a sturdy cardstock, use a light touch when embroidering, and practice your stitches on a scrap piece of paper before embroidering on your card. With a little patience and creativity, you’ll be able to create beautiful embroidered paper cards that are sure to be cherished by your loved ones.
Related Posts
Discover relevant articles, tutorials, and tips to improve your skills and explore new techniques.
Stay inspired and connected to our embroidery community.
