Best Techniques for Perfect Applique Alphabets
Applique alphabets can be a beautiful addition to any quilt or fabric project, but creating them can be tricky. In this blog post, we’ll discuss three of the best techniques for perfecting your applique alphabets.
-
Trace and Cut Method
The trace and cut method is one of the simplest and most popular techniques for creating applique alphabets. To start, you’ll need to find or create a template of the alphabet you want to use. This can be done by hand drawing the letters, finding a digital font to print out, or using a stencil. Once you have your template, trace the letters onto the wrong side of the fabric you want to use for the applique. Use a sharp pair of scissors to carefully cut out the traced letters. Then, use a fabric glue or fusible web to attach the cut out letters to the background fabric, being careful to position them correctly.
-
Freezer Paper Method
Another popular technique for creating applique alphabets is the freezer paper method. This technique involves using freezer paper, which is a type of paper with a waxy coating on one side, to create a stencil for your letters. Start by printing out or drawing the letters of the alphabet onto the dull side of the freezer paper. Cut out the letters using scissors, leaving a small border around each letter. Next, iron the shiny side of the freezer paper onto the wrong side of the fabric you want to use for the applique. The wax will stick to the fabric and create a temporary stencil. Use a fabric pencil or marker to trace the letters onto the fabric, then carefully cut out the letters with scissors. Remove the freezer paper stencil and use fabric glue or fusible web to attach the cut out letters to the background fabric.
-
Reverse Applique Method
The reverse applique method is a more advanced technique that involves layering two pieces of fabric and cutting away the top layer to reveal the layer beneath. To begin, create or find a template of the letters you want to use. Place the template on the right side of the background fabric and pin it in place. Next, place the top fabric layer on top of the template and background fabric, aligning the edges. Use a fabric pencil or marker to trace the letters onto the top fabric layer. Carefully cut out the traced letters with scissors, being sure to cut only through the top layer of fabric and not the background fabric. Once the letters are cut out, pull away the top layer of fabric to reveal the background fabric underneath, creating a raised applique effect. Use fabric glue or fusible web to secure the edges of the cut out letters to the background fabric.
These are three of the best techniques for creating perfect applique alphabets. Depending on the project and your skill level, any one of them can be a good choice. Practice and patience are key to perfecting your applique alphabets, so don’t be afraid to experiment and try different methods until you find the one that works best for you.
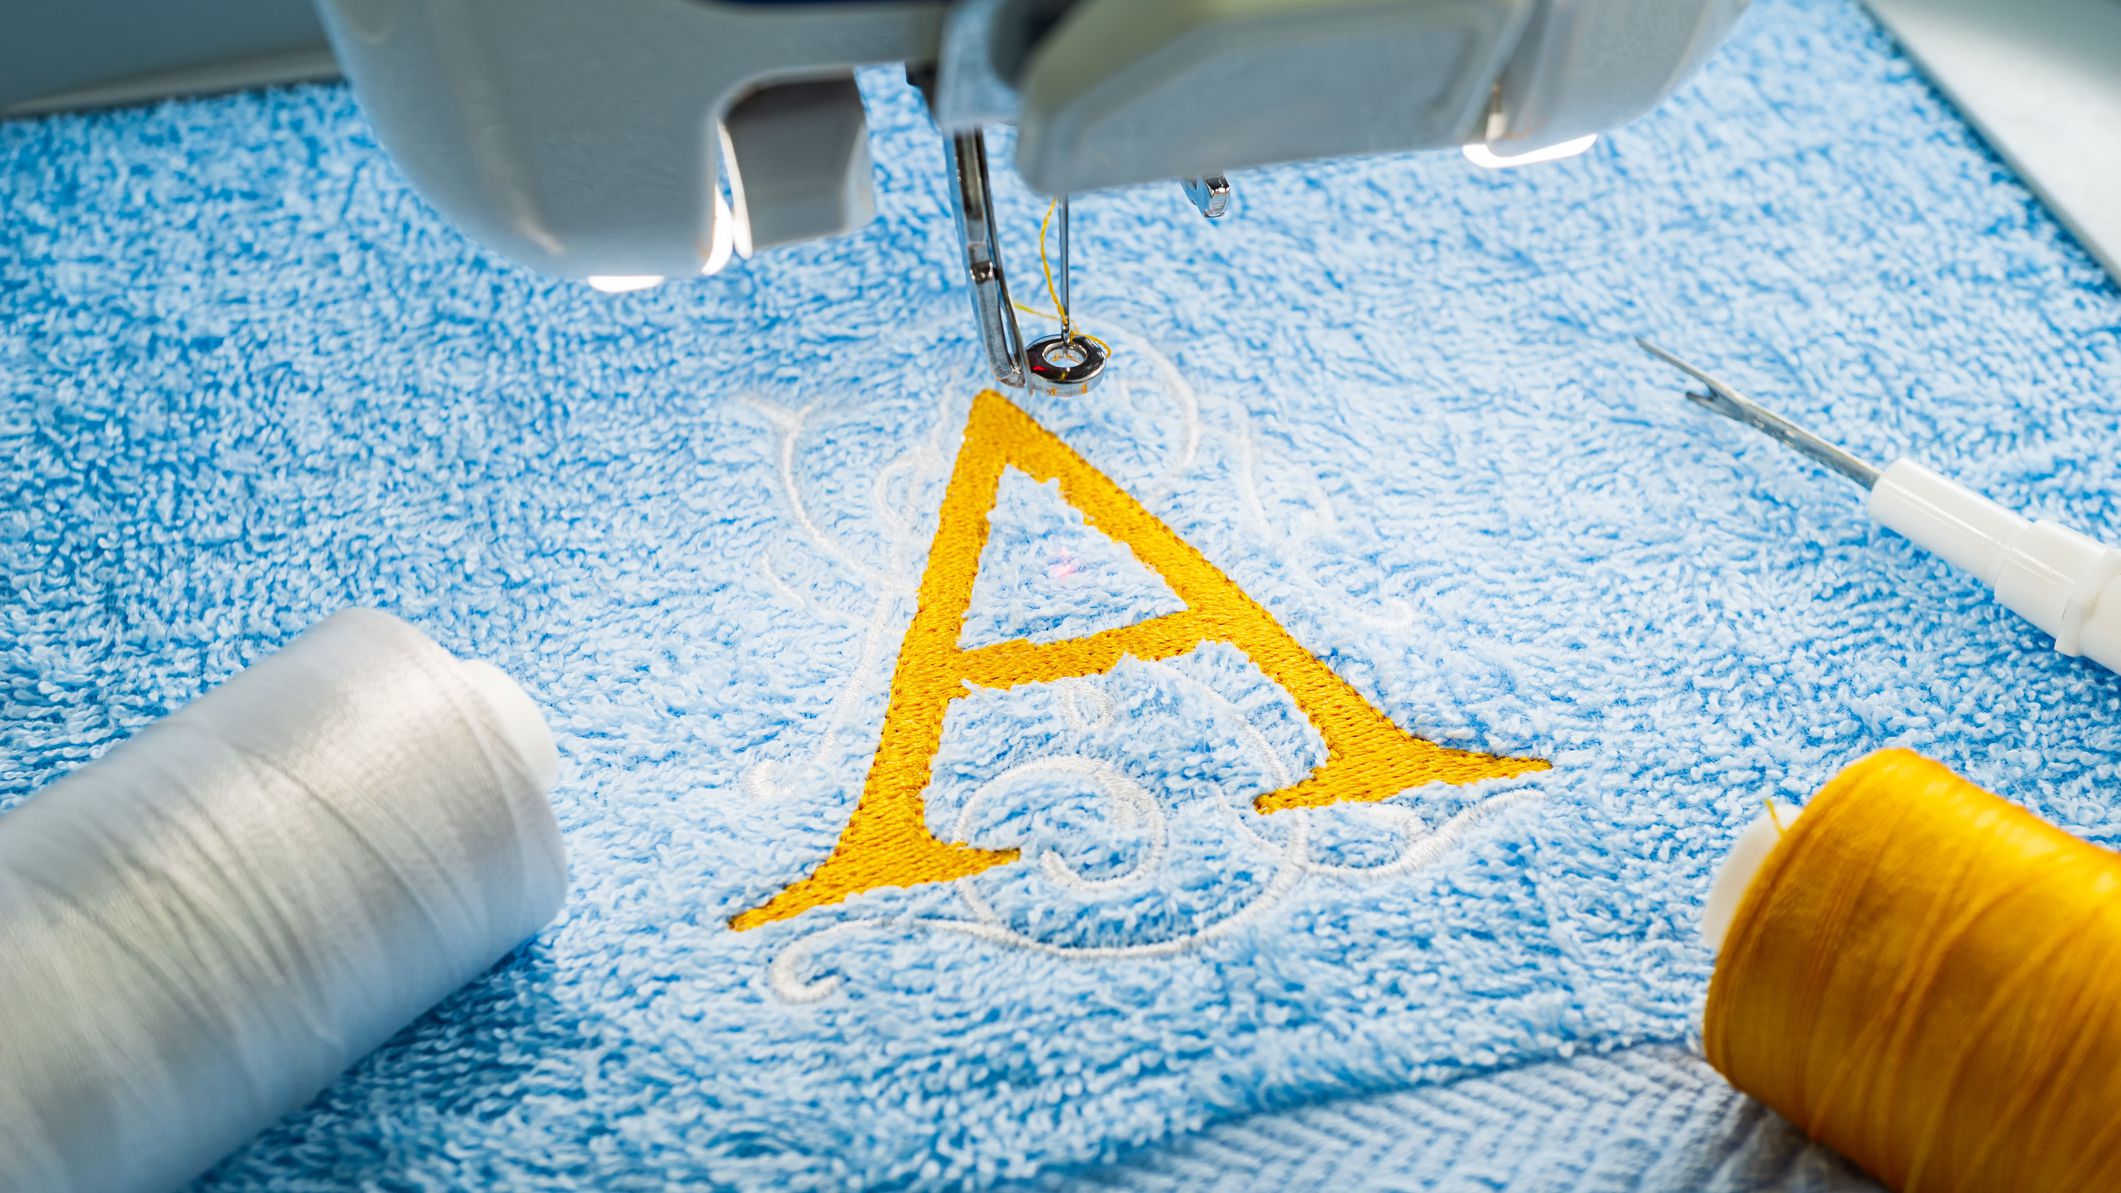
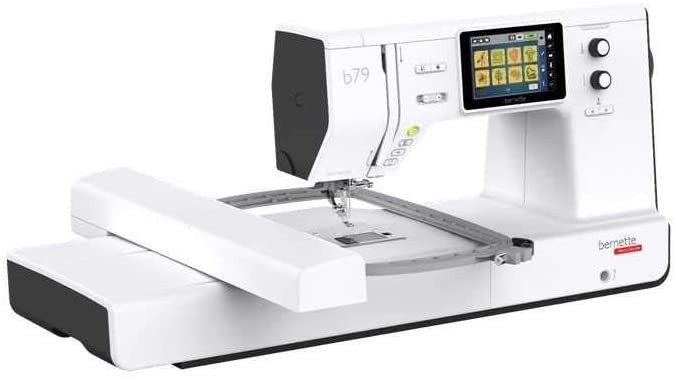
Master Applique Alphabets with Your Embroidery Machine
Appliqué embroidery is a versatile technique that allows you to add personalized touches to your projects. One of its most popular applications is creating applique alphabets, which are perfect for monograms, greetings, and other text-based designs.
To achieve flawless applique alphabets with your embroidery machine, follow these effective techniques:
1. Choose the Right Fabric and Stabilizer
The foundation of beautiful applique lies in selecting compatible fabric and stabilizer materials.
Fabric: Opt for stable, non-stretchy fabrics like cotton or felt. These materials hold their shape well and prevent the applique from puckering or warping during the embroidery process.
Stabilizer: Use a water-soluble stabilizer that is compatible with the fabric and embroidery thread. The stabilizer provides support to the fabric, preventing it from distorting or stretching as the embroidery needle penetrates the fabric.
2. Cut Precisely and Accurately
Precision cutting is crucial for creating clean and professional-looking applique letters. Use sharp scissors or a rotary cutter to ensure precise edges.
-
Outline Cut: Make an outline cut around the applique letters, leaving a small seam allowance.
-
Appliqué Cut: Cut out the applique letters from the chosen fabric, leaving a small seam allowance around each letter.
3. Secure the Fabric and Applique
Securely attach the fabric and applique to the embroidery hoop to prevent movement during the embroidery process.
-
Fabric Hoop: Use the embroidery hoop included with your machine to hold the fabric taut and prevent it from shifting as the embroidery needle moves.
-
Appliqué Placement: Position the applique letters precisely where you want them to appear on the fabric. Use pins or basting stitches to secure the applique to the fabric.
4. Choose and Adjust Embroidery Settings
Select the appropriate embroidery settings to achieve the desired look and quality for your applique alphabets.
-
Thread Tension: Adjust the thread tension to ensure consistent and even stitching. The ideal tension will depend on the fabric, stabilizer, and embroidery thread.
-
Stitch Type: Choose stitch types that complement the applique style. For delicate appliques, consider satin stitches or chain stitches. For bolder effects, try fill stitches or decorative stitches.
-
Embroidery Speed: Adjust the embroidery speed to match the complexity of the design and the desired stitch quality. Slower speeds ensure precision, while faster speeds can be used for simple designs.
5. Practice and Experiment
Perfection comes with practice. Start with simple designs and gradually work your way to more intricate patterns. Experiment with different stitch types, thread colors, and stabilizer thicknesses to find the combination that best suits your style and projects.
6. Consider Digitizing Services
If you’re creating custom applique alphabets or complex designs, consider using embroidery digitizing services. These services can convert your hand-drawn or digital artwork into machine-readable embroidery files, ensuring precise stitching and professional results.
7. Embrace Creativity and Personalization
Appliqué embroidery offers endless creative possibilities. Experiment with different fonts, colors, and embellishments to personalize your projects. Add beads, sequins, or ribbons to add a touch of glamour or texture.
With these techniques and a touch of creativity, you’ll be creating flawless applique alphabets with your embroidery machine in no time. Whether you’re adorning T-shirts, creating personalized gifts, or embellishing home décor, applique alphabets will add a touch of elegance and individuality to your projects.
Related Posts
Discover relevant articles, tutorials, and tips to improve your skills and explore new techniques.
Stay inspired and connected to our embroidery community.


