Adding a Personal Touch: How to Monogram on Ribbon with Your Embroidery Machine
Embroidery machines have revolutionized the art of personalization, allowing you to create custom designs on a variety of fabrics. But did you know you can also use your machine to monogram beautiful ribbons for a touch of elegance on everything from gifts to home decor? This guide delves into the world of machine-embroidered monograms on ribbon, equipping you with the knowledge and techniques to create stunning personalized pieces.
Gathering Your Supplies: Essential Tools for Success
Before diving into the embroidery process, ensure you have all the necessary tools on hand:
- Embroidery machine: This is your creative canvas, allowing you to stitch out your monogram design.
- Embroidery hoop: The hoop holds your ribbon taut for precise stitching. Choose a size appropriate for your ribbon width.
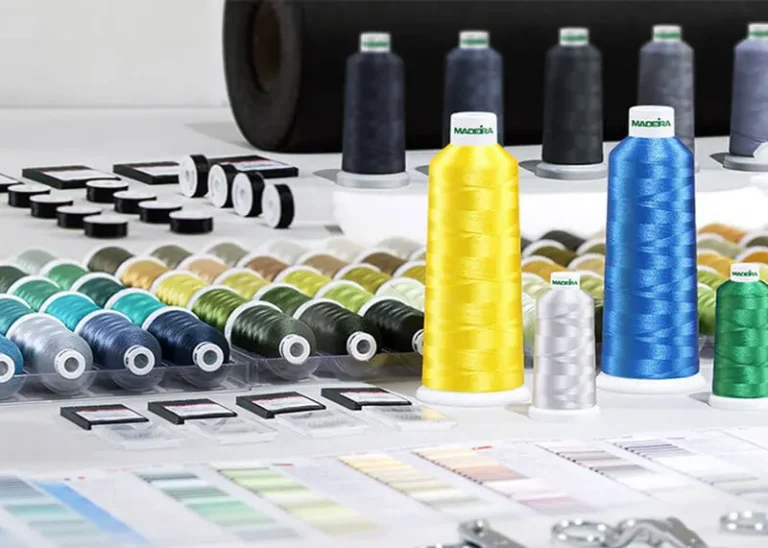
- Embroidery thread: Select high-quality embroidery thread in colors that complement your project. Consider using metallic threads for a touch of sophistication.
- Stabilizer: Stabilizer prevents the ribbon from bunching or puckering during embroidery. Use a lightweight tear-away stabilizer for best results with ribbon.
- Monogram font: If you haven’t already, choose a monogram font that suits your project’s style. There are countless free and paid monogram fonts available online.
- Embroidery software (optional): While not essential, embroidery software allows you to create or edit monogram designs and customize stitch settings for optimal results.
Preparing Your Ribbon for Embroidery
Unlike thicker fabrics, ribbon requires some special preparation before it’s ready for your embroidery machine:
- Heat Seal (Optional): For ribbons with a tendency to fray, consider using a heat seal tool to create a clean edge. Simply follow the instructions for your specific heat seal tool to prevent fraying during embroidery.
- Cut the Ribbon: Measure and cut your ribbon to the desired length, taking into account the size of your monogram and any additional seam allowance needed for finishing the edges.
- Attach Stabilizer: Cut a piece of tear-away stabilizer slightly larger than your ribbon. Center the ribbon on the stabilizer and use a temporary adhesive spray to secure it in place. This ensures the ribbon remains stable during embroidery.
Pro Tip: Test your chosen thread and stabilizer combination on a scrap piece of ribbon before starting your project to ensure proper stitching and tension.
Designing Your Monogram: From Font to Software
There are two main approaches to creating your monogram design:
- Using Your Embroidery Machine’s Built-In Fonts: Many embroidery machines come with pre-loaded alphabet fonts that can be used for monogramming. Explore your machine’s built-in options and choose a font that complements the overall style of your project.
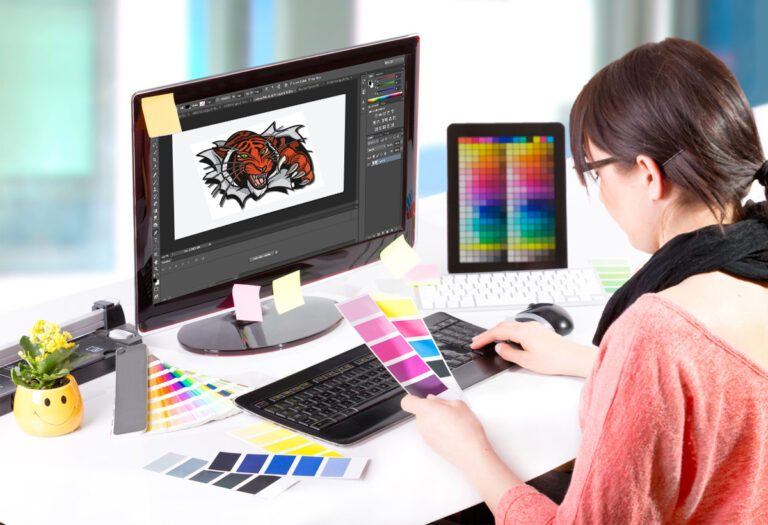
- Using Embroidery Software: Embroidery software offers greater flexibility in designing your monogram. You can import your chosen monogram font, adjust letter spacing and sizing, and even add decorative elements like borders or flourishes.
Tips for Designing Your Monogram:
- Keep it Simple: For beginners, a classic three-letter monogram is a great starting point. Consider using a single letter for a more minimalist touch.
- Choose Readable Fonts: Opt for clear, easy-to-read fonts, especially when using smaller ribbon sizes.
- Experiment with Sizing: Play around with the size of your monogram to ensure it fits proportionally on the ribbon.
Embroidering Your Monogram: Stitching Success
Once your design is finalized and your ribbon is prepped, it’s time to bring your monogram to life! Here’s a step-by-step guide:
- Thread Your Machine: Thread your machine with the chosen embroidery thread color and ensure proper tension. Refer to your machine’s manual for specific threading instructions.
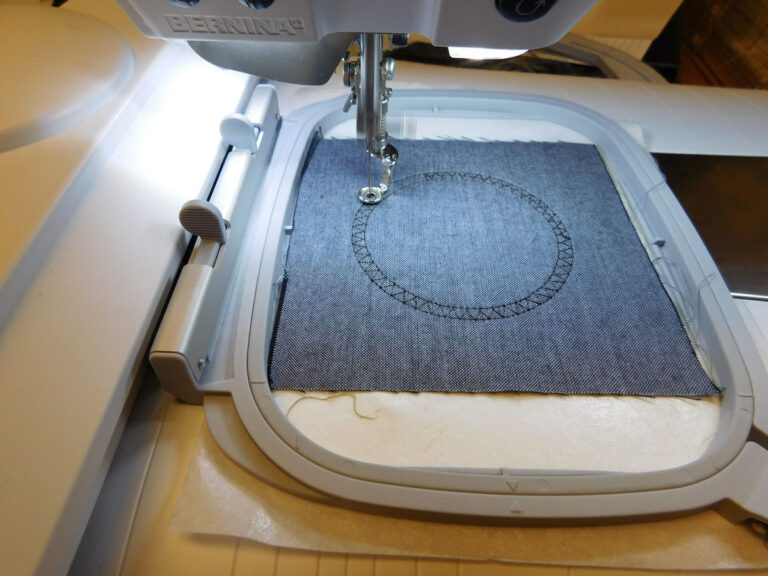
- Hoop the Ribbon: Carefully place the ribbon with the stabilizer attached into your embroidery hoop. Center the design on the ribbon using the hoop markings as a guide. Tighten the hoop securely without distorting the ribbon.
- Load Your Design: Transfer your monogram design to your embroidery machine (if using software) or select the built-in font option.
- Adjust Stitch Settings: Many machines allow you to adjust stitch density and other settings. For delicate ribbon, a lower stitch density is recommended to avoid puckering. Consult your machine’s manual for specific recommendations.
- Embroider! Once everything is set up and you’ve double-checked your placement, hit the start button and watch your machine create your beautiful monogram.
Pro Tip: It’s always a good practice to do a test stitch on a scrap piece of ribbon with the same stabilizer to ensure everything is functioning correctly before stitching your final design.
Finishing Touches: From Trimming to Embellishing
After the embroidery is complete, here’s how to add those final touches to your monogrammed ribbon:
-
Trim Away Stabilizer: Carefully tear away the excess stabilizer around the monogram using your fingers or small tweezers.
-
Seal the Edges (Optional): For a more polished look, especially on ribbons prone to fraying, consider sealing the edges using a fray check solution or by folding the raw edges under and stitching them down with a sewing machine or by hand.
-
Embellish (Optional): Get creative and add a touch of personality with embellishments like small beads, sequins, or tiny buttons. Ensure the embellishments are securely attached and won’t interfere with the functionality of the ribbon.
Inspiring Applications: Putting Your Monogrammed Ribbon to Use
Now that you’ve created beautiful monogrammed ribbon, here are some inspiring ways to incorporate it into your projects:
- Personalize Gifts: Add a monogrammed ribbon to gift bags, wrapping paper, or even tie it around a bouquet of flowers for a thoughtful touch.
- Dress Up Home Decor: Elevate throw pillows, table runners, or napkins with a monogrammed ribbon accent.
- Create Personalized Accessories: Embellish headbands, hair clips, or tote bags with your monogrammed ribbon for a unique touch.
- Sew it on Clothing: Monogrammed ribbon can add a custom detail to collars, cuffs, or pockets on shirts, dresses, or jackets.
- Wedding and Event Accents: Use monogrammed ribbon on wedding invitations, favor boxes, or table settings to add a touch of elegance.
With a little practice and creativity, the possibilities for using your monogrammed ribbon are endless!
Beyond the Basics: Troubleshooting and Advanced Techniques
As you embark on your monogram embroidery journey, you may encounter some challenges. Here are some tips for troubleshooting and exploring advanced techniques:
- Ribbon Curling: If your ribbon curls during embroidery, this might indicate a tension issue. Try loosening the top hoop slightly or using a different type of stabilizer.
- Stitching Issues: If you experience thread breakage or uneven stitches, ensure proper thread tension, needle size is appropriate for the thread and ribbon, and the stabilizer is correctly attached.
- Lettering Techniques: For a more professional look, explore techniques like satin stitch for filled letters or outline stitch for a classic monogram effect.
By understanding these troubleshooting tips and venturing into advanced stitch techniques, you can refine your monogram embroidery skills and create truly stunning results.
Embrace the Journey and Personalize with Flair!
The beauty of machine embroidery lies in its ability to transform a simple ribbon into a personalized work of art. With the knowledge and techniques outlined in this guide, you’re well-equipped to embark on your monogram embroidery journey. So, don’t be afraid to experiment, explore different designs and embellishments, and personalize everything from gifts to home decor with your unique touch. Happy stitching!
Related Posts
Discover relevant articles, tutorials, and tips to improve your skills and explore new techniques.
Stay inspired and connected to our embroidery community.
