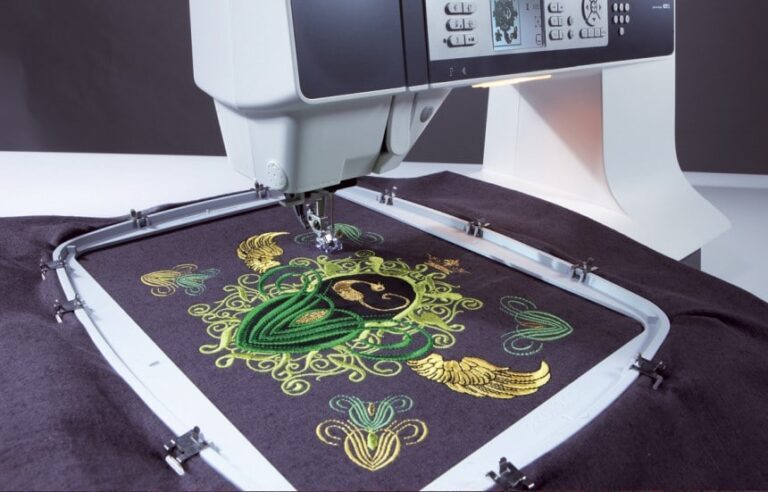
Embroidery on fragile support can be a challenging task
but it can also be very rewarding when done successfully. Whether you are working on a delicate piece of fabric, a thin piece of paper, or a thin piece of wood, there are several steps you can take to ensure that your embroidery project turns out beautifully. In this article, we will go over the steps you should follow when embroidering on fragile support.
-
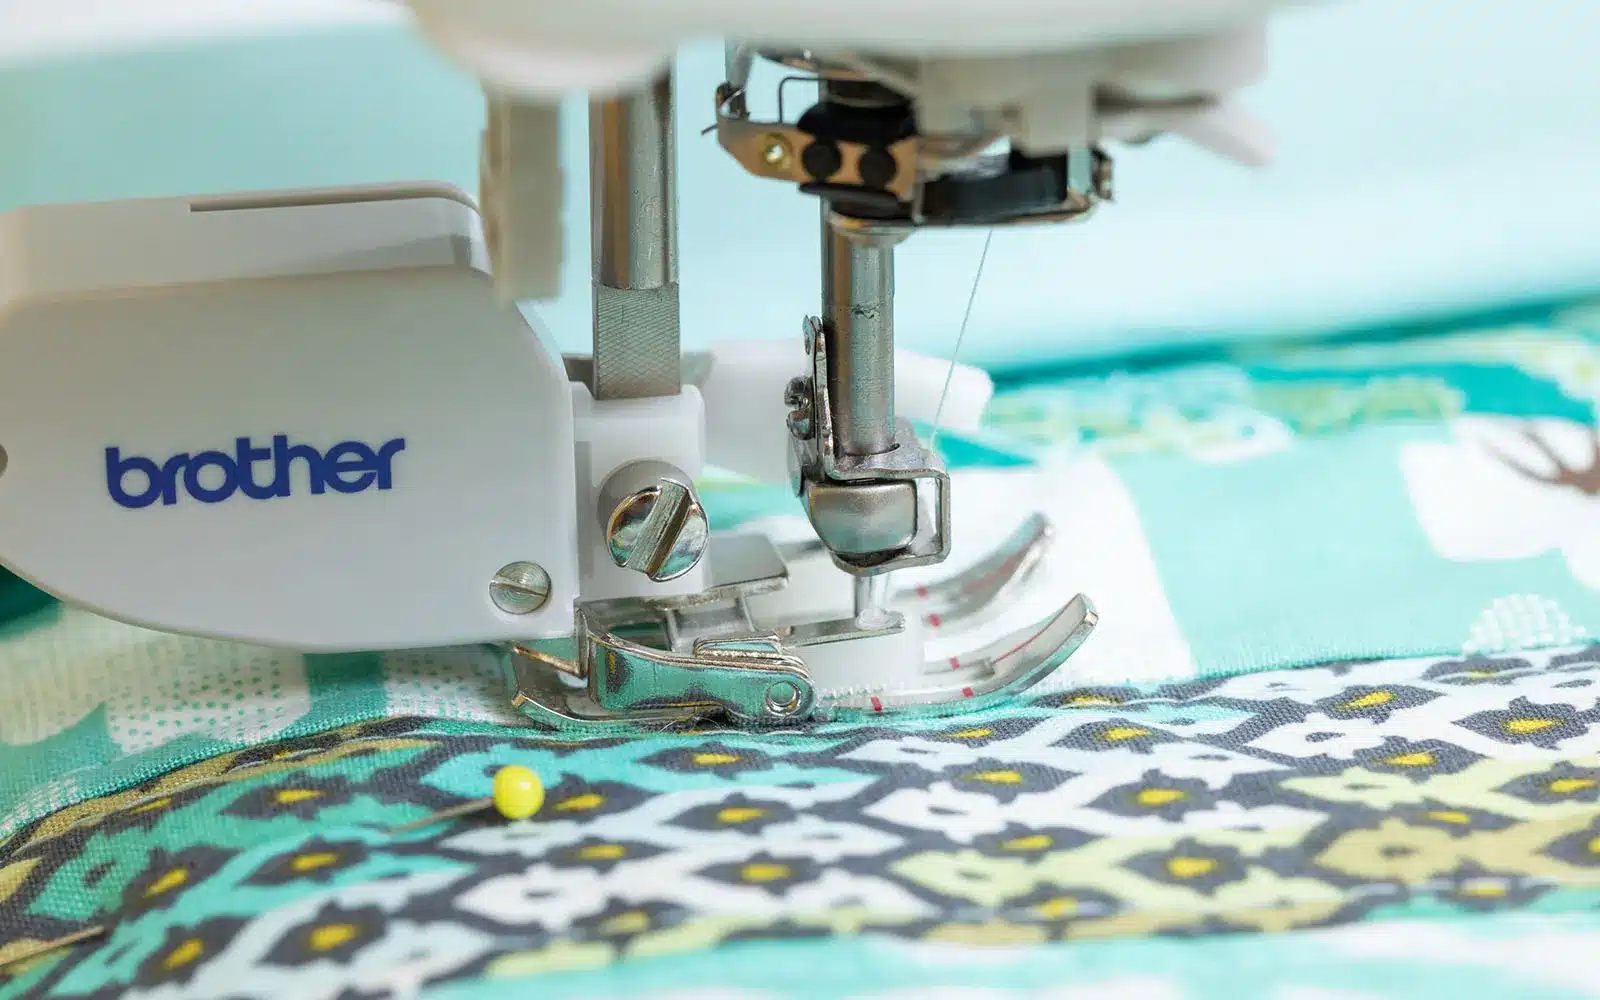
Choose the right embroidery machine: The first step in embroidering on fragile support is choosing the right embroidery machine. Some machines are better suited for delicate projects than others. Look for a machine that has a gentle embroidery action and a low speed setting. This will help prevent any damage to the fragile support during the embroidery process.
-
Choose the right embroidery needles: The next step is to choose the right embroidery needles. For fragile support, you will want to use a finer needle, such as a size 75 or 80. These needles have smaller eyes, which can help prevent tearing or puncturing of the support. You will also want to use a needle with a rounded tip, as this will also help prevent damage.
-
Choose the right embroidery thread: The type of embroidery thread you use can also make a difference when embroidering on fragile support. Look for a thread that is made from a finer material, such as silk or cotton. These threads are less likely to cause damage to the support. Avoid using thicker or coarser threads, as these can be too heavy and may cause the support to stretch or break.
-
Use a stabilizer: A stabilizer is a fabric or paper that is placed behind the support to provide extra support and stability during the embroidery process. For fragile support, you will want to use a lightweight stabilizer that will not add too much weight or bulk to the project. Tear-away stabilizers are a good choice, as they can easily be removed after the embroidery is complete.
-
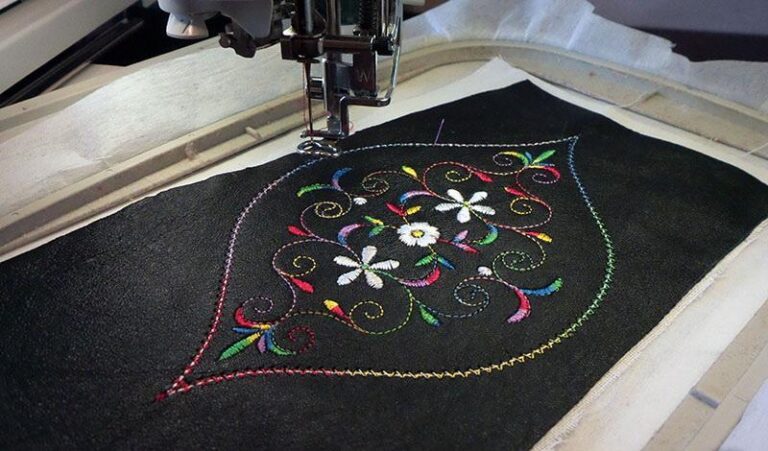
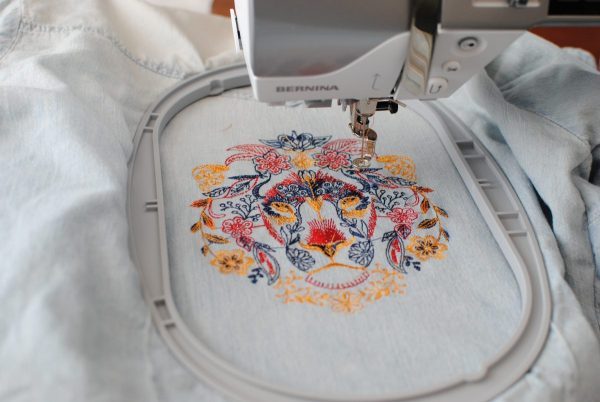
Hoop carefully: The next step is to carefully hoop your project. Hooping is the process of securing the support and stabilizer in a hoop that is attached to the embroidery machine. When hooping fragile support, be sure to use a small hoop that is just large enough to hold the project. This will help prevent any unnecessary stretching or distortion of the support.
-
Adjust the embroidery machine settings: Once the project is hooped, you will want to adjust the embroidery machine settings to ensure that the machine is working at the right speed and tension. For fragile support, you will want to set the speed to a low setting and adjust the tension so that it is not too tight. This will help prevent any damage to the support during the embroidery process.
-
Embroider slowly and carefully: When embroidering on fragile support, it is important to take your time and work slowly and carefully. This will help prevent any mistakes or accidents that could damage the support. If you are working on a delicate piece of fabric, you may want to use a light touch and guide the fabric through the embroidery machine gently.
-
Remove the stabilizer: Once the embroidery is complete, you will want to carefully remove the stabilizer. If you are using a tear-away stabilizer, simply tear it away from the project. If you are using a wash-away stabilizer, gently rinse the project in lukewarm water to remove the stabilizer. Be sure to handle the project gently and avoid stretching or distorting it.
By following these steps, you can successfully embroider
Related Posts
Discover relevant articles, tutorials, and tips to improve your skills and explore new techniques.
Stay inspired and connected to our embroidery community.
