The Stitch Ripper: Tips and Tricks for Successful Seam Removal
Whether you’re a seasoned seamstress or just starting out, chances are you’ve had to remove a seam at some point in your sewing journey. While seam removal can be a frustrating and time-consuming task, it’s an important skill to master in order to achieve professional-looking results. In this blog post, we’ll share some tips and tricks for using a stitch ripper to remove seams with ease.
What is a Stitch Ripper?
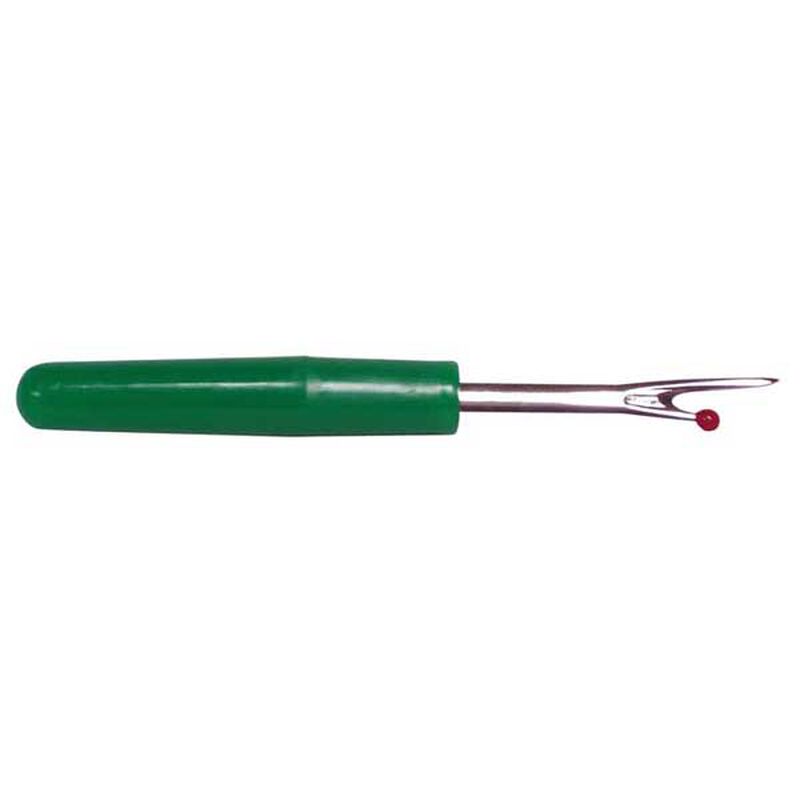
A stitch ripper, also known as a seam ripper, is a small tool that is used to remove stitches from fabric. It consists of a handle and a sharp blade that is designed to cut through threads without damaging the fabric. Stitch rippers come in a variety of shapes and sizes, but they all perform the same basic function of removing stitches.
Tips and Tricks for Using a Stitch Ripper
-
Choose the Right Stitch Ripper
When selecting a stitch ripper, it’s important to choose one that is comfortable to hold and easy to use. Look for a ripper with a handle that fits your hand well, and a blade that is sharp enough to cut through stitches without damaging the fabric. Some stitch rippers even come with a small magnifying glass attached to the handle, which can be helpful when working with small or intricate stitches.
-
Use a Light Touch
When using a stitch ripper, it’s important to use a light touch to avoid damaging the fabric. Use the blade to cut through the stitches one by one, rather than trying to rip them out in one go. This will help you avoid cutting into the fabric or accidentally removing stitches that you want to keep.
-
Work from the Back Side
When removing stitches from a seam, it’s best to work from the back side of the fabric. This will help you avoid accidentally cutting into the fabric or leaving marks on the front side. Use the blade of the stitch ripper to gently cut through the stitches, pulling the thread out as you go.
-
Remove the Thread Completely
When removing stitches, it’s important to remove the thread completely, rather than just cutting it in half. Leaving a piece of thread in the fabric can cause puckering or distortion in the final product, so take the time to remove each stitch completely.
-
Don’t be Afraid to Start Over
If you’re having trouble removing a seam, don’t be afraid to start over. Sometimes it’s easier to remove the entire seam and start fresh, rather than trying to salvage a damaged piece of fabric.
Conclusion
Using a stitch ripper to remove seams may not be the most exciting part of sewing, but it’s an essential skill for achieving professional-looking results. By following these tips and tricks, you can use a stitch ripper with ease and confidence, and remove seams quickly and efficiently. So next time you need to remove a seam, grab your stitch ripper and get to work!
Related Posts
Discover relevant articles, tutorials, and tips to improve your skills and explore new techniques.
Stay inspired and connected to our embroidery community.


