Embroidery is a wonderful art form that can be applied to many different materials. One unusual but fun item to embroider on is toilet paper. While it may seem strange to embroider on such a disposable item, it can actually make for a great gag gift or even a unique decoration for your bathroom. In this article, we’ll go over some tips and tricks to help you easily embroider on toilet paper.
Materials Needed:
- Toilet paper (choose a brand with fewer plys for best results)
- Embroidery floss
- Embroidery needle
- Embroidery hoop
- Scissors
Step 1: Choose Your Design
Before you begin embroidering, you’ll need to choose a design. Keep in mind that toilet paper is thin and delicate, so intricate designs may not work as well. Simple designs with bold lines and fewer details will be the easiest to embroider. You can find free embroidery patterns online or create your own design.
Step 2: Prepare Your Materials
Thread your embroidery floss onto your needle and cut it to your desired length. Make sure to choose a color that will show up well on the toilet paper. You may also want to use an embroidery hoop to keep the toilet paper taut while you work.
Step 3: Start Embroidering
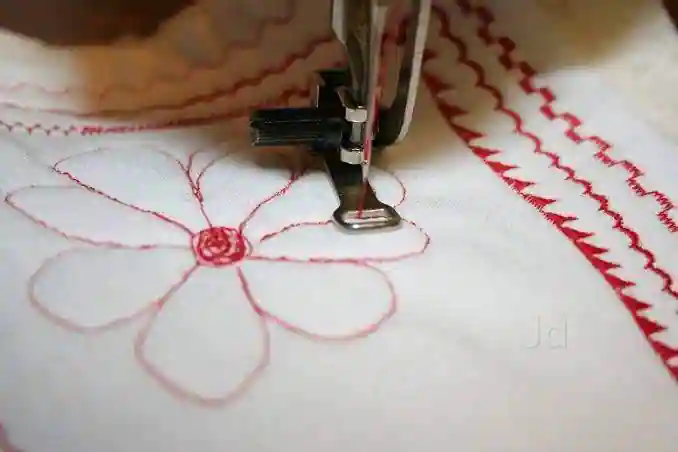
Begin by threading your needle through the back of the toilet paper. This will help prevent the needle from tearing the paper. Embroider your design as you normally would, making sure to keep your stitches tight and even. Avoid pulling the thread too tightly, as this can tear the toilet paper.
Step 4: Finishing Up
Once you’ve completed your design, tie off your thread on the back of the toilet paper. Trim any excess thread or knots. You can also spray the finished product with a clear fabric spray to help protect the embroidery and prevent it from unraveling.
Tips and Tricks:
-
Use fewer plys of toilet paper for best results. Three-ply toilet paper may be too thick to embroider on.
-
Consider using a stabilizer or backing to help reinforce the toilet paper and prevent tearing.
-
Keep your stitches small and tight to prevent the toilet paper from ripping.
-
Be gentle when handling the toilet paper to avoid tearing or wrinkling.
-
If you’re having trouble seeing your design on the toilet paper, try using a light box or tracing the design onto the paper first.
-
Experiment with different types of stitches to see what works best on toilet paper. Simple stitches like backstitch or satin stitch will work well.
-
Have fun and be creative! Embroidering on toilet paper may seem strange, but it can be a fun and unique way to showcase your embroidery skills.
Conclusion
Embroidering on toilet paper may seem like an unusual choice, but with the right materials and techniques, it can be a fun and creative project. Just remember to choose simple designs, use fewer plys of toilet paper, and be gentle when handling the paper. With a little practice, you’ll be able to create beautiful and unique embroidered toilet paper designs.
Related Posts
Discover relevant articles, tutorials, and tips to improve your skills and explore new techniques.
Stay inspired and connected to our embroidery community.


