A bit of history on Singer machines
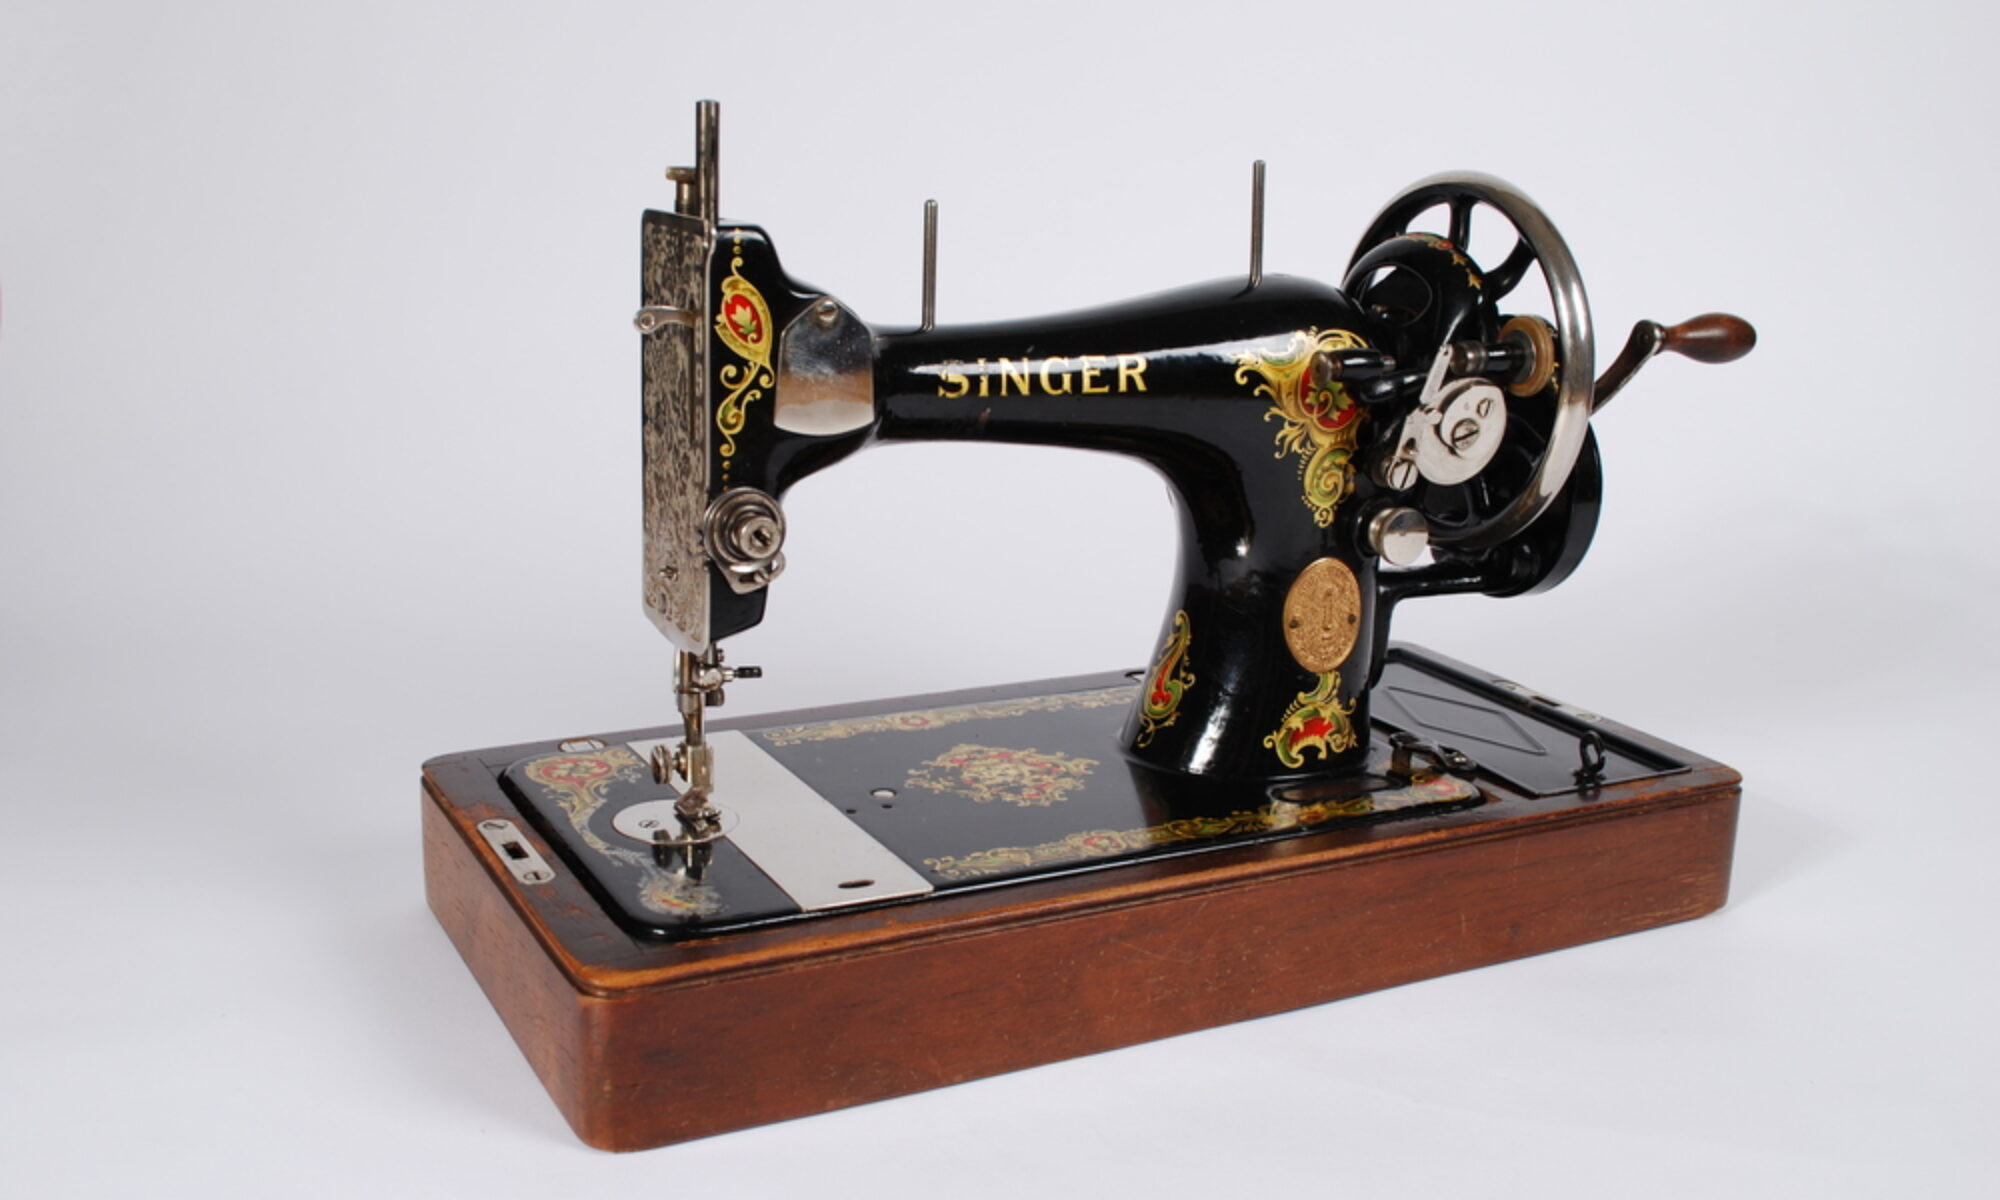
Singer is undoubtedly one of the oldest sewing machine brands since the company has existed since 1851. They are also the most essential in history since in 1890, 80% of sewing machines were from the Singer brand. Nowadays, Singer sewing machines are still on the front of the stage despite the arrival of other renowned manufacturers.
This is how some models can have a significant value, especially if the machine has its wooden box, accessories, but also explanatory booklets. Their design is elegant, so much so that they are also used as a decorative element. It can operate either with a crank or with a pedal. Some models were also reconditioned and electrified at some point.
Threading an old Singer
Before you can use your old Singer sewing machine, you need to thread it. For this you need to install the upper thread and the lower thread. This is an important step that must be done carefully. If you don’t have the user manual, you can look on the Internet or find a tutorial on Youtube to see how to do it. Even if the demonstration is not made on exactly the same sewing machine as yours, the threading is essentially the same from one machine to another.
Lower Threading
First, you need to fill your bobbin with the desired thread. Then you have to put the bobbin in the bobbin case. Be sure to place it in the right direction, so that the thread unwinds without difficulty, and to pass the thread correctly through the guide. The bobbin placement direction may vary from machine to machine.
Then install the bobbin case in the location provided for this purpose, by pulling on the small stem of the case. It must be locked in place so that it does not fall and pass into the lower part of the sewing machine. Generally, a small metal hatch provides access to this part of the machine. Just slide it open and close.
Upper Threading
It is then time to move on to threading the upper thread. To do this, place your spool of thread in the spool pin located on the top of your sewing machine. Then, follow the guides one by one without missing any. Incorrect threading will cause problems when you go to sew, or even prevent the machine from working. This is why it is important to do it carefully.
In the event of any problem, if your thread breaks, if loops appear, etc., the first thing to check on your machine is that the threading is correct. Once the thread has passed through the guides, thread it through the needle from left to right. Then hold the thread you have just passed with one hand and, with the other hand, operate the steering wheel. This will bring up the thread of your bobbin. You can then test your stitch on a scrap of fabric.
Adjust your old sewing machine
Like newer sewing machines, your old Singer sewing machine has settings. They are more or less numerous depending on the model.
In any case, you will find a wheel to adjust the tension of your thread. If your top thread is so tight that it shows your bobbin thread on the right side of your work, the tension is too much. You must loosen the knob in order to release the two discs which slow the thread flow. Conversely, if your needle thread is too loose on your work, you should tighten the dial to increase thread tension.
The objective is to obtain a point where you can neither see the bobbin thread on the right side nor the needle thread on the wrong side. Your point is then correctly formed. You can also choose a longer or shorter stitch. Stitch length will vary from fabric to fabric. The thinner the fabric, the smaller the stitch will be, resulting in a strong seam. For a thick fabric, we will rather use a larger stitch. However, be careful not to opt for a stitch that is too small, because then your machine will no longer feed the fabric. In the case of a stitch that is too large, the risk is that the seam may not hold.
Switch to sewing
Voila, you can now sew with your old machine, just as you would with a newer one.
Place your fabric under the presser foot and lower it so that it maintains the layers of fabric, as with any other sewing machine. Hold both of your wires back when starting. If you have a handwheel, you can operate it to start your work gently and start the movement of the foot pedal.
Some do not have a steering wheel, only a rheostat pedal, in this case, start carefully, because it may not have a speed modulator and, therefore, start very quickly. The stopping point can be achieved with a lever that is put in the up position to go backwards, then in the down position to go forwards.
A little advice: always start with scraps of fabric to get your hands on your machine.
Related Posts
Discover relevant articles, tutorials, and tips to improve your skills and explore new techniques.
Stay inspired and connected to our embroidery community.
