Use the Correct Size Stabilizer
Embroidery machines are incredibly versatile tools that allow you to create intricate designs on a variety of fabrics. However, to achieve the best results, it is important to use the correct size stabilizer. In this blog post, we will explore the importance of using the correct size stabilizer and how it can impact the quality of your embroidery projects.
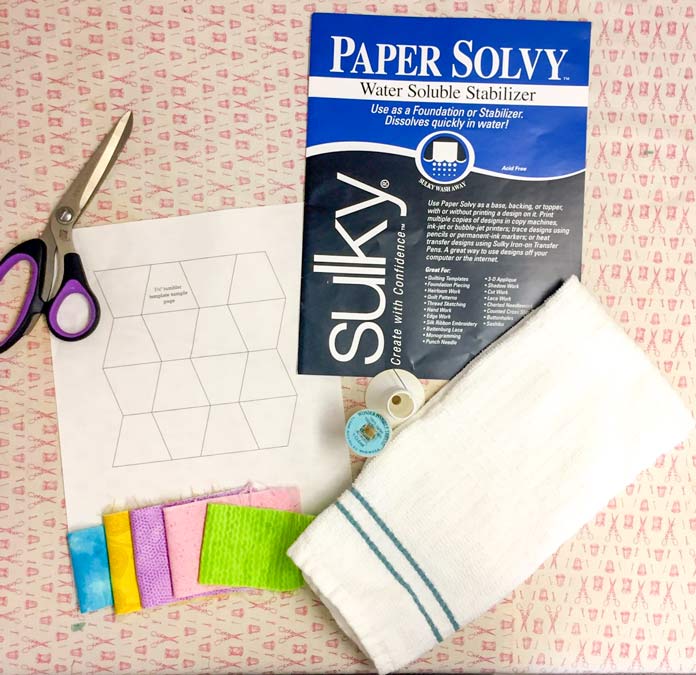
Stabilizers, also known as backing, are materials that are placed behind the fabric in order to provide support and stability during the embroidery process. They help to keep the fabric from stretching or distorting, ensuring that your designs come out looking neat and professional. However, not all stabilizers are created equal, and it is important to choose the right size for your project.
The first step in selecting the correct size stabilizer is to determine the weight and type of fabric you will be using. Lightweight fabrics, such as organza and chiffon, will require a lighter stabilizer, while heavier fabrics, such as denim and canvas, will require a heavier stabilizer. Additionally, you should consider the type of design you will be creating. Intricate designs with a lot of detail will require a stiffer stabilizer to provide more support, while simpler designs may only require a lighter stabilizer.
Once you have determined the weight and type of fabric and design, you can select the appropriate stabilizer. There are several types of stabilizers available, including:
-
Tear-away stabilizer: This type of stabilizer is designed to be torn away from the fabric after the embroidery is complete. It is ideal for lightweight fabrics and designs with minimal detail.
-
Cut-away stabilizer: This type of stabilizer is designed to be cut away from the fabric after the embroidery is complete. It is ideal for medium-weight fabrics and designs with more detail.
-
Heat-away stabilizer: This type of stabilizer is designed to be melted away from the fabric using heat. It is ideal for heavy-weight fabrics and designs with a lot of detail.
Once you have selected the appropriate stabilizer for your project, you can begin the embroidery process. It is important to place the stabilizer behind the fabric, making sure that it is smooth and wrinkle-free. The stabilizer should be slightly larger than the design, in order to provide enough support for the edges of the design.
When the embroidery is complete, you can remove the stabilizer by either tearing it away, cutting it away or melting it away with heat depending on the type of stabilizer you have used.
In conclusion, using the correct size stabilizer is an essential step in achieving professional-looking embroidery projects. By taking the time to determine the weight and type of fabric and design, you can select the appropriate stabilizer and ensure that your designs come out looking neat and precise. With the right stabilizer, you can create beautiful and intricate designs with ease.
Related Posts
Discover relevant articles, tutorials, and tips to improve your skills and explore new techniques.
Stay inspired and connected to our embroidery community.


