How to do a perfect embroidery
Embroidery is a beautiful and creative way to add personal touches to clothing, linens, and other fabrics. With the advent of computerized embroidery machines, it has become easier than ever to create intricate designs with precision and ease. In this post, we’ll walk you through the steps to doing perfect embroidery with your machine.
Step 1: Choose the Right Fabric
The first step in creating perfect embroidery is to choose the right fabric. Different fabrics have different properties that can affect the way your embroidery looks. For example, some fabrics are too stretchy or too thick to work well with an embroidery machine, while others may be too thin and fragile.
When choosing a fabric, consider the type of embroidery you plan to do. If you’re doing a simple design with few colors, a lightweight cotton fabric will work well. If you’re doing a more complex design with many colors, a heavier cotton or a blend fabric may be a better choice.
Step 2: Choose the Right Thread
Once you’ve chosen the right fabric, the next step is to choose the right thread. There are many different types of thread available for embroidery, including cotton, polyester, and rayon.
Cotton thread is a good choice for most types of embroidery, as it is strong and durable. Polyester thread is also a good choice, as it is less likely to shrink or fade. Rayon thread is a good choice for delicate, detailed designs, as it has a beautiful sheen and is very smooth.
Step 3: Choose the Right Design
The next step is to choose the right design for your embroidery. There are many different types of designs available, including simple geometric shapes, complex florals, and detailed portraits.
When choosing a design, consider the type of fabric you’re working with and the skill level of the person doing the embroidery. Simple designs are generally easier to work with and are a good choice for beginners. More complex designs may require more skill and experience.
Step 4: Hoop the Fabric
Once you’ve chosen the right fabric, thread, and design, the next step is to hoop the fabric. Hooping is the process of attaching the fabric to a hoop that is specifically designed for use with an embroidery machine.
To hoop the fabric, first, place the hoop on a flat surface and open it up. Next, place the fabric on top of the hoop, making sure that it is smooth and wrinkle-free. Finally, close the hoop and tighten it so that the fabric is held securely in place.
Step 5: Thread the Machine
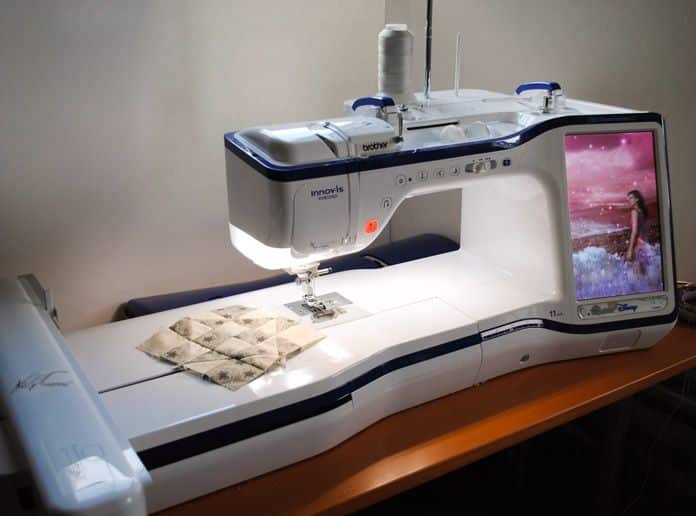
Once the fabric is hooped, the next step is to thread the machine. To thread the machine, first, place the thread on the spool pin. Next, thread the thread through the guides on the machine, and finally, thread the needle.
It’s important to make sure that the thread is properly threaded through the machine, as this will ensure that the embroidery is neat and even.
Step 6: Stabilize the Fabric
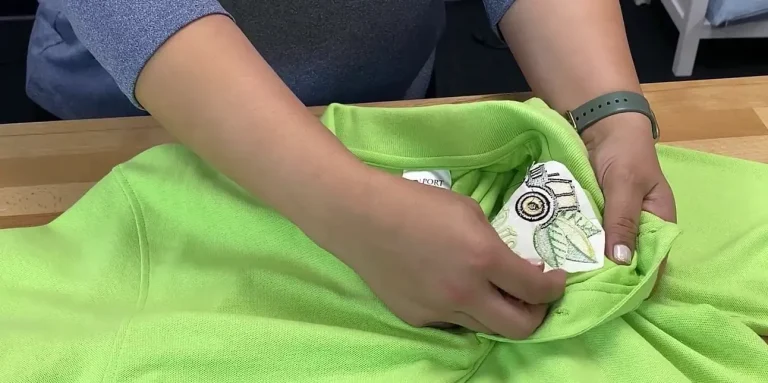
Before you begin embroidering, it’s important to stabilize the fabric. This is done by attaching a stabilizer to the back of the fabric. The stabilizer is a thin, transparent material that helps to hold the fabric in place while you’re embroidering.
There are several different types of stabilizers available, including cutaway, tearaway, and washaway. Cutaway stabilizer is the most popular choice for most types of embroidery, as it is easy to use and provides good support for the fabric.
Related Posts
Discover relevant articles, tutorials, and tips to improve your skills and explore new techniques.
Stay inspired and connected to our embroidery community.
