1 – Define the location of the pattern on the fabric to be embroidered
First of all, you have to respect the proportions, between the size of the pattern and its location on the fabric.
Tip: Print your pattern in real size to clearly visualize its location. You can also create a small, very simple template out of paper.
Then draw a mark directly on the fabric.
2 – Place the fabric in the embroidery frame
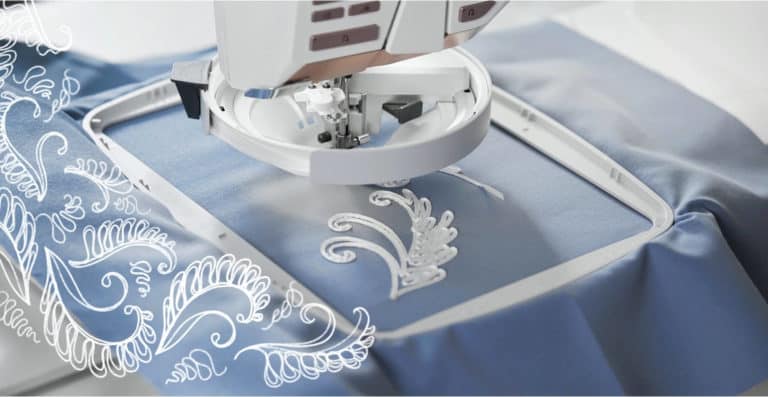
Following the embroidery marks previously marked on the fabric, hoop in the frame.
To position your design correctly, use the plastic template that came with your frame. This chart allows you to place your fabric straight and center your design, and to check that the design is included in the embroidery field.
“Should stabilizer material be used every time?”. In theory, the professionals will answer you that yes, it is better. However, there are a few cases where this is not necessary:
The fabric is thick and is not likely to move in the frame (upholstery fabric or jeans WITHOUT elastane)
The pattern is simple, without dense filling, and small;
For the tests: I do my embroidery tests on offcuts of upholstery jeans without reinforcement (there are no small savings!);
On the other hand, it becomes essential:
For light and/or fragile fabrics (cotton, organdy or silk)
When the fabric deforms (knits, jersey)
For fabric is sponge
For sponge and floss, you even have to put a water soluble on the fabric.)
Tip: for your tests, do not hesitate to offset your embroideries, which allows you to recover a larger piece of excess stabilizer.
Once the fabric is correctly positioned in the frame, tighten the screw and pull on the sides of the fabric so that it is tight in the frame, there should not be any waves left
3 – Realization of the machine embroidery
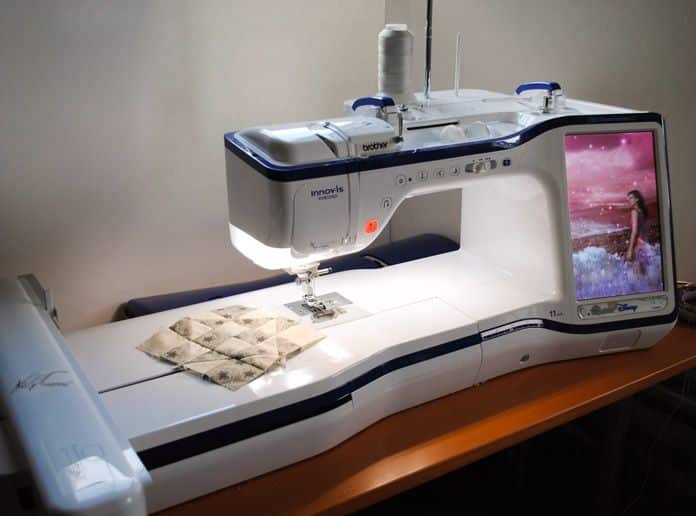
We fix the frame on the machine, we select the pattern and we adjust the position of the pattern in relation to the mark, the needle must be perfectly positioned above your mark
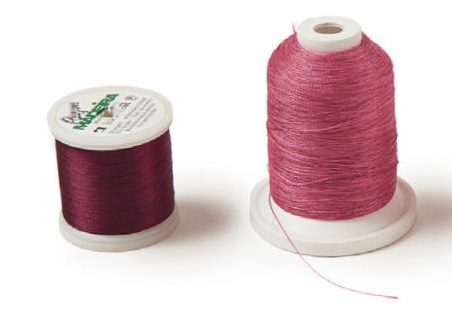
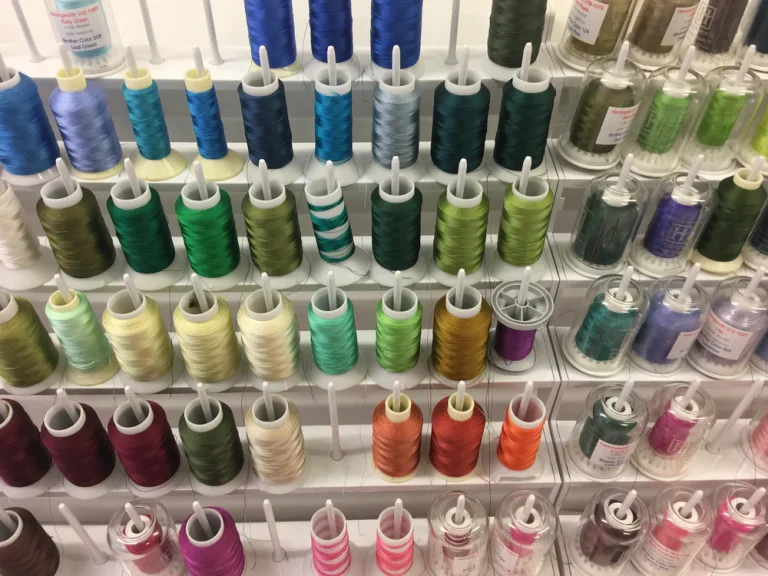
When there are several yarn changes, plan ahead! Have your spools and bobbins ready next to the machine.
Put the bobbin in place (with the special bobbin thread for embroidery), we thread the 1st color of thread to be embroidered and start the embroidery. We hold the end of the embroidery thread at the beginning for a few stitches, It is preferable to stop the embroidery after a few stitches, in order to cut the excess thread from the beginning of the embroidery because it could be caught in the embroidery afterwards and would thus be more difficult to cut.
When the embroidery of the 1st color is finished the machine beeps, we put on the 2nd we start to embroider again. We proceed in this way until the complete realization of the embroidery.
4 – Finishes
When the embroidery is finished, remove the frame from the machine, loosen the frame screw, and then remove the fabric. Cut the small threads that protrude on the top of the embroidery, but not those below!
Remove the excess reinforcement by cutting around the embroidery but above all be careful not to cut the threads!
Finally, if you used water-soluble, put your fabric in water to dissolve it.
Related Posts
Discover relevant articles, tutorials, and tips to improve your skills and explore new techniques.
Stay inspired and connected to our embroidery community.
