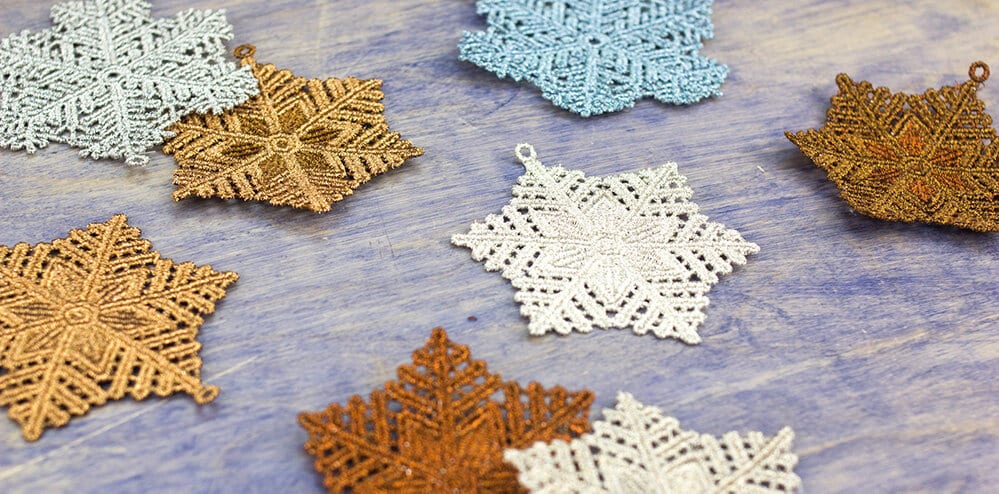
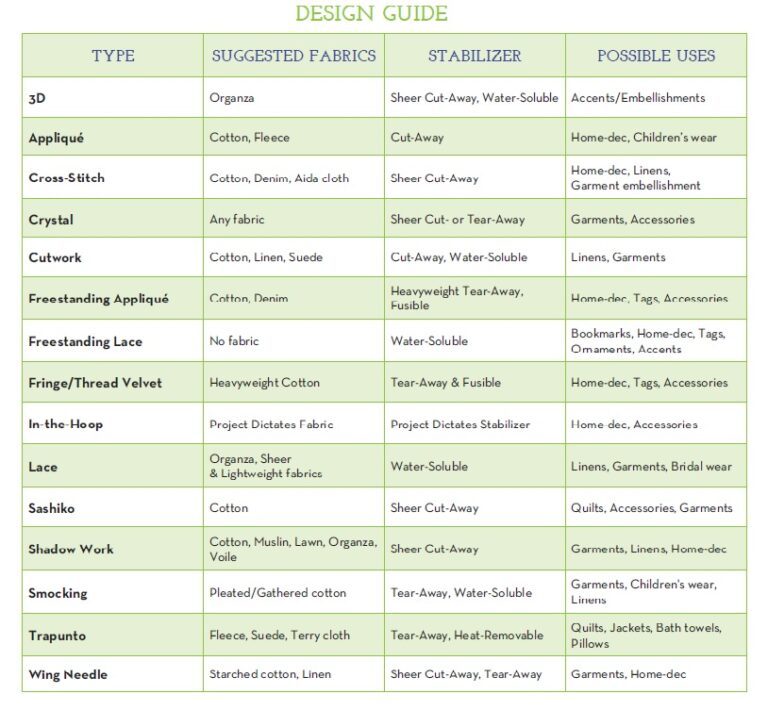
Free-standing lace embroidery designs are a beautiful and intricate way to add dimension and texture to your projects. These designs are created by stitching onto a water-soluble stabilizer, which is later dissolved in water, leaving only the thread behind. The result is a delicate, lace-like embroidery that can be used in a variety of ways, from applique to ornaments. In this article, we will discuss the steps involved in creating your own free-standing lace embroidery designs.
Step 1: Gather your materials
To make free-standing lace embroidery designs, you will need the following materials:
- Embroidery thread
- Water-soluble stabilizer
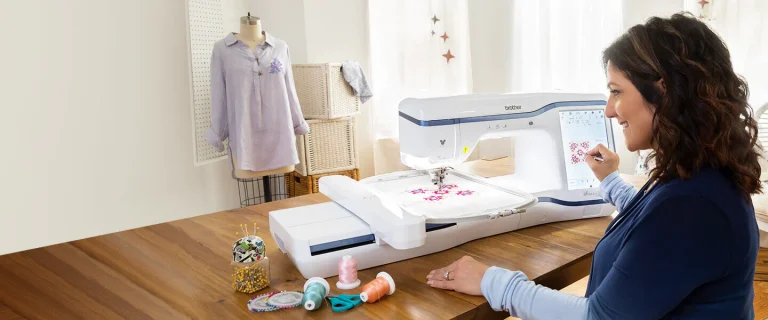
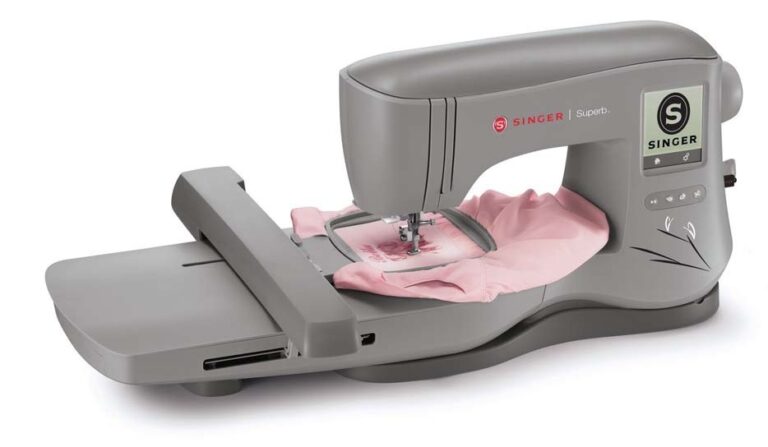
- Embroidery machine
- Embroidery software (optional)
- Scissors
- Water
Step 2: Choose your design
There are many free-standing lace embroidery designs available online, or you can create your own using embroidery software. When choosing a design, consider the size and complexity of the design, as well as the color of the thread you will be using.
Step 3: Hoop the stabilizer
Place a piece of water-soluble stabilizer in your embroidery hoop, making sure it is taut and wrinkle-free. You can use a single layer of stabilizer or multiple layers, depending on the thickness and density of your design.
Step 4: Thread your machine
Choose your thread color and thread your embroidery machine. Make sure to use the appropriate thread weight for your design and adjust your tension accordingly.
Step 5: Stitch your design
Start stitching your design onto the stabilizer, following the pattern and color chart. Be sure to keep an eye on your machine to ensure that the thread is stitching correctly and that the stabilizer is not bunching or tearing.
Step 6: Trim excess stabilizer
Once your design is complete, trim away any excess stabilizer around the edges of your embroidery. Be sure to leave enough stabilizer around the design to support it during the washing process.
Step 7: Soak in water
Place your embroidery in a bowl of warm water and let it soak for a few minutes. The water-soluble stabilizer will dissolve, leaving only the thread behind. Be sure to change the water a few times to ensure all the stabilizer is dissolved.
Step 8: Dry your embroidery
Once your embroidery is completely free of stabilizer, remove it from the water and gently squeeze out any excess water. Lay your embroidery flat on a towel to dry, being careful not to distort the shape of your design.
Step 9: Use your embroidery
Once your embroidery is dry, it is ready to be used in your project. You can use free-standing lace embroidery designs in a variety of ways, from applique to ornaments. They are also beautiful on their own and can be displayed as decorative pieces.
Tips and Tricks
- Use a water-soluble stabilizer that is compatible with your embroidery machine and thread.
- Use a higher quality thread for your embroidery to ensure that it is durable and looks beautiful.
- Adjust the density of your embroidery based on the size and complexity of your design.
- Use a sharp pair of scissors to trim away excess stabilizer.
- When soaking your embroidery in water, use warm water, as hot water can damage the thread.
- Do not wring or twist your embroidery when drying, as this can distort the shape of your design.
Conclusion
Free-standing lace embroidery designs are a beautiful and delicate way to add dimension and texture to your projects. With a few basic materials and an embroidery machine, you can create intricate lace designs that can be used in a variety of ways. By following the steps outlined in this article and using these tips and tricks, you can create your own stunning free-standing lace embroidery designs.
Related Posts
Discover relevant articles, tutorials, and tips to improve your skills and explore new techniques.
Stay inspired and connected to our embroidery community.


