How to Make a Digital File for Embroidery
Embroidery is a beautiful and intricate art form that involves stitching designs onto fabric. In modern times, embroidery has become more accessible through the use of digital files. Here is a detailed guide on how to create a digital file for embroidery.
What is an embroidery file?
An embroidery file is a computer file that contains the instructions for an embroidery machine to stitch a design. It can be made up of different types of stitches, each used to create a specific effect. For example, satin stitches are used for outlines, fill stitches are used for solid areas, and running stitches are used for finer details.
Why use a digital file?
There are several reasons why you might want to use a digital file for embroidery:
- Precision: Digital files can be very precise, allowing you to create complex designs with intricate details.
- Rinseability: Embroidered garments can be washed and worn without the risk of the stitches coming out.
- Affordability: Digitizing software can be expensive, but it can save you money in the long run by allowing you to create your own designs.
What you need
To create a digital file for embroidery, you will need:
- A computer: A PC or Mac with at least 4GB of RAM.
- Embroidery digitizing software: There are many different software options available, such as Wilcom, Embird, and InkStitch.
- A scanner or graphics editing software: A scanner is used to create a digital image of your design, and graphics editing software is used to clean up the image and make any necessary adjustments.
- Thread colors: Embroidery machines use different colored threads to create the embroidery design. You will need to purchase the thread colors that you need for your specific design.
How to make a digital file for embroidery
The following steps will guide you on how to create a digital file for embroidery:
1. Choose your design
The first step is to choose the design that you want to stitch. You can create your own design using graphics editing software, or you can use a design that you have found online or in a book.
2. Prepare your design
If you are using a design that you have created yourself, you will need to prepare it for digitization. This means cleaning up the image, adjusting the colors, and simplifying the design if necessary.
3. Scan the design
Once your design is prepared, you can scan it into a digital image. Make sure that the image is clear and sharp, and that the lines and shapes are distinct.
4. Import the design into digitizing software
Import the scanned image into your embroidery digitizing software. This will allow you to view and edit the design in a digital workspace.
5. Digitize the design
The digitization process involves converting the digital image into a set of embroidery stitches. This may involve tracing the design, adding stitches, and adjusting the stitch parameters.
6. Edit the stitch parameters
The stitch parameters determine the appearance of the embroidery stitches. You can adjust the stitch type, stitch length, stitch density, and other parameters to achieve the desired effect.
7. Set color stops
Color stops indicate when the embroidery machine should change thread colors. You can set color stops by clicking on the points in the design where you want the color to change.
8. Export the design
Once you are satisfied with the design, you can export it as an embroidery file. The most common embroidery file formats are DST, EXP, and JEF.
9. Transfer the design to your embroidery machine
Connect your embroidery machine to your computer and transfer the embroidery file to the machine. Most embroidery machines have a USB port for transferring files.
10. Stitch the design
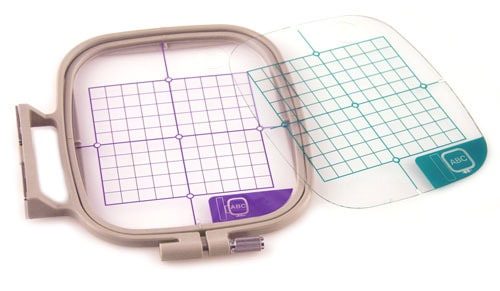
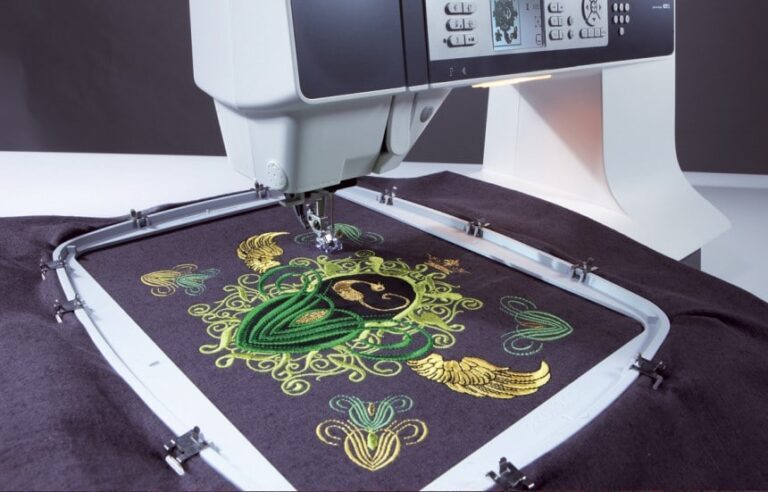
Load the embroidery hoop with the fabric that you want to embroider, and then start the embroidery process. The embroidery machine will follow the stitch instructions in the file and stitch the design onto the fabric.
Related Posts
Discover relevant articles, tutorials, and tips to improve your skills and explore new techniques.
Stay inspired and connected to our embroidery community.

