A Beginner’s Guide to MT-1501 Package Contents
Are you a beginner in the world of embroidery, excited about your new MT-1501 embroidery machine? The journey from opening the box to creating your first masterpiece can seem daunting, but fear not! We’re here to guide you through every step, starting with understanding what’s inside that big box. In this blog post, we’ll dive into the contents of your MT-1501 package, answer some common questions, and set you up for a smooth assembly process.
The Unboxing Experience: What’s in the Box?
Unboxing a new machine is like opening a treasure chest. Each item has its purpose, contributing to the functionality and efficiency of your embroidery work. The MT-1501 comes with several components, each carefully packaged to ensure they reach you in perfect condition. Let’s take a peek inside:
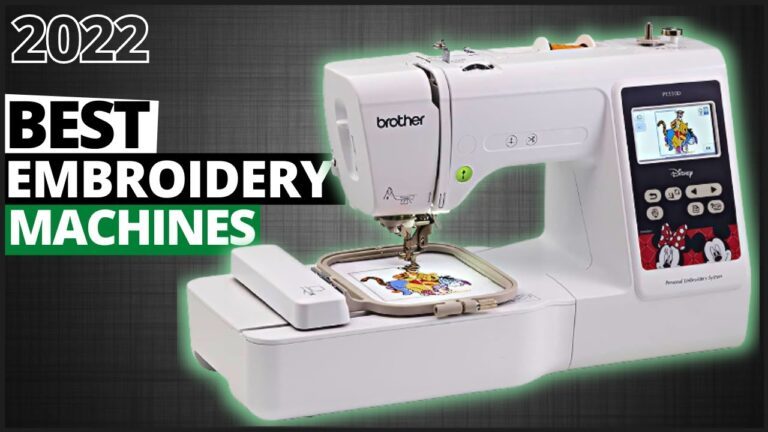
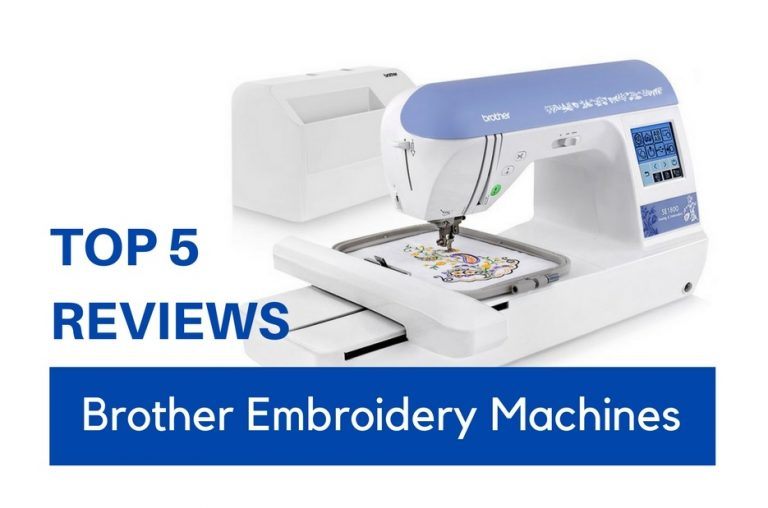
- The MT-1501 Embroidery Machine: This is the heart of your package. It’s a robust, feature-packed machine designed to bring your creative visions to life. With its advanced technology and user-friendly interface, even beginners can achieve professional-quality embroidery.
- Heavy-Duty Steel Stand: One standout feature of the MT-1501 is that it comes with its own stand. This isn’t just any stand; it’s a heavy-duty steel structure designed to provide stability during operation. No more worries about your machine wobbling or moving during high-speed stitching!
- Embroidery Hoops: Your package likely includes a variety of hoops in different sizes. These are essential for holding your fabric taut and in place during the embroidery process. Different projects require different hoop sizes, so having a range is incredibly helpful.
- Thread and Bobbins: To get you started, the package may include some embroidery thread and pre-wound bobbins. While you’ll eventually want to expand your thread collection to match your design needs, these starter threads are perfect for familiarizing yourself with threading the machine and testing your first designs.
- Needles and Tools: Expect to find a set of embroidery needles, perhaps a small screwdriver for minor adjustments, and other small tools that aid in machine maintenance and operation.
- Instruction Manual and Quick Start Guide: These are your best friends as a beginner. The manual provides in-depth information about your machine’s features, maintenance, and troubleshooting. The quick start guide, on the other hand, helps you get up and running swiftly.
- Software and Connectivity Cables: If your MT-1501 model supports computer connectivity (many modern machines do), you might find a USB cable or other means to connect your machine to a computer. Some packages also include basic embroidery design software.
Q&A: Common Queries for Embroidery Beginners
Now that we’ve unpacked the contents, let’s address some questions you might have:
Q1: I’m completely new to embroidery. Is the MT-1501 too advanced for me? A: Not at all! While the MT-1501 is a powerful machine, it’s designed with user-friendliness in mind. The included manual and quick start guide are written with beginners in mind. Plus, there are countless online resources, including video tutorials (like the one we’re discussing) to help you get started. Remember, every expert was once a beginner!
Q2: Why is the heavy-duty steel stand important? A: Great question! Embroidery machines can vibrate quite a bit, especially when working at high speeds or on dense designs. A stable stand prevents this vibration from affecting your work. It reduces the risk of misaligned stitches, keeps your workspace ergonomic, and can even prolong the life of your machine by minimizing stress on its components.
Q3: How do I know which hoop to use for my project? A: The size of your design and the type of fabric you’re working with are the main factors. As a general rule, use the smallest hoop that comfortably fits your design. This keeps the fabric tighter and reduces the chance of puckering or misalignment. For delicate fabrics, you might want a bit more space in the hoop to prevent stretching. Don’t worry; with practice, choosing the right hoop will become second nature!
Q4: The machine came with some thread, but there are so many colors available online. Where do I start? A: Begin with the basics! Stock up on colors you use most often or that match your current projects. Black, white, and primary colors are good starting points. As you grow, you’ll discover specialty threads like metallics or variegated threads. Quality matters, so opt for reputable brands even if they cost a bit more. Poor quality thread can lead to breakage and uneven stitches.
Q5: I see a USB port on my machine. What can I do with it? A: That little port opens up a world of design possibilities! Many embroiderers use software on their computers to create or customize designs. You can then transfer these designs to your machine via USB. Some machines even allow direct updates or access to online design libraries through this port. It’s a feature you’ll grow to love as you advance in your embroidery journey.
Q6: The manual mentions machine maintenance. Is it complicated? A: It’s simpler than you might think, and regular maintenance is key to your machine’s longevity. Basic tasks include cleaning lint from the bobbin area, oiling specific parts (your manual will guide you), and changing needles regularly. Think of it like changing the oil in your car – a little effort goes a long way in preventing bigger issues.
Q7: I’m worried about setting up the machine wrong. Any advice? A: Your concern is understandable, but rest assured, the MT-1501 is designed for easy setup. The video series you mentioned is a fantastic resource. Part 1 familiarizes you with the components. Part 2, which focuses on assembling the steel stand, will walk you through each step. Follow along, take your time, and don’t hesitate to rewatch sections. Once your stand is set up, the machine itself often just needs to be securely placed on top. You’ve got this!
Q8: How soon can I start my first project? A: After setting up your machine and stand (thanks to the upcoming videos), you can start almost immediately! Begin with something simple – maybe a pre-loaded design on your machine or a small, basic pattern. Use scrap fabric for your first attempts. This way, you can get familiar with hooping, threading, and the machine’s operation without the pressure of working on a special project.
Q9: What if I encounter a problem not covered in the manual? A: First, take a deep breath. Even experienced embroiderers face unexpected issues. Check online forums and groups dedicated to embroidery or your specific machine model. These communities are treasure troves of knowledge. YouTube is another great resource for troubleshooting videos. If the problem persists, don’t hesitate to contact the manufacturer’s customer support. They’re there to help!
Q10: I’m excited but also a bit overwhelmed. Is that normal? A: Absolutely! Starting any new craft can feel overwhelming. There’s equipment to understand, techniques to learn, and a whole vocabulary to grasp. But here’s the thing: every stunning embroidered piece you’ve admired started with someone feeling just like you do now. Embrace the learning process. Celebrate small victories, like successfully threading your machine or completing your first simple design. Before you know it, you’ll be the one giving advice to newcomers!
Conclusion: Your Embroidery Adventure Begins Here
Unboxing your MT-1501 is more than just opening a package; it’s the first step in an exciting creative journey. From the machine itself to the sturdy stand and essential accessories, each item in your package plays a role in transforming your ideas into embroidered reality.
Remember, the upcoming videos in this series are your roadmap. Part 2 will guide you through assembling that all-important steel stand, ensuring your workspace is stable and ready for action. By taking it step by step, asking questions (like the ones we’ve covered), and not being afraid to learn from small mishaps, you’re setting yourself up for embroidery success.
So, take a moment to appreciate all the components laid out before you. Run your hands over the machine, feel the sturdiness of the stand, and imagine the possibilities held within each thread spool and hoop. Your journey into the world of embroidery starts now, right here, with your MT-1501.
Stay tuned for the next part of our series, where we’ll turn those stand pieces into the foundation of your embroidery studio. Until then, happy unboxing, and welcome to the wonderful world of embroidery!

Related Posts
Discover relevant articles, tutorials, and tips to improve your skills and explore new techniques.
Stay inspired and connected to our embroidery community.


