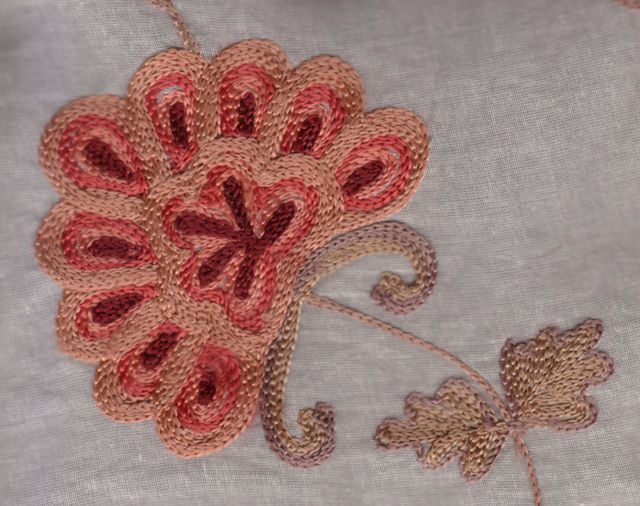
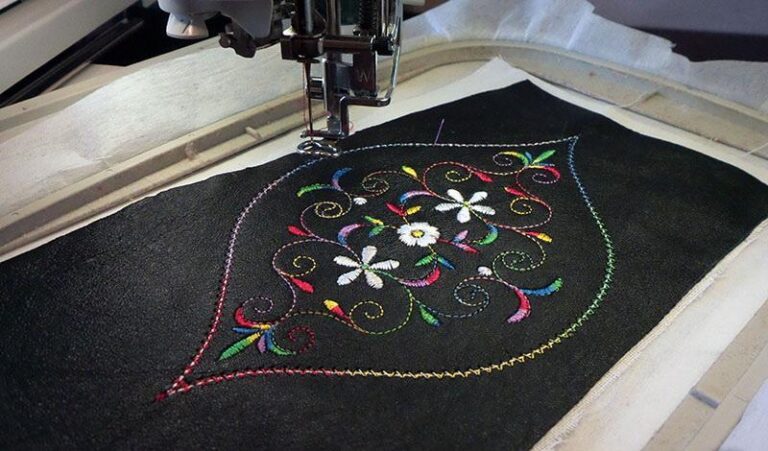
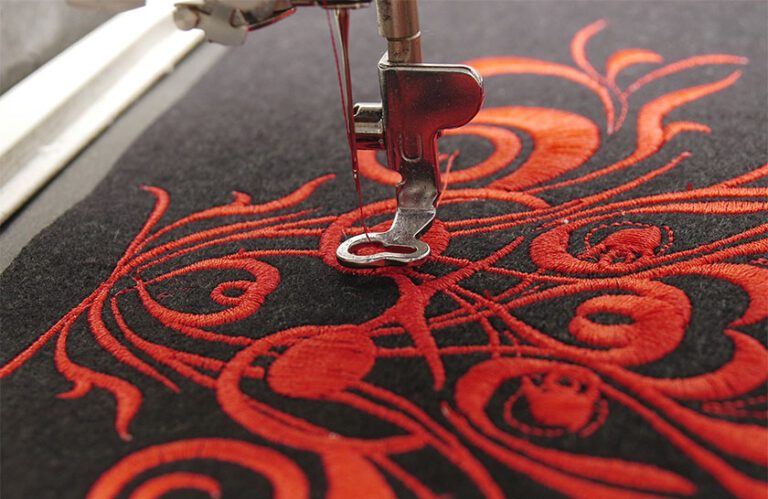
Digitalizing, also known as digitizing or punching, is the process of converting a design or image into a format that can be read and interpreted by an embroidery machine. This process is essential for creating custom embroidery, as it allows you to take your own designs or logos and have them stitched onto a variety of items, such as clothing, hats, bags, and more.
One of the major benefits of digitalizing your designs is the ability to make quick and easy edits. With traditional embroidery, making changes to a design can be time-consuming and costly. However, with digital embroidery, you can make changes to your design with just a few clicks, saving you time and money in the long run.
Another advantage of digital embroidery is the ability to create more complex and detailed designs. Traditional embroidery often has limitations in terms of the number of colors and the level of detail that can be achieved. With digital embroidery, you can use an unlimited number of colors and create intricate designs that would be impossible with traditional methods.
So, how do you get started with digitalizing for your embroidery machine? The first step is to choose a digitizing software program. There are a variety of options available, ranging from basic programs that are suitable for beginners to more advanced programs that offer a wide range of features and tools. Some popular options include Wilcom Embroidery Studio, Hatch Embroidery, and Janome Digitizer MBX.
Once you have chosen a software program, the next step is to create your design. This can be done by drawing the design directly in the software or by importing an image file. Many software programs also offer a range of pre-designed elements that you can use to create your own custom designs.
Once your design is complete, the next step is to digitize it. This process involves breaking down the design into individual stitches and assigning specific colors and stitch types to each element. This can be a complex process, and it is recommended that you familiarize yourself with the various stitch types and their properties before attempting to digitize your own designs.
Once your design has been digitized, the final step is to save it in a format that can be read by your embroidery machine. This is usually done by saving the file in a specific embroidery file format, such as .DST or .EMB. Once the file is saved, you can load it onto your embroidery machine and begin stitching your design.
Digitalizing for your embroidery machine can seem intimidating at first, but with a little practice and some patience, you’ll be able to create professional-quality embroidery in no time. Whether you’re looking to create custom designs for your business or just want to personalize your own clothing and accessories, digital embroidery is a great option. So, if you’re ready to take your embroidery to the next level, give digitalizing a try and see the amazing results for yourself.
tips and ideas for digitalizing your designs for embroidery machines:
-
Start by sketching out your design on paper. This will help you get a better sense of the overall composition and make it easier to visualize how the finished product will look.
-
Consider using design software to create your digital version. There are several options available, such as Adobe Illustrator, CorelDRAW, and Wilcom. These programs allow you to create precise, vector-based designs that can be easily resized and edited.
-
If you’re not comfortable using design software, you can also use a scanning app to digitize your paper sketch. Simply scan the sketch with your phone or tablet and save the image to your computer.
-
Once you have a digital version of your design, you’ll need to convert it into a format that can be read by your embroidery machine. This is typically done using embroidery software, such as Embird, Janome Digitizer, or Hatch Embroidery.
-
Before you begin the digitization process, it’s important to understand the capabilities and limitations of your embroidery machine. Some machines can only handle simple designs, while others are capable of handling more complex, multi-colored designs. Make sure to select a design that is within the capabilities of your machine to avoid any issues.
-
Pay attention to the stitching order and direction of your design. This will help ensure that your finished product looks as clean and professional as possible.
-
Don’t be afraid to experiment and try new techniques. Digitizing designs for embroidery machines can be a fun and creative process, so don’t be afraid to try out different techniques and see what works best for you.
-
Consider hiring a professional digitizing service if you’re not confident in your ability to create a high-quality design. These services can take your sketch or design and convert it into a format that is ready for your embroidery machine.
-
Finally, make sure to test your design before committing to a full run. This will allow you to make any necessary adjustments and ensure that the finished product meets your expectations.
I hope these tips are helpful for digitalizing your designs for embroidery machines. Good luck with your project!
Related Posts
Discover relevant articles, tutorials, and tips to improve your skills and explore new techniques.
Stay inspired and connected to our embroidery community.
