MATERIALS
+ Crossbody Bucket Bag pattern
+ 1⁄3 yard of corduroy fabric
+ 1⁄4 yard of linen fabric
+ 1⁄2 yard of mediumweight fusible interfacing
+ Stabilizer: mediumweight tear-away, paper-backed self- adhesive cut-away & water- soluble topper
+ Thread: all-purpose, bobbin & embroidery
+ Temporary spray adhesive
+ Removable fabric marker
+ 60″ length of 8mm curb chain
+ Eight 8mm-diameter grommets and setting tools
+ Needle-nose pliers
+ Floral embroidery design (approximately 5.73″ × 7.25″; see “Design”)
PREPARE
- Download the Crossbody Bucket Bag pattern from www.sewdaily
.com/go/CMEfreebies for free until Feb. 28, 2022. Print out the pattern pieces, tape them together and cut them out.
- Trace the main body pattern onto
the corduroy fabric. Mark the center of pattern on the fabric.
- Cut out the corduroy 1″–2″ from the pattern outline.
- Remove the paper from the self-ad- hesive cut-away stabilizer and stick
it to the wrong side of the corduroy.
- Hoop a piece of mediumweight
tear-away stabilizer. Spray the stabi- lizer with temporary spray adhesive.
- Press the wrong side of the cut- away stabilizer and corduroy to the mediumweight tear-away, centering the pattern in the hoop.
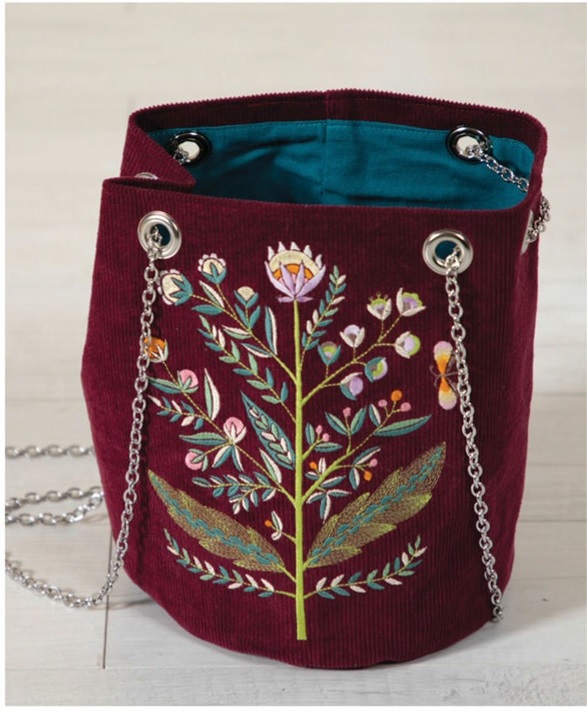
EMBROIDER
- Cut a piece of water-soluble topper that’s big enough to cover the stitch
- If available, use your machine’s baste-in-the-hoop function to hold the topper in place during stitching.
- Use the machine to center the de- sign on the marked center.
- Stitch out the design, changing
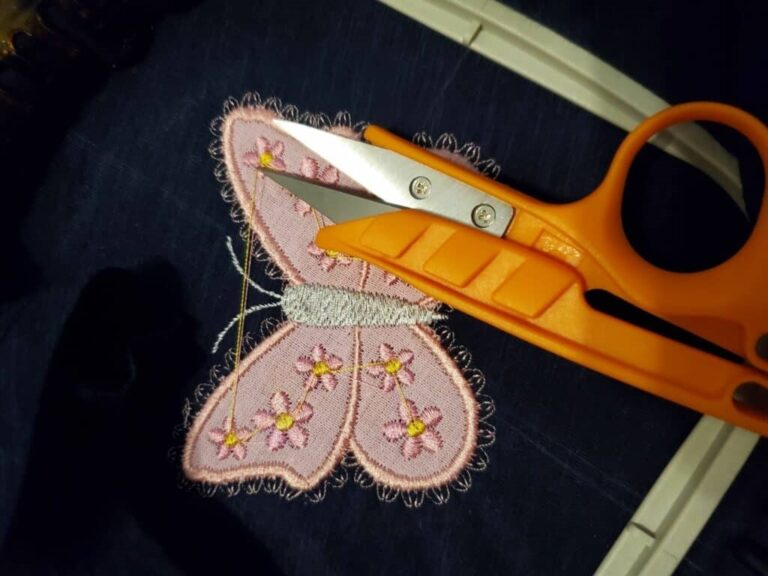
thread colors as desired and trim- ming jump threads between color changes.
- Remove the hoop from the ma- chine and the project from the
- Remove the basting stitches from the front and cut or tear away the excess topping. Tear away any ex- cess tear-away from the back.
- Gently rinse away any remaining topper with warm water following the manufacturer’s instructions, being careful not to touch the cor- duroy within the pattern lines. It is imperative to be gentle with the fabric while the corduroy dries to protect the pile.
- Once dry, cut the corduroy and cut- away stabilizer to the main body pattern size, being sure to keep
the design centered. The cut-away stabilizer will act as interfacing and provide stability to the bag.
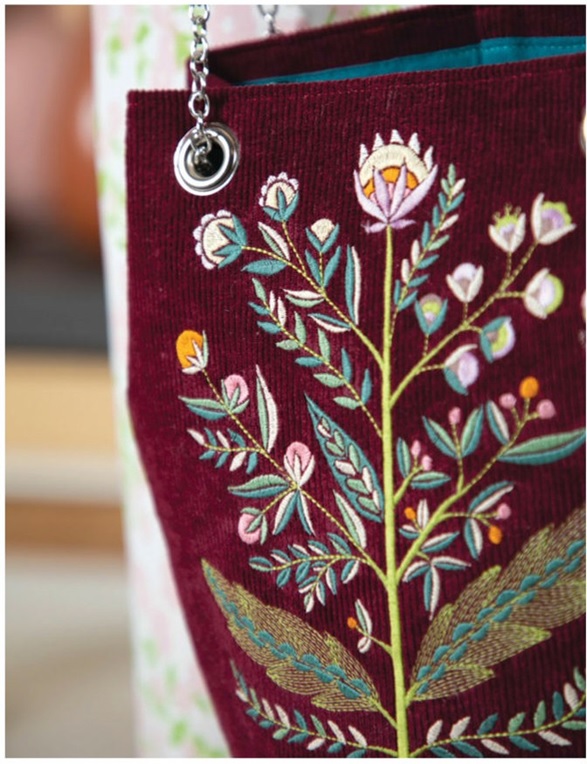
CUT
- From each of the remaining cordu- roy fabric and interfacing, cut one one base panel.
- From the linen fabric, cut one lining main panel, one base panel and one
- Fuse the interfacing piece to the corresponding piece wrong side following the manufacturer’s
- Transfer all pattern
CONSTRUCT
Use 3⁄8” seam allowances unless otherwise noted.
- Fold the pocket in half widthwise with right sides together; stitch
the long edges. Turn the pocket
right side out; press. Designate the pocket folded edge as the upper edge.
- Topstitch the pocket upper edge using a 1⁄8″ seam allowance. Mark
the pocket lengthwise center at the upper and lower edge.
- Press the lining main panel in half widthwise with wrong sides to-
gether; unfold. Designate one of
the long edges as the upper edge. Position the panel right side up on a flat work surface.
- Position the pocket right side up over the lining main panel, aligning lower edges and the pocket mark-
ings with the panel foldline; pin. Topstitch the pocket sides using an 1⁄8″ seam allowance. For added dura- bility, stitch bar tacks at the pocket upper corners.
- Designate one embroidered cor- duroy main-panel long edge as the upper edge.
- Position the lining and exterior
main-panel upper edges with right sides together; pin. Stitch using a 1⁄4″ seam allowance.
- Press the seam allowances toward the Understitch the lining 1⁄8″ from the seamline to secure the seam allowances (A).
- Fold the main panels in half width- wise with right sides together,
aligning the seamlines; pin. Stitch the main-panel long edge, leaving a 4″-long opening along the lining
main panel for turning (B). Press the seam allowances open.
- Quarter-mark the exterior main panel lower edge, using the seam- line as one mark. Quarter-mark the exterior base perimeter. Position
the exterior base and exterior main- panel lower edge with right sides together and aligning the quarter marks; pin at each mark.
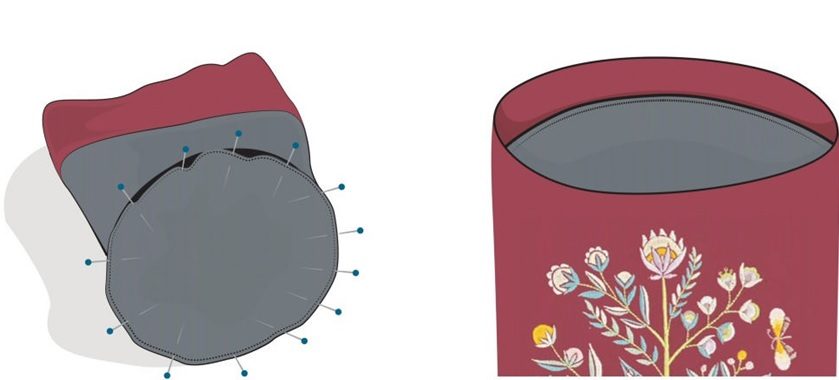
- Continue pinning, easing the base perimeter to the main panel edge, making sure there are no tucks or creases along the seamline (C).
- Position the base over the machine bed with the main panel facing up- ward; stitch the base perimeter.
- Repeat to stitch the lining base to the lining main-panel lower edge.
- Turn the bag right side out through the lining opening. Insert the lining into the exterior with wrong sides together, folding the exterior upper edge 1″ toward the lining side (D).
Hand stitch the lining opening closed using a ladder stitch
- To find the bag center front, fold the
bag upper edge in half along the A
back seamline; pin-mark. Measure and pin-mark 21⁄4″ to either side of the center back along the upper
edge. Repeat to pin-mark 41⁄4″ to ei- ther side of the center back.
- Repeat to pin-mark 21⁄4″ and 41⁄4″ from the center front.
- Install a grommet at each pin-mark
3⁄4″ below the upper edge.
- Fold the bag upper edge to align
the adjacent grommets. Thread the chain length through all the grom- mets as pictured. Open one chain link at the end.
- Attach the open link to the opposite
chain end using pliers. B
Related Posts
Discover relevant articles, tutorials, and tips to improve your skills and explore new techniques.
Stay inspired and connected to our embroidery community.




whoah this weblog is fantastic i like reading your
articles. Stay up the good work! You recognize, a lot of people are looking around
for this info, you could aid them greatly.
Hi there, this weekend is nice designed for me, for the
reason that this occasion i am reading this wonderful educational piece of writing here at my
home.
Hey! This is my first visit to your blog! We are a group of volunteers and starting
a new project in a community in the same niche.
Your blog provided us beneficial information to work on. You have done a extraordinary job!
I could not refrain from commenting. Perfectly
I was excited to discover this web site. I wanted to thank you for ones time for
this wonderful read!! I definitely really liked every bit of it and I have you bookmarked to check out new information in your site.