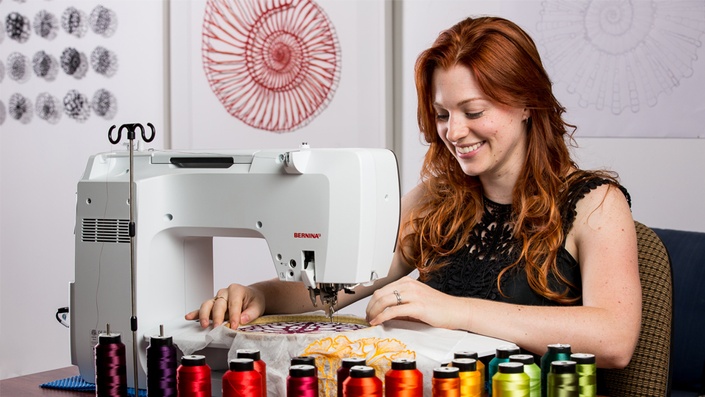
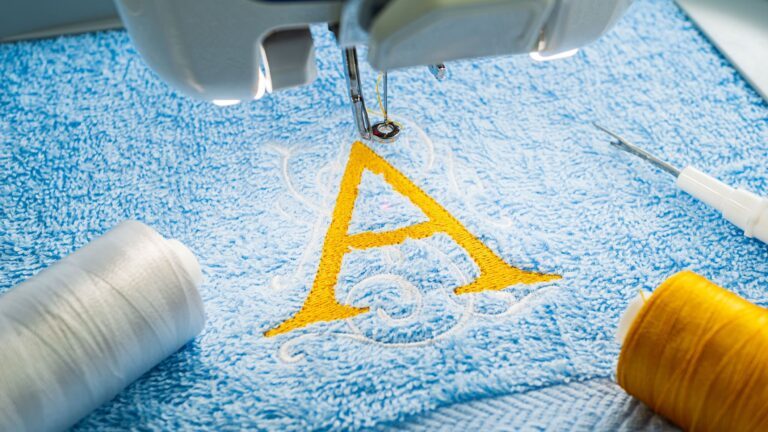
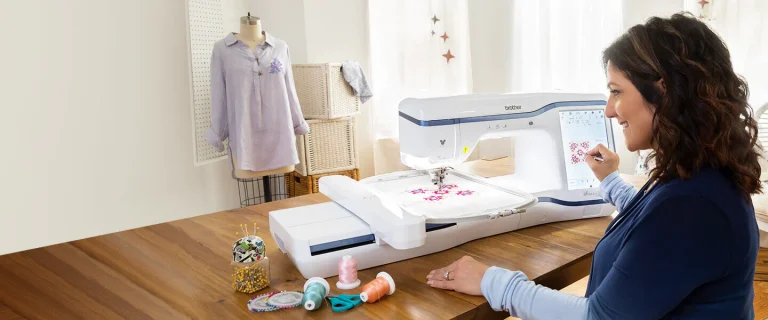
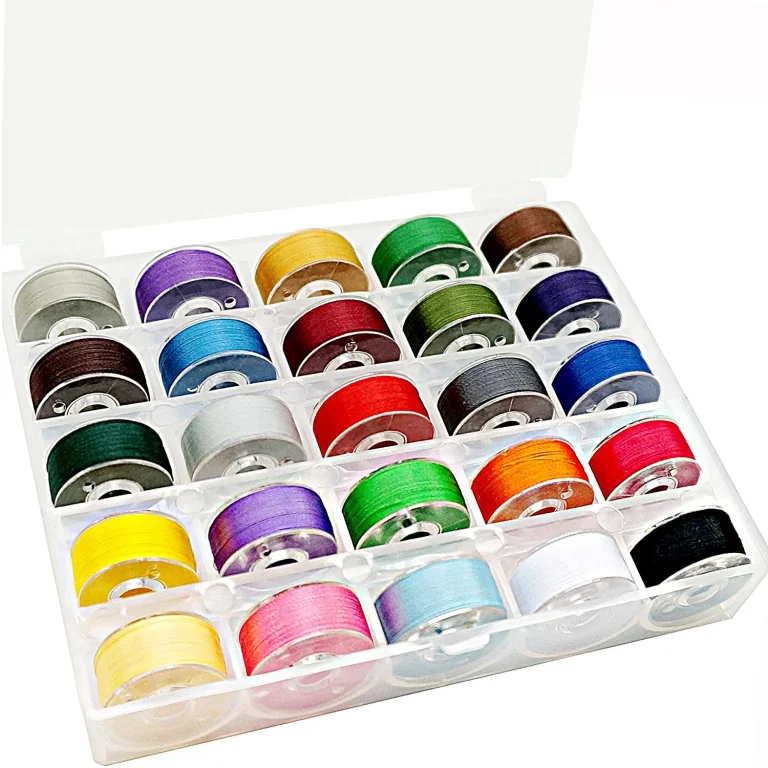
Embroidery is a beautiful art form that has been around for centuries. With modern technology, embroidery has become much easier and more accessible to everyone. Embroidery machines have made it possible for anyone to create beautiful and intricate designs with ease. However, using an embroidery machine can be a bit intimidating, especially for beginners. In this article, we’ll provide you with the best tips to make the most out of your embroidery machine and create stunning designs.
-
Read the Manual
Before you even start using your embroidery machine, make sure you read the manual thoroughly. The manual will provide you with detailed instructions on how to set up your machine and how to use it. You’ll also find important information about maintenance and troubleshooting.
-
Use Quality Materials
The quality of your embroidery depends on the quality of the materials you use. Always use high-quality fabrics, threads, and stabilizers. Cheap materials can cause puckering, tearing, and other problems that can ruin your embroidery.
-
Choose the Right Needle
The needle you use can make a big difference in the quality of your embroidery. Make sure you choose the right needle for the fabric you’re using. If you’re using a heavier fabric, use a larger needle. If you’re using a lighter fabric, use a smaller needle.
-
Use the Right Thread Tension
Thread tension is critical for good embroidery. If the tension is too loose, you’ll get loops and puckers. If it’s too tight, the thread can break or the fabric can pucker. Test your thread tension on a scrap piece of fabric before you start your embroidery project.
-
Hoop Your Fabric Correctly
Proper hooping is essential for good embroidery. If the fabric is not hooped correctly, the embroidery will be off-center or uneven. Make sure the fabric is taut but not stretched, and that the hoop is tightened securely.
-
Use the Right Stabilizer
Stabilizer is used to support the fabric during embroidery and prevent it from puckering. There are different types of stabilizers for different types of fabrics. Make sure you use the right stabilizer for your fabric.
-
Test Your Design
Before you start your embroidery project, it’s always a good idea to test your design on a scrap piece of fabric. This will give you an idea of how the design will look and help you make any necessary adjustments.
-
Use Software to Edit Designs
Embroidery software can help you edit designs and make them fit your project perfectly. You can resize, rotate, and even change the colors of the design. This can be very helpful if you’re working with a pre-made design that’s not quite the right size or color.
-
Clean and Maintain Your Machine
Proper maintenance is critical for the longevity of your embroidery machine. Clean your machine regularly and oil it as needed. Also, make sure you follow the manufacturer’s recommendations for maintenance and servicing.
-
Practice, Practice, Practice
As with any skill, practice is key to becoming a good embroiderer. Start with simple designs and work your way up to more complex ones. Don’t be discouraged if your first few attempts are not perfect. Keep practicing, and you’ll soon be creating beautiful embroidery designs.
Conclusion
Embroidery machines can be a wonderful tool for creating beautiful designs. With these tips, you’ll be able to get the most out of your machine and create stunning embroidery that you can be proud of. Remember to read the manual, use quality materials, choose the right needle and thread tension, hoop your fabric correctly, use the right stabilizer, test your design, use software to edit designs, clean and maintain your machine, and most importantly, practice, practice, practice!
Related Posts
Discover relevant articles, tutorials, and tips to improve your skills and explore new techniques.
Stay inspired and connected to our embroidery community.
