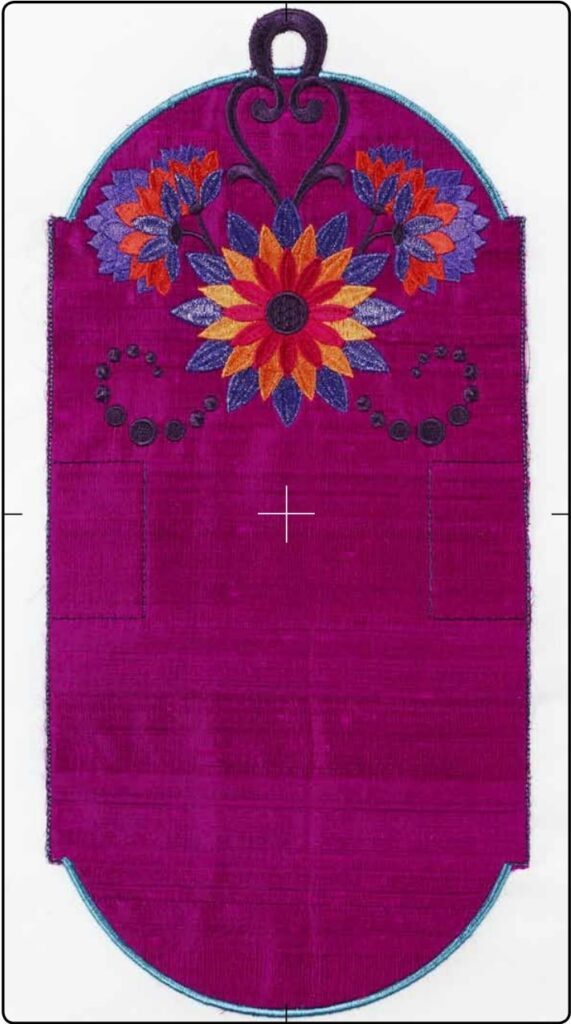
The designs begins with
4 positionstitches for easy matching when
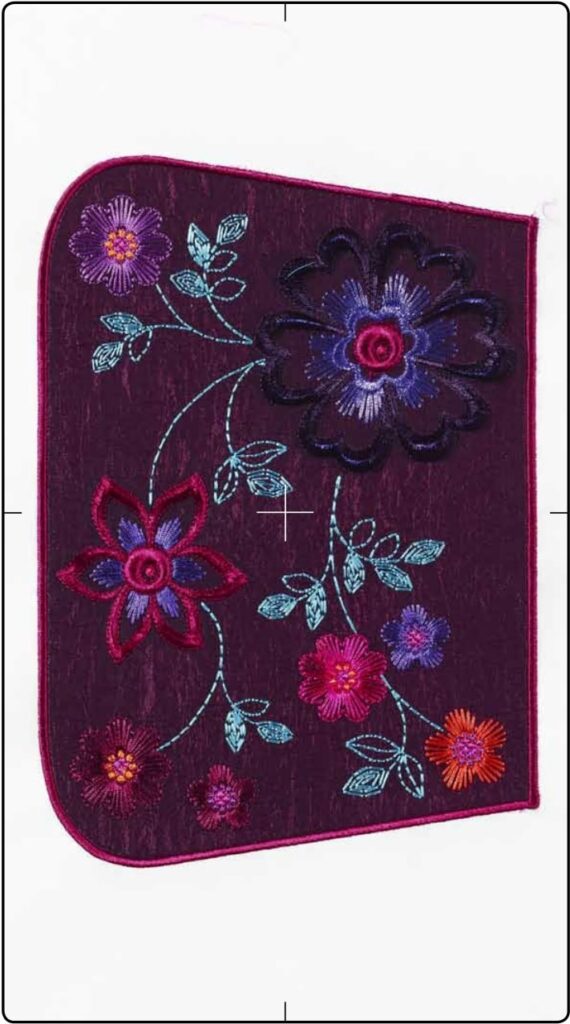
How to embroider a handbag.
We have bin using INSPIRA™ Aqua Magic as stabilizer.
-Start with stabilizer in the hoop.
(If there’s a hanger in the handbag, see instructions for how to embroider a hanger)This appliqué will come first in the embroidery.
*Add fabric for your handbag. -Go on with the embroidery
*Add fabric for the lining underneath the hoop.
Pin from the top to secure the lining .
Trim appliqué fabric both for the lining and the handbag.
-Finish the embroidery
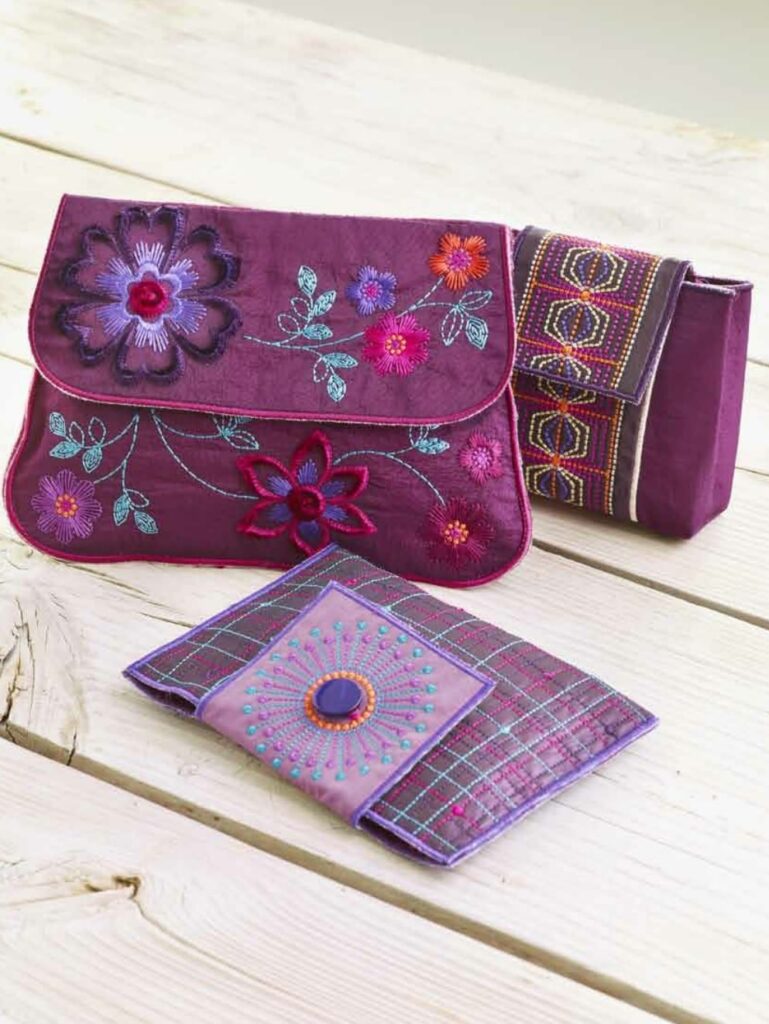
See instructions below for how to sew together your handbag.
ENJOY!
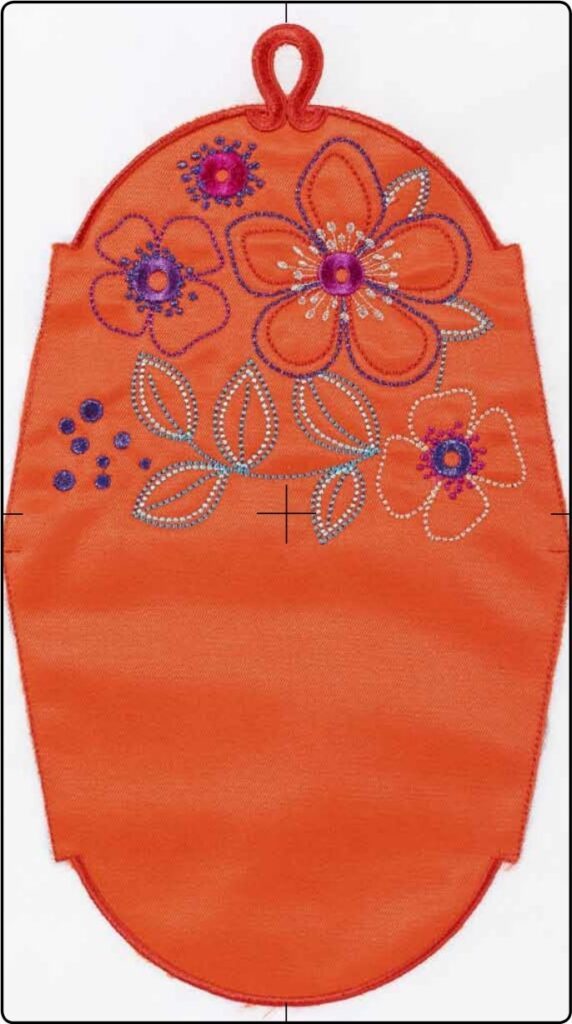
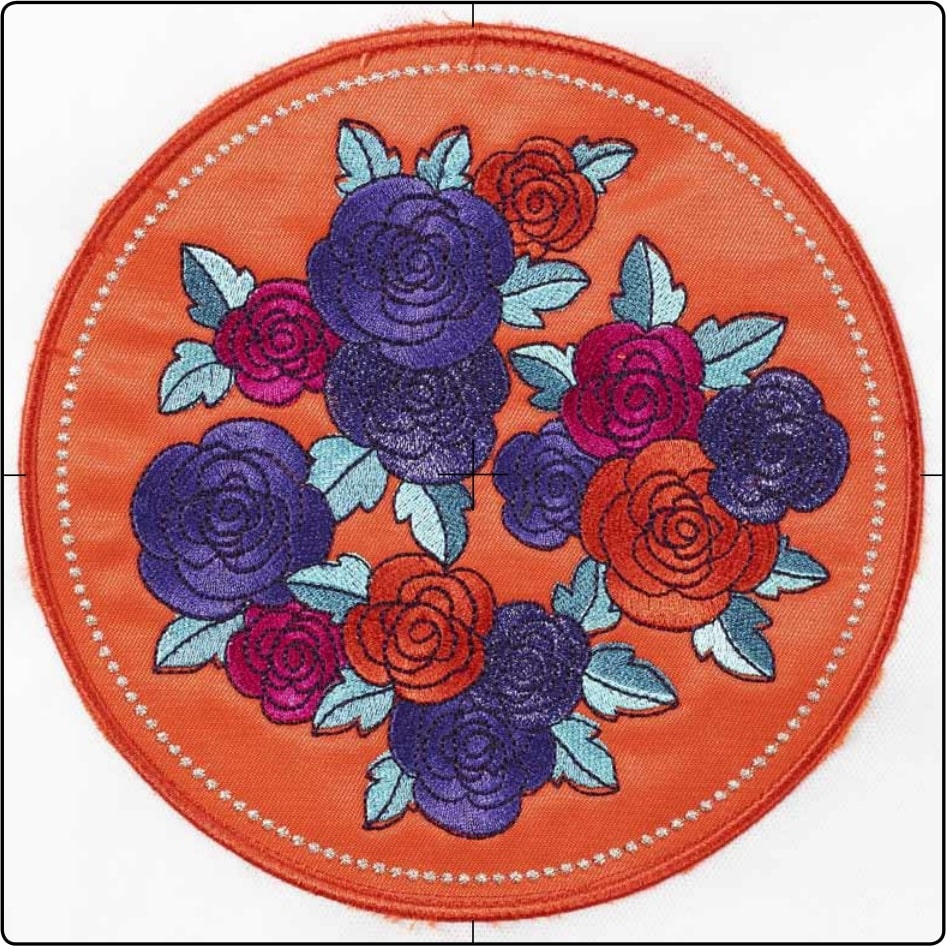

How to embroider a hanger.
Hoop heavy weight water soluble stabilizer
in the hoop.
The hangers are constructed using two
appliqués.
The first applique is the fabric for the
hanger, and the second is when inserting
fabric for the handbag.
Designs with THREAD VELVET™ technique
Cutting instructions to finish THREAD VELVET™ Embroidery:
To create the THREAD VELVET™ effect, cut the satin stitch down the middle from the right side.
Avoid cutting the very last underlay of stitches for the best result.
To secure the thread for laundering, add textile glue to the wrong side of the embroidery to
secure the threads.
Seam ripper
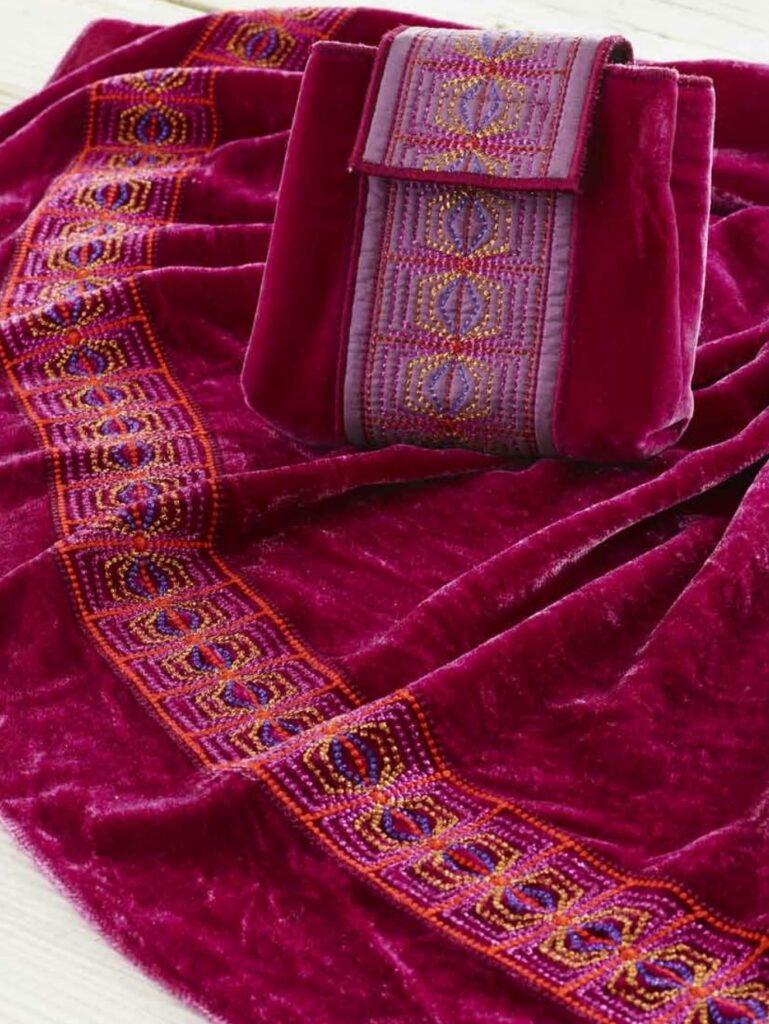

Step 1
Place design right side to
wrong side . Sew the
pieces together.
Marked in red on the picture.
Fold wrong sides
together.
Sew the sides together
from the right side.
Fold right sides together.
Sew the sides together.
Turn the right side out and
press.
Design
Fold at the red marks on
the pictures and sew off the
corner. Turn the right side out
and press.
Step 2
Place the second on top of right side up.Sew the
pieces together from the right
side.
Marked in red on the picture.
*Add fabric for the lining underneath the
hoop.
Pin from the top to secure the lining .
Trim appliqué fabric both for the lining
and the handbag.
-Finish the embroidery
See instructions below for how to sew
together your handbag.
ENJOY!
Related Posts
Discover relevant articles, tutorials, and tips to improve your skills and explore new techniques.
Stay inspired and connected to our embroidery community.

hello there and thank you for your information – I’ve definitely picked up anything new
from right here. I did however expertise some technical points using this website,
since I experienced to reload the web site a lot of times previous
to I could get it to load properly. I had been wondering if your web host is OK?
Not that I am complaining, but sluggish loading instances times will sometimes affect your placement
in google and can damage your quality score if advertising and marketing with Adwords.
Anyway I am adding this RSS to my e-mail and could look out for a lot
more of your respective fascinating content.
Make sure you update this again soon.
I am sure this post has touched all the internet people,
its really really pleasant piece of writing on building up new web
site.
Hello! I understand this is somewhat off-topic however I needed to
ask. Does operating a well-established blog such as yours take
a massive amount work? I’m brand new to writing a blog however I
do write in my journal every day. I’d like to start a blog so I can easily share my personal experience and views online.
Please let me know if you have any kind of suggestions or
tips for brand new aspiring blog owners. Appreciate it!
Hi! This is my first visit to your blog! We are a team of volunteers and starting a
new project in a community in the same niche. Your blog provided us useful information to work on. You have done
a wonderful job!