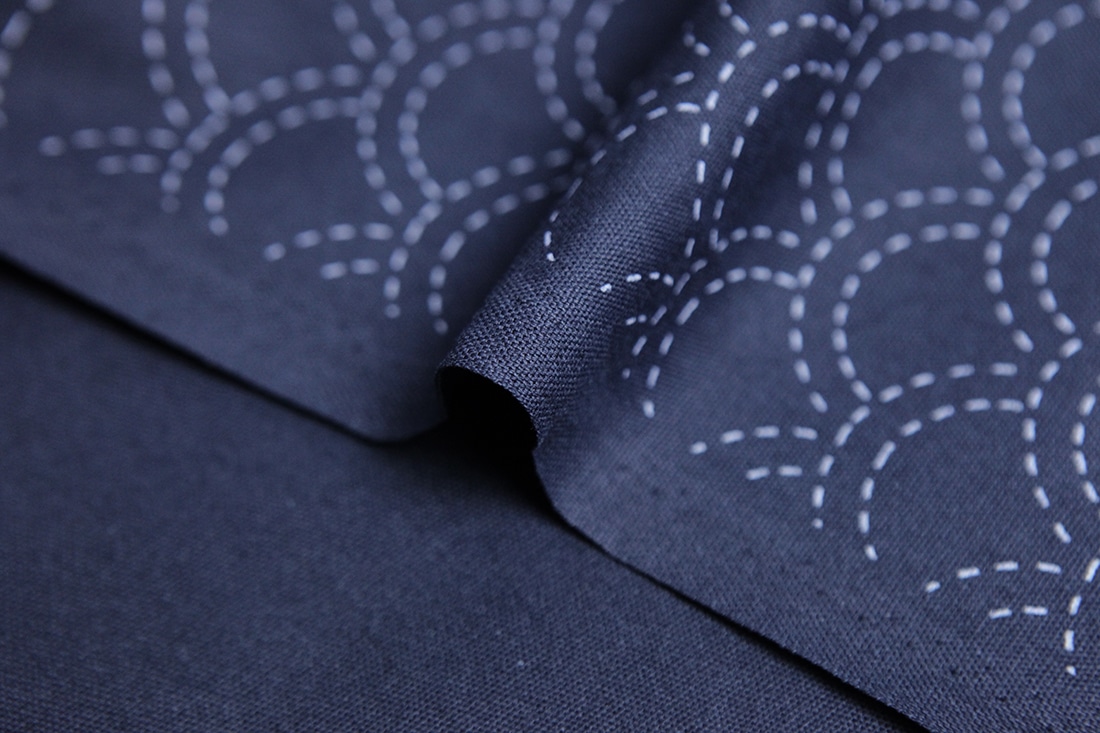
Create the classic look of hand stitches — with white stitches on indigo navy fabric — using your embroidery machine.
HISTORY
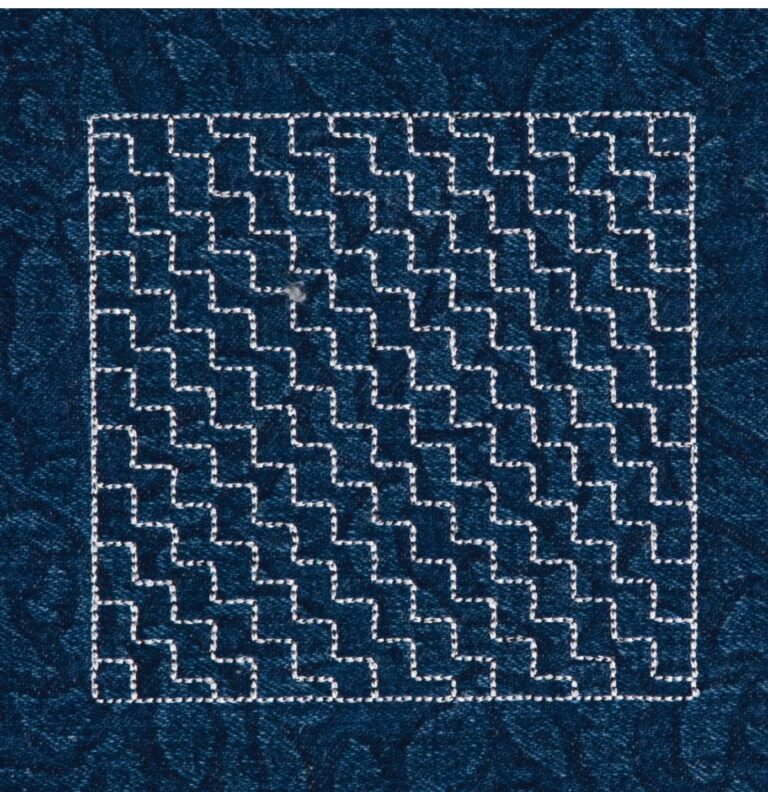
Sashiko designs are a very old form of Japanese hand sewing created with a simple running stitch design in interlocking patterns through one or more layer of fabric. The technique was
used to quilt several layers of fabric together for warmth and durability or to strengthen single fabric layers.
A distinctive element of Sashiko designs is the use of negative or blank space with an allover pattern. It’s the high contrast between fabric and
thread color that showcases the simplistic nature of the designs.
APPLICATIONS
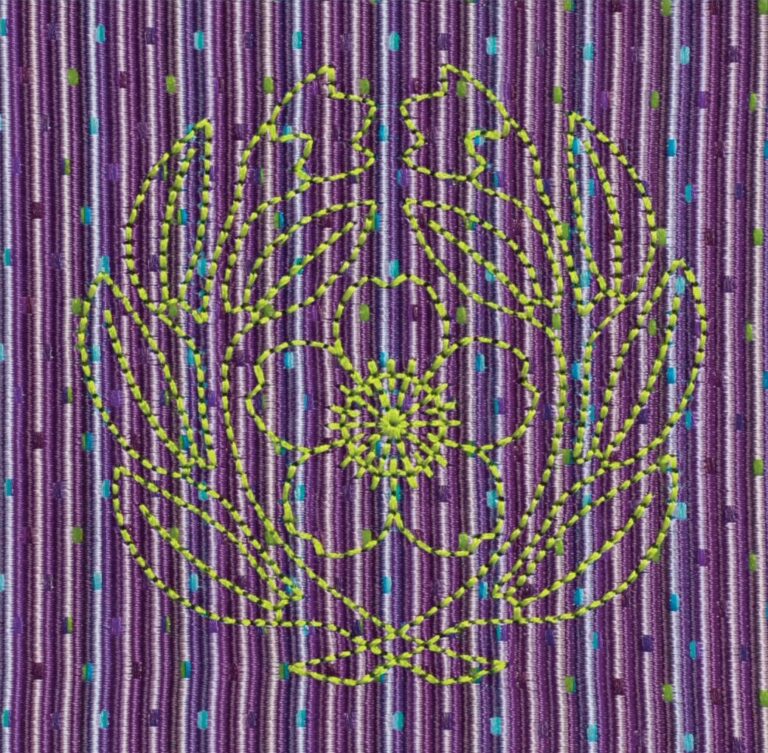
Today, Sashiko is used in many ways, including decorative mending and intricate machine embroidery designs. Sashiko machine embroidery designs often call for thicker thread or use traditional embroidery thread and repeat stitches three or more times to create distinct, heavier lines of stitching. When working by machine, use a thread weight that’s recommended by the digitizing company and a needle that’s appropriate for the thread weight.
Keep your fabric subtle to show off the beauty of the stitching. White This cap project, from Creative Machine Embroidery Spring/ Summer , showcases a non traditional but cute Sashiko
application in modern colors.
threads on dark indigo fabrics, both in pure cotton, are fibers traditionally used for this technique. Go that route for a traditional look or experiment with different color combinations and subtle fabric prints to give this heirloom technique a modern look.
Sashiko Success
Read on for more Sashiko tips to ensure a successful stitchout.
• Prewash, dry and iron fabrics before embroidery. The dyes may bleed when using natural
indigo fabrics. Wash these and any hand-dyed fabrics until the water runs clear.
• Use a single fabric layer or sandwich a layer of thin lightweight batting between two fabric layers to achieve the technique.
• For a single cotton fabric layer, a water-soluble or heat-removable stabilizer can be used. Hoop the stabilizer with the fabric. Re-hoop for each design, removing the stabilizer in its entirety between embroidery.
• For a double-cotton fabric layer with lightweight batting sandwiched between, no stabilizer
is necessary. The fabric layers and the lightweight nature of the designs are enough to support the embroidery.
• Follow the digitizer’s directions for thread and bobbin thread weights.
• For single running stitch designs, consider using a 30-wt. cotton thread and a 90/14 embroidery needle. When using a 12-wt. thread, use a 100/16 or heavier needle.
• Use a black or dark navy bobbin thread and adjust tensions, if necessary, to make a negative
space between the stitches to create a hand-embroidered look.
Related Posts
Discover relevant articles, tutorials, and tips to improve your skills and explore new techniques.
Stay inspired and connected to our embroidery community.
Hi there! I just want to offer you a big thumbs up for your
excellent info you’ve got right here on this post. I will be returning
to your site for more soon.
Somebody essentially help to make severely posts I’d state.
That is the first time I frequented your website page and thus far?
I surprised with the research you made to
make this actual put up incredible. Wonderful activity!
Wow, fantastic blog layout! How long have you been blogging for?
you make blogging look easy. The overall look of
your website is great, let alone the content!
Good job I’d like this site