The Ultimate Guide to Embroidery Machines for Beginners: Stitching Your Way to Success
Introduction:
Embroidery machines have revolutionized the world of textile embellishment, making it possible for beginners to create professional-looking designs with ease.
If you’re new to the world of machine embroidery, this comprehensive guide will help you understand the basics, choose the right machine, and get started on your embroidery journey.
Understanding Embroidery Machines:
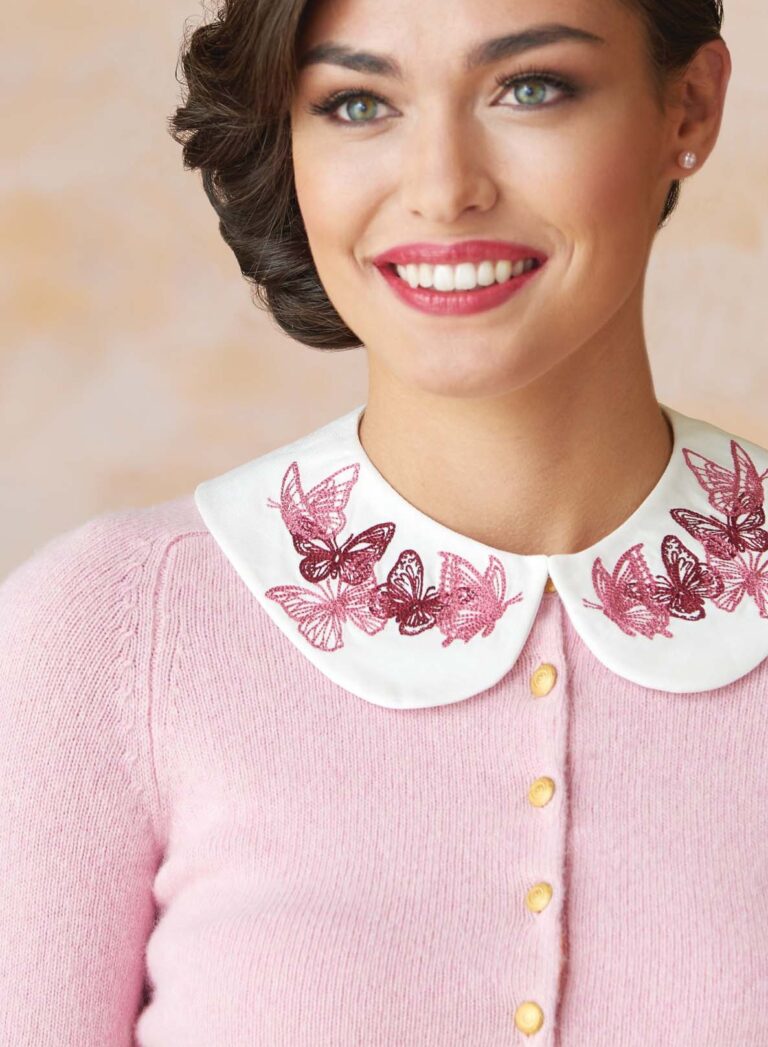
Embroidery machines are specialized sewing machines that create decorative designs on fabric using programmed patterns.
Unlike traditional hand embroidery, machine embroidery is faster, more consistent, and allows for complex designs to be replicated with precision.
Key Components of an Embroidery Machine:
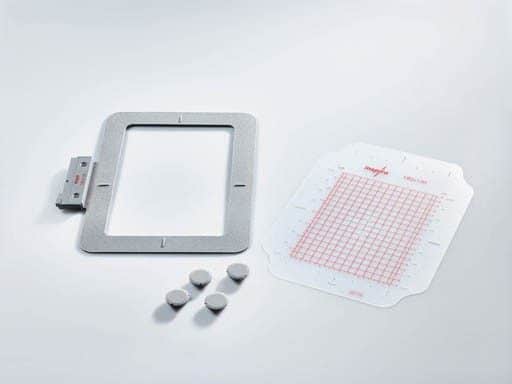
- Embroidery Hoop:
- Holds fabric taut during stitching
- Comes in various sizes for different projects
- Needle:
- Specially designed for embroidery
- Often has a larger eye for thicker threads
- Thread:
- Embroidery-specific threads are recommended
- Available in a wide range of colors and materials
- Bobbin:
- Holds the bottom thread
- May require special bobbins for embroidery
- LCD Screen:
- Displays design options and machine settings
- Allows for design editing on some models
- USB Port or Card Slot:
- For importing designs from external sources
- Automatic Thread Cutter:
- Cuts threads between color changes or at the end of designs
Types of Embroidery Machines for Beginners:
- Combination Sewing and Embroidery Machines:
- Offer both sewing and embroidery functions
- Good for those who want versatility
- Examples: Brother SE600, Janome Memory Craft 500E
- Embroidery-Only Machines:
- Dedicated solely to embroidery
- Often have larger embroidery areas
- Examples: Brother PE800, Janome MB-4S
- Single-Needle Machines:
- Most common for beginners
- Suitable for home use and small projects
- Examples: Singer Legacy SE300, Bernette 79
- Multi-Needle Machines:
- More advanced, with multiple needles for faster color changes
- Suitable for those planning to start a small business
- Examples: Brother PR670E, Janome MB-7
Factors to Consider When Choosing Your First Embroidery Machine:
- Budget:
- Prices range from $300 to several thousand dollars
- Consider long-term value and potential for growth
- Embroidery Area Size:
- Larger areas allow for bigger designs without re-hooping
- Common sizes: 4×4 inches, 5×7 inches, 6×10 inches
- Built-in Designs:
- Look for machines with a variety of pre-loaded designs
- Consider the option to import additional designs
- Ease of Use:
- Look for intuitive interfaces and clear instructions
- Consider models with on-screen tutorials
- Connectivity:
- USB ports for importing designs
- Wi-Fi capability for direct design downloads
- Software Compatibility:
- Check if the machine comes with design software
- Ensure compatibility with popular design formats
- Support and Warranty:
- Look for machines with good customer support
- Consider the length and coverage of the warranty
Getting Started with Your Embroidery Machine:
- Setting Up Your Machine:
- Read the manual thoroughly
- Set up in a well-lit, spacious area
- Ensure proper power supply and stable surface
- Threading the Machine:
- Follow the machine’s threading guide carefully
- Practice threading until you’re comfortable
- Hooping Fabric:
- Use appropriate stabilizer for your fabric
- Ensure fabric is taut but not stretched in the hoop
- Selecting a Design:
- Start with simple, pre-loaded designs
- Gradually move to more complex patterns
- Test Stitching:
- Always do a test stitch on scrap fabric
- Check tension and adjust as needed
- Monitoring the Process:
- Watch the machine as it stitches, especially at first
- Be ready to pause if you notice any issues
Essential Supplies for Beginners:
- Stabilizers:
- Cut-away, tear-away, and water-soluble options
- Essential for preventing fabric puckering
- Thread:
- High-quality polyester or rayon embroidery thread
- Start with a basic color set
- Needles:
- Embroidery-specific needles in various sizes
- Replace regularly for best results
- Scissors:
- Small, sharp scissors for trimming threads
- Curved scissors can be helpful for hard-to-reach areas
- Bobbins:
- Pre-wound bobbins or empty bobbins for winding
- Ensure they’re compatible with your machine
- Fabric Marking Tools:
- Water-soluble pens or chalk for marking placement
- Cleaning Supplies:
- Lint brush and machine oil for maintenance
Tips for Successful Embroidery:
- Start Simple:
- Begin with easy designs to build confidence
- Gradually increase complexity as you gain experience
- Practice Proper Hooping:
- Consistent hooping is key to good results
- Use the inner hoop as a template for marking
- Use Quality Materials:
- Good thread and appropriate stabilizers make a big difference
- Don’t skimp on fabric quality
- Maintain Your Machine:
- Clean and oil your machine regularly
- Keep it covered when not in use
- Experiment with Different Fabrics:
- Try embroidering on various materials to understand their quirks
- Adjust stabilizers and settings accordingly
- Join Online Communities:
- Connect with other embroiderers for tips and inspiration
- Share your projects and learn from others
- Keep Learning:
- Watch tutorials and take online classes
- Stay updated on new techniques and trends
Common Beginner Mistakes to Avoid:
- Skipping the Test Stitch:
- Always test on scrap fabric to avoid costly mistakes
- Ignoring Thread Tension:
- Incorrect tension leads to poor stitch quality
- Learn to adjust tension for different threads and fabrics
- Overlooking Stabilizers:
- Using the wrong stabilizer can ruin your project
- Understand which stabilizer works best for each fabric
- Rushing the Process:
- Take your time, especially when setting up
- Rushing often leads to errors and frustration
- Neglecting Machine Maintenance:
- Regular cleaning and oiling are crucial
- Ignoring maintenance can lead to costly repairs
Expanding Your Skills:
- Digitizing:
- Learn to create your own designs using digitizing software
- Start with simple shapes and gradually increase complexity
- Multi-Hooping:
- Master techniques for creating larger designs
- Learn to align multiple hoopings precisely
- Specialty Techniques:
- Explore 3D embroidery, appliqué, and in-the-hoop projects
- Try different thread types like metallic or glow-in-the-dark
- Customization:
- Learn to edit and combine existing designs
- Create personalized items for gifts or small business ventures
Troubleshooting Common Issues:
- Thread Breaks:
- Check tension, needle quality, and thread path
- Ensure thread is not caught or tangled
- Design Misalignment:
- Double-check hooping and fabric placement
- Ensure the machine is on a stable surface
- Puckering:
- Use appropriate stabilizer for your fabric
- Check hoop tightness and design density
- Machine Jams:
- Clean the bobbin area and check for loose threads
- Ensure correct bobbin insertion
Conclusion:
Embarking on your embroidery machine journey as a beginner can be exciting and rewarding.
By understanding the basics, choosing the right machine, and following best practices, you’ll be creating beautiful embroidered pieces in no time.
Remember, every expert was once a beginner, so don’t be afraid to experiment, learn from mistakes, and most importantly, enjoy the creative process. Happy stitching!
Related Posts
Discover relevant articles, tutorials, and tips to improve your skills and explore new techniques.
Stay inspired and connected to our embroidery community.
