SewArt is a very inexpensive embroidery digitizing program, so its capabilities are sometimes underestimated.
I could achieve with this cheap digitizing software. Of course
you can use some of its automatic digitizing tools to convert JPG images into embroidery files.
To digitize an applique using SewArt, you will need to follow these steps:
-
Open SewArt and create a new design.
-
Import the image of the applique into SewArt by going to the “File” menu and selecting “Import.
-
Select the “Trace” tool from the toolbar. This tool allows you to trace the outline of the applique.
-
Use the trace tool to carefully trace the outline of the applique. You can adjust the settings for the trace tool to make it easier to trace the shape.
-
Once you have traced the outline of the applique, you can use the “Fill” tool to fill in the area inside the traced outline.
-
Adjust the fill settings to choose the type of fill you want to use (solid, pattern, etc.) and the color of the fill.
-
When you are satisfied with the digitized applique, you can save the design and send it to your embroidery machine to sew the applique onto your project.
It’s important to note that digitizing appliques can be a bit of a challenging process, especially if you are new to digitizing software. It may take some practice to get the hang of it, but with some patience and practice, you should be able to create beautiful appliques using SewArt.
But did you know you can even digitize your decal designs using SewArt? How are applique designs different from normal machine embroidery designs?
How to Digitize a Decal Design Using SEWART Embroidering appliqué patterns on an embroidery machine is one thing. But what about creating one? SewArt makes it super easy.
Of course, you can create a decal file from any shape, but for simplicity I decided to create a simple circular decal using the built-in circles in SewArt. That’s how I do it.
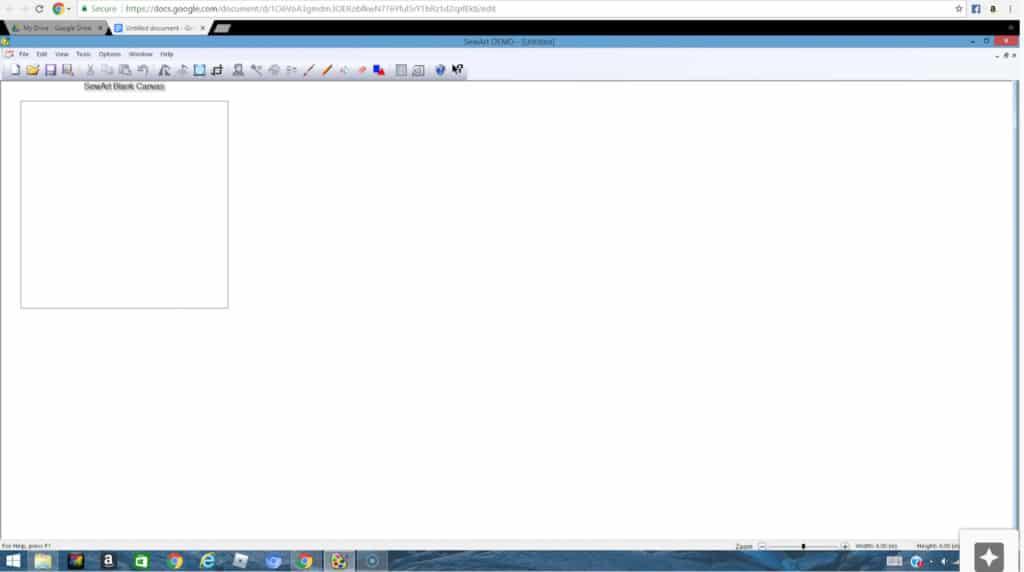
Start with a blank canvas When you start SewArt, you will see a blank canvas.
Because we’re creating the file from one of the SewArt shapes, you don’t need to open the other file.
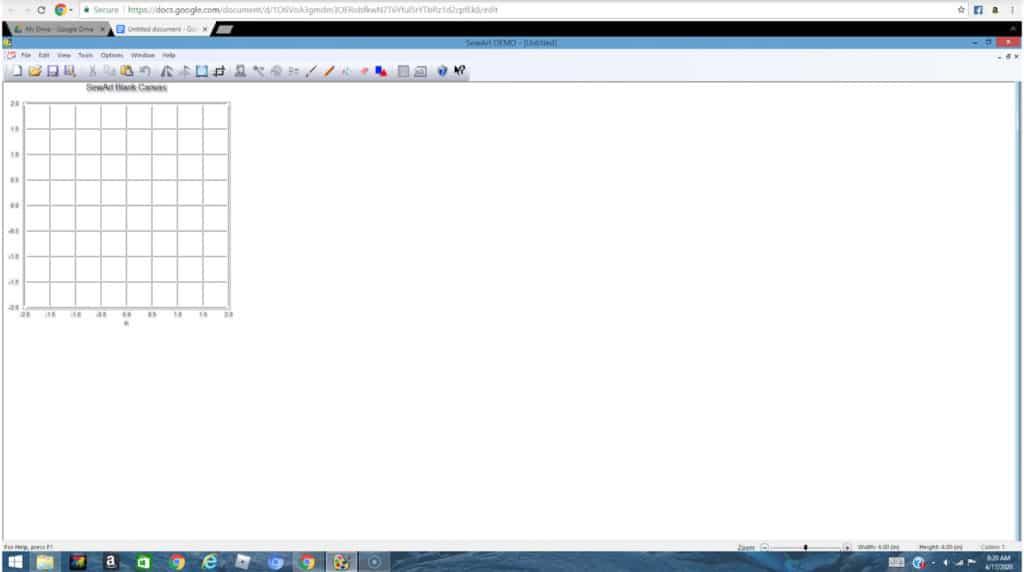
Turn on grid
I turned on the grid in the View menu to clearly see the size of the decal design I was creating.
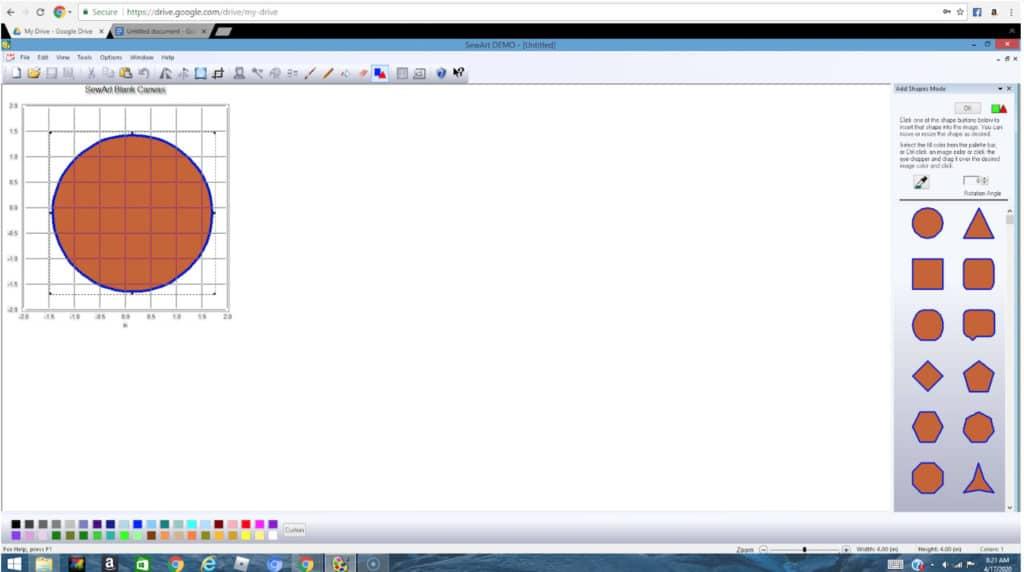
Choose a built-in shape
From the shape menu, I selected a circle and adjusted it to be about 3 inches in diameter. How do I know how big the circle is? I use the grid to guide me.
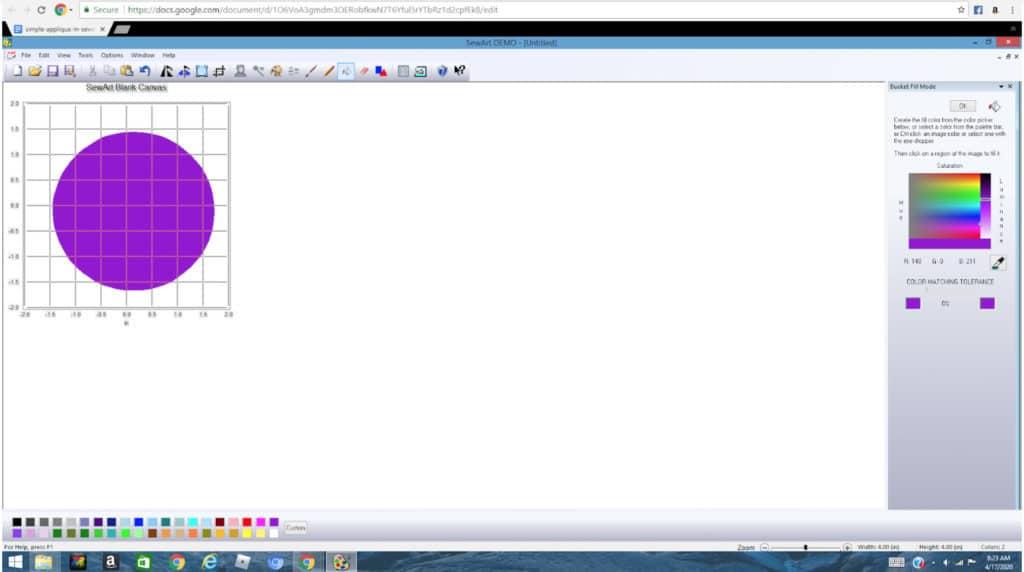
make a shape a color
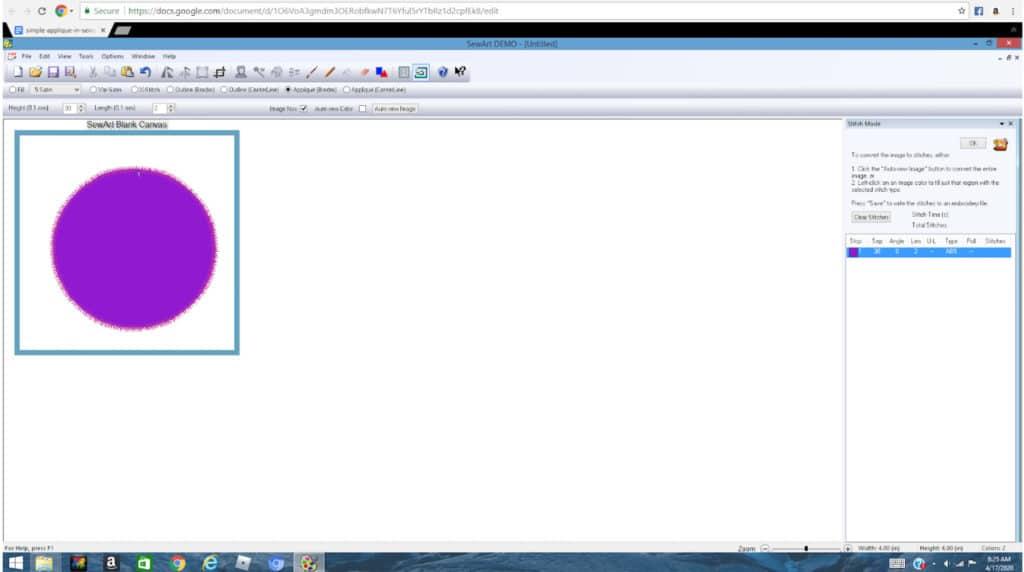
By default, shapes in SewArt have strokes and fills of different colors. Since I wanted a solid circle, I used the paint bucket tool to apply the same purple color to the stroke and fill to make the software interpret the circle as a solid color.
All I had to do was click on the filled area and outline of the circle with the paint bucket tool to make the circle all purple.
define stitches
Now the circle can be used as the base for the decal design. Click the sewing machine icon to start creating some stitches This will take you to a new screen for defining the type of stitch.
To create an application design, we must first select the appropriate settings.
Select “Decal (Border)” in the top bar and make sure “5 Satin” is selected as the stitch type in the drop-down box.
Then you need to choose the width and density of the stitches. Settings: Height controls the width of the stitch.
I chose 30 for my stitch width, which is 30*0.1=3mm. For the density labeled “Length”, I chose 2. The lower the length number, the tighter the seam.
You may notice a color scale on the right.
Although it looks like there is only one stitch wheel, SewArt actually creates three stitches
.
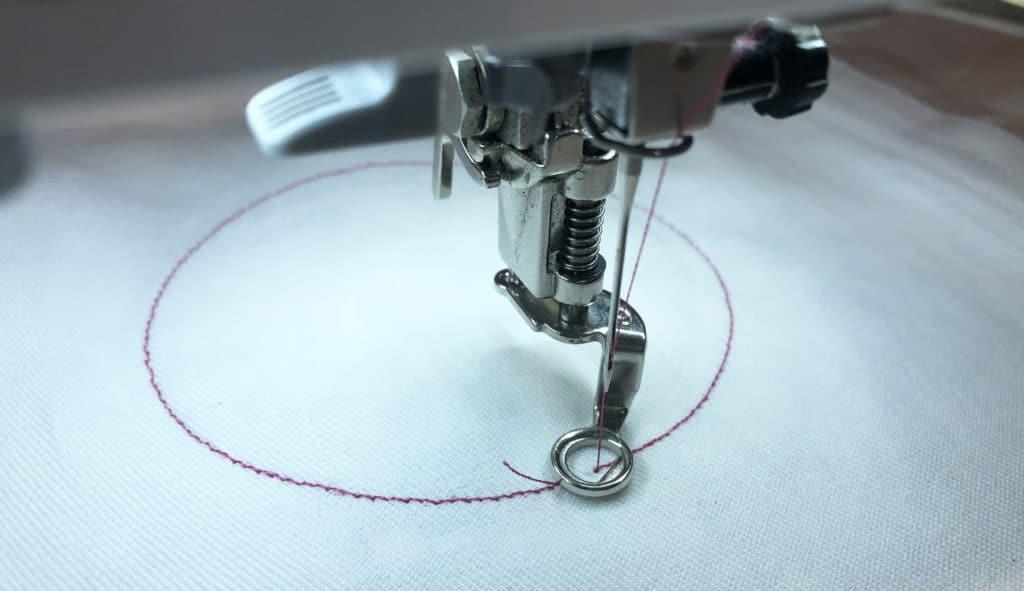
Since we selected Appliqué as the stitch type, SewArt will create the triple stitch as before: Place Stitch, Baste Stitch, and Trim Satin Stitch. SewArt will first prompt you to save the file as an image.
Since you are working on the graphic on which the embroidery is based, you may need to save the modified image.
Now save your embroidery file. You’ll notice that there is an option to enable “Connect adjacent threads of the same color”, which is checked.
I was concerned about leaving it on, thinking it might remove the stop between placement, basting and the final satin stitch, but it turns out it doesn’t affect the creation of these three stops.
So you can keep the embroidery file open while saving it.
Test out your new appliqué design
In order to test out your design.
You should always test out your embroidery and appliqué designs
on some scrap fabric
before stitching them on your finished product.
Related Posts
Discover relevant articles, tutorials, and tips to improve your skills and explore new techniques.
Stay inspired and connected to our embroidery community.


Thanks , I’ve recently been searching for information approximately this topic for a long time
and yours is the greatest I’ve found out so
far. However, what in regards to the bottom
line? Are you sure about the source?
What’s up to all, it’s truly a pleasant for me to pay a quick visit this web page, it contains precious Information.
Hi there, You’ve done an incredible job. I will definitely
digg it and personally recommend to my friends. I’m confident they’ll be
benefited from this web site.
Hi to all, how is all, I think every one is getting more
from this web page, and your views are fastidious designed for new users.