Embroidery machine DST VS PES
Embroidery Machine DST vs PES: A Comprehensive Guide
In the world of embroidery machines, two file formats stand out as the most widely used: DST and PES. These two formats are both designed to store embroidery designs and can be used with a variety of embroidery machines. However, there are some key differences between the two formats that can make a difference in the quality of your embroidery projects.
What are DST and PES Files?
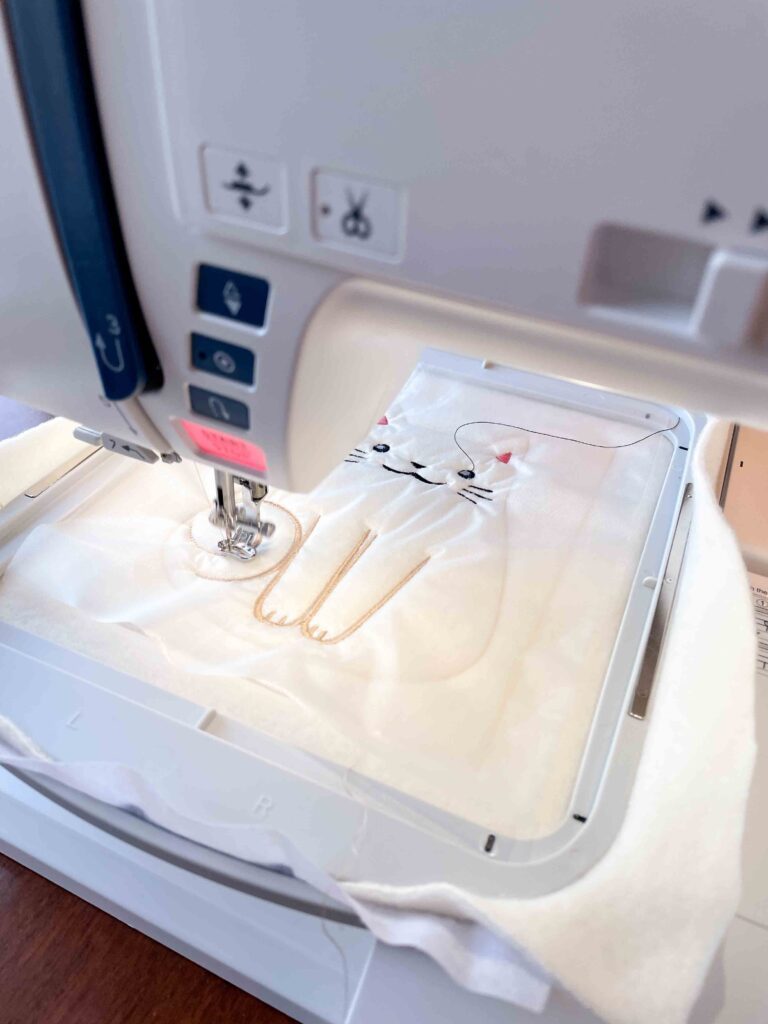
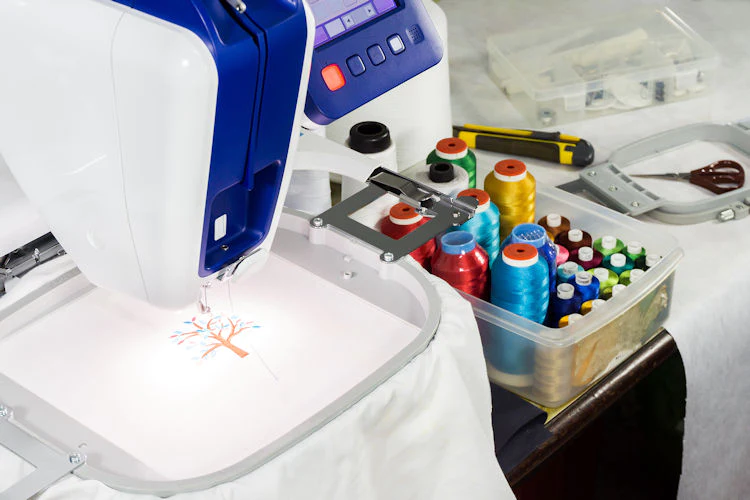
DST and PES are both embroidery machine file formats that are used to store embroidery designs. These files contain information about the stitches, colors, and placement of the embroidery design. When you load a DST or PES file into your embroidery machine, the machine will interpret the file and stitch the design onto your fabric.
DST Files
DST files are the most common embroidery file format. They are supported by a wide variety of embroidery machines, including those made by Brother, Singer, Janome, and Pfaff. DST files are known for their high quality and their ability to handle complex designs. They are also very versatile and can be used for a variety of applications, including clothing, home décor, and gifts.
PES Files
PES files are a proprietary format developed by Brother. They are only compatible with Brother embroidery machines. PES files are known for their simplicity and ease of use. They are also well-suited for small projects, such as patches and labels.
What is the Difference Between DST and PES Files?
The main difference between DST and PES files is the way they store color information. DST files use a 24-bit color palette, while PES files use a 16-bit color palette. This means that DST files can display a wider range of colors than PES files. However, PES files are generally smaller in size than DST files.
Which File Format Should I Use?
The best file format for you will depend on your specific needs. If you are using a Brother embroidery machine, then PES files are a good option. If you are using a different brand of embroidery machine, then DST files are a better choice. If you need to create complex designs, then DST files are the best option. If you are creating small projects, then PES files are a good choice.
Here is a table summarizing the key differences between DST and PES files:
| Feature | DST File | PES File |
|---|---|---|
| File format | Public | Proprietary |
| Supported machines | Wide variety, including Brother, Singer, Janome, and Pfaff | Only Brother embroidery machines |
| Color palette | 24-bit | 16-bit |
| File size | Larger | Smaller |
| Best for | Complex designs | Small projects |
Tips for Using DST and PES Files
Here are a few tips for using DST and PES files:
- Use high-quality source images. The quality of your embroidery design will depend on the quality of your source image. Make sure your source image is large enough and clear enough to produce a good-looking embroidery design.
- Use a digitizing software. Digitizing software can help you create high-quality embroidery designs. Digitizing software can also help you optimize your designs for specific embroidery machines.
- Test your designs before you stitch them on fabric. It is always a good idea to test your embroidery designs on a piece of scrap fabric before you stitch them on your final project. This will help you to identify any problems with your design.
Demystifying Embroidery Machine File Formats: DST and PES
In the realm of embroidery, file formats serve as the bridge between digital designs and their physical manifestation on fabric. Two of the most prevalent formats, DST and PES, hold unique characteristics and applications, making it essential to understand their distinctions. Whether you’re a seasoned embroidery enthusiast or a curious newcomer, this blog post delves into the world of DST and PES, equipping you with the knowledge to navigate the intricacies of embroidery machine files.
Unveiling the DST Format: A Symphony of Precision
DST, an acronym for Data Stitch, emerges as the proprietary format of Tajima, a leading embroidery machine manufacturer. It reigns supreme as the native file format for Tajima embroidery machines, renowned for its unwavering precision in stitch placement and optimal utilization of thread. DST files are the epitome of craftsmanship, ensuring that intricate designs with intricate details are executed with unwavering precision.
Brotherly Bond: PES, the Format of Familiarity
Brother embroidery machines embrace the PES format, an acronym for Brother PE Design. PES stands as a testament to the concept of balance, striking a harmonious chord between ease of use and stitch precision. This format has garnered immense popularity among hobbyists and crafters alike, catering to their desire for seamless embroidery experiences. PES files often exhibit a smaller file size compared to DST counterparts, making them more manageable for storage and transfer.
Key Differences: A Tale of Two Formats
The divergence between DST and PES lies in the level of control they offer over stitch placement. DST emerges as the more sophisticated format, granting unrivaled precision and customization of stitch density. This makes it the ideal format for complex designs that demand meticulous attention to detail. PES, on the other hand, embraces simplicity, catering to everyday embroidery projects. Its streamlined stitch placement algorithms facilitate the creation and editing of designs without requiring extensive technical expertise.
Bridging the Divide: Converting DST to PES and Vice Versa
While both DST and PES hold prominent positions in the embroidery world, there may arise instances where the need to convert between these formats arises. This can prove particularly useful if you possess a design created in one format but require it for use with a different embroidery machine brand. Online conversion tools readily cater to this need, providing an effortless means of converting DST files to PES and vice versa.
Navigating the Format Maze: Choosing the Right File for Your Project
The choice between DST and PES hinges on your specific project requirements and preferences. If intricate designs with meticulous stitch placement are your forte, DST is the undisputed champion. For more basic embroidery projects or those demanding ease of use, PES emerges as the perfect choice.
Embroidery’s Silent Heroes: A Tribute to DST and PES
DST and PES, though seemingly mundane file formats, play a pivotal role in the embroidery industry. They serve as the catalysts that transform digital designs into tangible creations, adorning garments, home décor, and various textiles with vibrant artistry. By understanding their strengths and limitations, we gain the ability to make informed decisions, ensuring that our embroidery projects shine with precision and elegance.
Conclusion: The Power of Knowledge
DST and PES, the cornerstones of embroidery machine file formats, hold the key to unlocking your creative potential. By delving into their intricacies and understanding their distinct characteristics, you’ll navigate the world of embroidery with newfound confidence. Whether you’re a seasoned enthusiast or a budding embroiderer, embracing the knowledge of DST and PES opens doors to a world of possibilities, ready to be explored and cherished. So, embark on this journey of enlightenment, armed with the wisdom of these essential file formats, and let your embroidery creations take flight.
DST and PES files are both valuable tools for creating high-quality embroidery designs. By understanding the key differences between these two file formats, you can select the best file format for your specific needs. With a little practice, you can create stunning embroidery projects that will impress everyone.
How to send a DST file to the embroidery machine?
To send a DST file to an embroidery machine, you should first ensure that the DST file is error-free. Once you’ve verified its accuracy, connect a USB drive to the embroidery machine to transfer the DST file. It is crucial to have the embroidery machine configured with the correct thread colors and hoop size. Before commencing the stitching process, make sure all settings are in place. Additionally, consider utilizing a DST File Converter tool to transform your artwork into a professional embroidery design file seamlessly.
How to check a DST file for errors before sending it to the embroidery machine?
To ensure that a DST file is error-free before sending it to the embroidery machine, follow these steps:
1. **Utilize Software Preview Function:** The first step is to use your embroidery software’s preview function. This tool allows you to visually inspect the DST file and verify that all design elements are in their proper positions. Ensure that there are no overlapping stitches or gaps in the design.
2. **Test Stitch-out on Scrap Fabric:** Conduct a test stitch-out on a piece of scrap fabric. This practical step will help you confirm that the design stitches out accurately and as intended. By examining the physical stitch-out, you can identify any potential issues such as missed stitches, thread breaks, or incorrect colors before sending the file to the embroidery machine.
How to convert a design to a DST file?
To convert a design to a DST file for embroidery, follow these steps:
1. Choose Design Software: Select embroidery design software like Wilcom, Tajima, Pulse, or Hatch that fits your budget.
2. Create Your Design: Open the design in the software, choose the size of the design, and select design elements such as shapes, letters, or images. Customize colors, sizes, and placement as needed.
3. Convert to DST File: Save the design by choosing the DST file type in the software’s ‘save as’ menu. Check and adjust settings like stitch density and pull compensation if necessary.
4. Check DST File: Before sending it to the embroidery machine, verify the DST file for errors by using the software’s preview function. Test stitch-out on scrap fabric to ensure correct stitching.
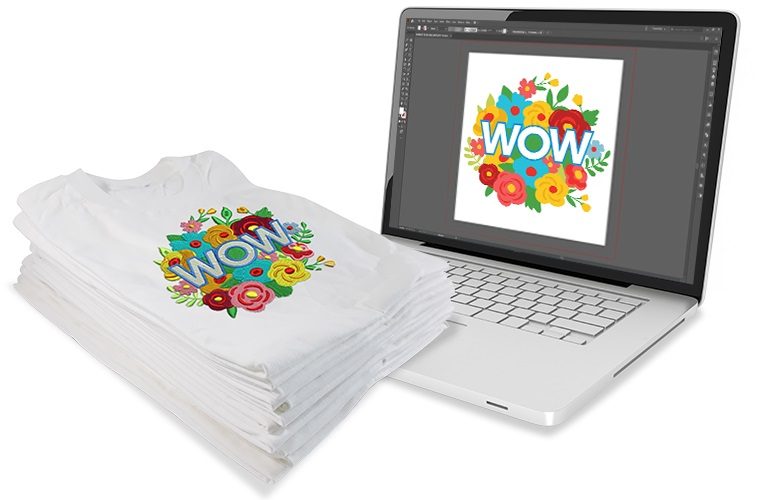
5. Send to Embroidery Machine: Plug a USB drive with the DST file into the machine. Confirm the machine is set up with the right thread colors and hoop size. Begin the stitching process and convert designs using a DST File Converter if needed.
What software options are available for creating DST files?
Different software options are available for creating DST files, such as Wilcom, Tajima, Pulse, and Hatch. These programs provide embroidery design software that allows users to create DST files effectively. Users can choose the software option that best fits their budget and requirements to create DST files for embroidery purposes.
How to create a DST file for embroidery?
Creating a DST file for embroidery involves several steps to convert your artwork into instructions that an embroidery machine can understand.
First, you will need embroidery design software such as Wilcom, Tajima, Pulse, or Hatch. Once you have chosen your software, you can start creating your design by selecting the size and design elements. Customize the colors, sizes, and placement of your design elements as desired.
Next, you will need to convert your design into a DST file format. This can typically be done by selecting DST as the file type and ensuring any specific options for DST files, such as stitch density and pull compensation, are adjusted accordingly.
After converting your design to a DST file, it is essential to check for any errors. Utilize your software’s preview function to confirm that all elements are in the correct place and there are no overlapping stitches or gaps. Consider doing a test stitch-out on scrap fabric to ensure your design stitches out correctly.
Once you have verified that your DST file is error-free, you are ready to send it to the embroidery machine. Plug a USB drive into the machine to read the DST file and ensure that the machine is set up with the correct thread colors and hoop size. Finally, you can start the stitching process, or if needed, use a DST File Converter to further refine your embroidery design file.
Related Posts
Discover relevant articles, tutorials, and tips to improve your skills and explore new techniques.
Stay inspired and connected to our embroidery community.
Pingback: Pes vs DST embroidery files: Which one works for your project? - Latest Embroidery