From Sketch to Stitch: A Comprehensive Guide to Drawing Embroidery Designs
Embroidery transforms simple fabric into stunning works of art. But before you thread your needle, it all starts with a design. This comprehensive guide delves into the world of drawing embroidery designs, equipping you to translate your vision onto fabric.
Finding Inspiration: Spark Your Creativity
The possibilities in embroidery design are endless! To get started, ignite your creativity with these inspiring sources:
- Nature: Flowers, leaves, insects, and animals are popular embroidery motifs. Explore botanical illustrations or nature photographs for inspiration.
- Art & Culture: Folk art, traditional embroidery patterns, and historical textiles offer a wealth of design inspiration.
- Geometric Patterns: Simple shapes and lines can be combined to create striking geometric embroidery designs.
- Typography & Lettering: Elevate your project with embroidered lettering, initials, or quotes. Explore calligraphy styles and fonts for unique designs.
- Personalize: Incorporate meaningful symbols, dates, or names to make your embroidery truly special.
Embrace the Web: Websites like Pinterest and Instagram are treasure troves of embroidery design inspiration. Search keywords related to your interests or browse popular embroidery hashtags.
Understanding Embroidery Stitches: The Building Blocks of Design
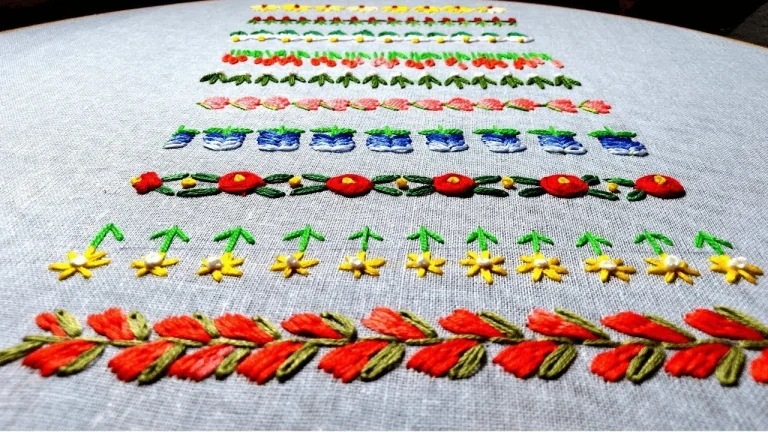
Before sketching, familiarize yourself with basic embroidery stitches. These stitches are the building blocks that bring your design to life. Here are some fundamental stitches to consider:
- Backstitch: A secure stitch for outlines and lettering.
- Satin Stitch: Creates a smooth, solid-filled appearance.
- Stem Stitch: Ideal for creating lines and stems.
- French Knot: Adds a dimensional element to your design.
- Lazy Daisy Stitch: Creates a delicate floral motif.
- Chain Stitch: Creates a decorative looping effect.
Many additional stitches exist, each with its own unique application. Explore embroidery stitch tutorials online or consult a beginner’s embroidery book for further guidance.
Developing Your Design: From Sketchbook to Fabric
Now that you’re brimming with inspiration and equipped with basic stitch knowledge, it’s time to translate your vision into a drawing:
1. Start with Rough Sketches:
- Use a pencil and paper to explore different design compositions.
- Don’t worry about perfection at this stage; focus on capturing your ideas freely.
- Consider the size and shape of the item you’ll embroider on.
2. Refine Your Design:
- Choose your final design from your rough sketches.
- Trace it onto tracing paper or redraw it on a fresh sheet of paper.
- Refine details and ensure lines are clean and crisp.
3. Transferring Your Design:
There are several ways to transfer your embroidery design onto fabric:
- Tracing: Tape your design over your chosen fabric and trace the lines with a fabric pen that disappears with heat.
- Iron-on Transfer Paper: Purchase special transfer paper, print your design onto it, and iron it onto your fabric following the manufacturer’s instructions.
- Lightbox Method: Place your design on a lightbox (or a window with light shining through) and trace the design onto your fabric with a fabric marker.
4. Simplifying for Embroidery:
- Solid Fill Areas: Break down large areas of solid color into smaller sections filled with different stitches. This adds texture and visual interest.
- Simplifying Lines: Curved lines can be broken down into smaller straight lines using satin stitch or back stitch.
- Minimal Detail: Highly detailed elements may not translate well to embroidery. Opt for simpler representations or focus on key details.
Essential Tools:
Here are some key tools for drawing and transferring your embroidery design:
- Pencil and Eraser: For initial sketches and refining details.
- Tracing Paper: Allows for multiple design iterations.
- Fabric Pen: Choose a pen that disappears with heat or washes out easily.
- Lightbox (optional): Aids in transferring designs through light.
- Iron (optional): For using iron-on transfer paper.
Software Solutions: Embracing Technology
For a more tech-savvy approach, consider using design software:
- Vector Drawing Programs: Software like Adobe Illustrator allows you to create and edit embroidery designs with precise control.
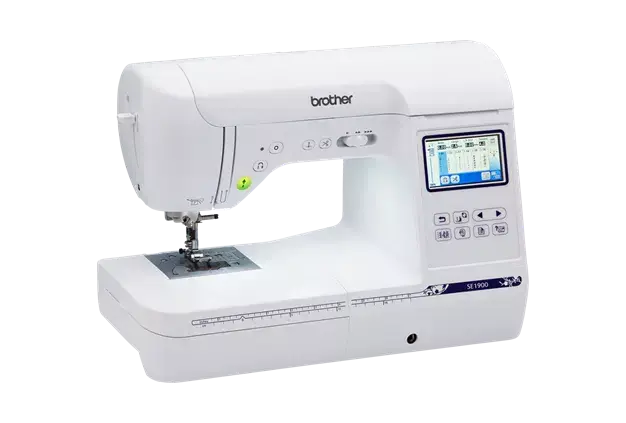
- Digitizing Software: This specialized software converts images or drawings into embroidery stitch files that your embroidery machine can read.
While software offers greater precision and flexibility, it requires a learning curve and may not be accessible to all budget levels.
Practice Makes Perfect: Honing Your Embroidery Design Skills
The best way to refine your embroidery design skills is through practice:
- Start with Simple Designs: Begin with small, uncomplicated designs to hone your technique.
- Experiment with Stitches: Practice different stitches on scrap fabric to get a feel for how they work and their visual effects.
- Sample Different Fabrics: Different fabrics impact the look and feel of your embroidery. Experiment with cotton, linen, denim, or other materials to discover their unique possibilities.
- Embrace Mistakes: Embroidery is a journey, not a destination. Mistakes are inevitable and learning opportunities. Learn from them and keep exploring.
Beyond the Basics: Advanced Design Techniques
Once you’ve mastered the fundamentals, explore these advanced design techniques to elevate your embroidery:
- Shading & Color Blending: Combine stitches of varying densities or colors to create shading and depth.
- Appliqué: Incorporate fabric cutouts to your design for a dimensional effect.
- Metallics & Beads: Add a touch of glamour with metallic threads or decorative beads.
- Watercolor Embroidery: Use a variety of colored threads and loose, blended stitches to create a painterly effect.
- Free Motion Embroidery: Embroider freehand without following a pre-drawn design, allowing for greater creative expression.
Resources for Exploration:
- Embroidery Books & Magazines: Offer in-depth tutorials, design inspiration, and advanced techniques.
- Online Embroidery Courses: Find a plethora of online courses catering to all levels, providing guided instruction and expert tips.
- Embroidery Communities: Join online forums or groups to connect with other embroidery enthusiasts, share your work, and learn from others.
Conclusion: Embark on Your Embroidery Design Journey
Embroidery design is a rewarding skill that allows you to personalize garments, create home décor, or express your artistic vision. Whether you’re a beginner or an experienced embroiderer, there’s always something new to learn and explore. So grab your pencil, pick up some fabric, and embark on your embroidery design adventure!
Bonus Tip: Consider creating a dedicated embroidery portfolio to document your design journey. This allows you to track your progress, showcase your skills, and inspire yourself and others with your creativity.
With dedication and practice, you’ll be stitching stunning embroidery designs in no time!
Related Posts
Discover relevant articles, tutorials, and tips to improve your skills and explore new techniques.
Stay inspired and connected to our embroidery community.
