Mastering Embroidery Design Software: A Comprehensive Guide for Beginners and Pros
Introduction:
Embroidery design software has revolutionized the world of needlework, allowing creators to bring their visions to life with unprecedented precision and creativity.
Whether you’re a hobbyist or a professional, understanding the ins and outs of embroidery design software can elevate your craft to new heights. In this comprehensive guide, we’ll explore the features, benefits, and best practices of using embroidery design software, helping you choose the right tool and maximize its potential.
Understanding Embroidery Design Software:
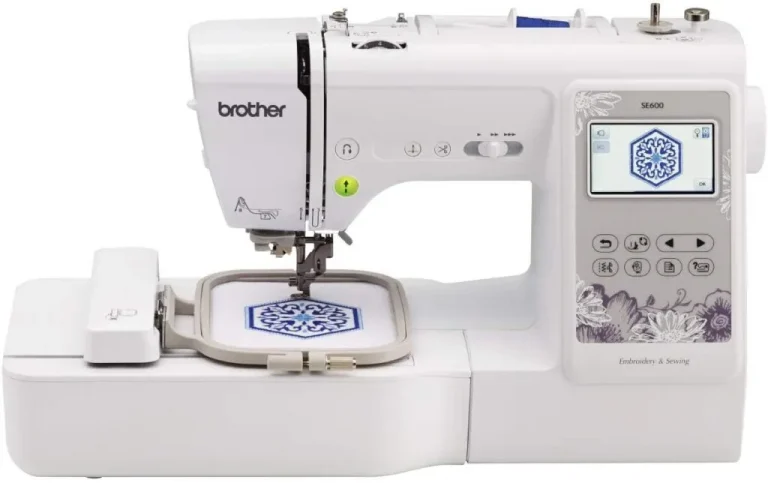
Embroidery design software is a specialized tool that allows users to create, edit, and digitize embroidery patterns for use with computerized embroidery machines.
These programs range from basic editors to advanced digitizing suites, catering to various skill levels and needs.
Key Features of Embroidery Design Software:
- Design Creation: Tools for drawing and shaping embroidery elements
- Digitizing: Converting images into stitch-based designs
- Editing: Modifying existing designs or imported patterns
- Stitch Types: Options for various stitch styles (e.g., satin, fill, running)
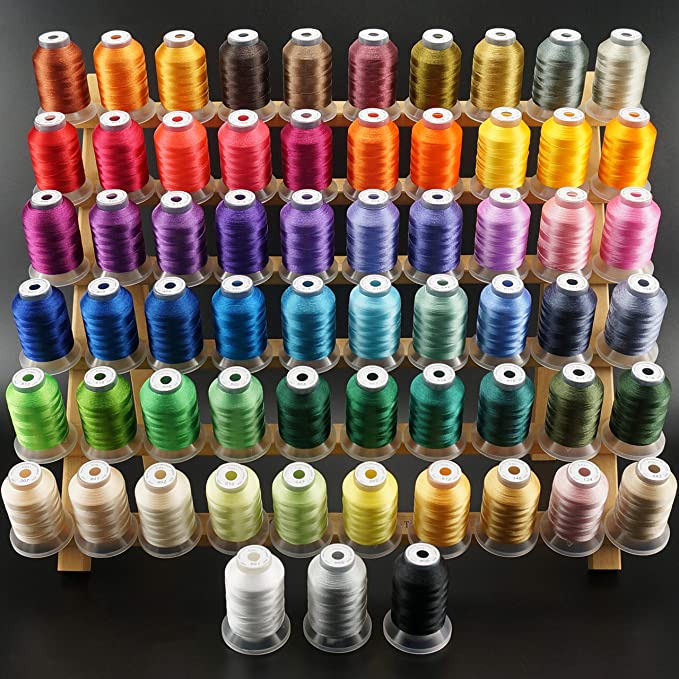
- Color Management: Tools for selecting and organizing thread colors
- Text Handling: Adding and customizing text and fonts
- Preview and Simulation: Visualizing the final embroidery result
- File Format Compatibility: Supporting various machine-specific formats
Choosing the Right Software: Selecting the best embroidery design software depends on your needs, skill level, and budget.
Consider the following factors:
- User Interface: Look for intuitive layouts and clear navigation
- Learning Curve: Some software offers beginner-friendly features, while others cater to advanced users
- Compatibility: Ensure the software works with your embroidery machine’s format
- Digitizing Capabilities: If you plan to create designs from scratch, robust digitizing tools are essential
- Support and Updates: Regular updates and good customer support are crucial
- Price: Software ranges from free options to high-end professional suites
Popular Embroidery Design Software Options:
- Hatch by Wilcom: Known for its powerful digitizing tools
- Embrilliance: Offers a range of products for different skill levels
- Brother PE Design: Compatible with Brother embroidery machines
- Janome Artistic Digitizer: User-friendly option for Janome machine owners
- SewArt: Affordable choice for beginners
- Inkscape with Ink/Stitch plugin: Free, open-source option
Getting Started with Embroidery Design Software:
- Installation and Setup:
- Follow the software’s installation guide carefully
- Ensure your computer meets the minimum system requirements
- Register your software to receive updates and support
- Familiarize Yourself with the Interface:
- Explore the toolbars and menus
- Use built-in tutorials or video guides to understand basic functions
- Practice with sample designs included in the software
- Basic Design Creation:
- Start with simple shapes and text
- Experiment with different stitch types and effects
- Learn how to adjust stitch density and length
- Importing and Digitizing Images:
- Begin with high-quality, clean images for best results
- Understand the auto-digitizing process and its limitations
- Learn manual digitizing techniques for more control
Advanced Techniques in Embroidery Design Software:
- Custom Digitizing:
- Master node editing for precise shape control
- Create custom fill patterns and textures
- Develop skills in manual punching for complex designs
- Working with Layers:
- Organize design elements in layers for easy editing
- Use layers to create multi-dimensional effects
- Understand stitch order and its impact on the final result
- Color Management:
- Create and save custom color palettes
- Learn color-matching techniques for specific thread brands
- Understand how to optimize color changes for efficient stitching
- Special Effects:
- Experiment with 3D foam embroidery settings
- Create appliqué designs with precise placement lines
- Develop gradient and shading techniques for realistic effects
- Text Manipulation:
- Master kerning and letter spacing for professional-looking text
- Create custom monogram designs
- Learn how to convert fonts to stitch-based letterforms
Optimizing Designs for Machine Embroidery:
- Stitch Count Management:
- Balance design complexity with stitch count for efficient stitching
- Use underlay stitches effectively to support top stitches
- Pull Compensation:
- Adjust pull compensation settings to prevent gaps in the final embroidery
- Understand how different fabrics affect stitch placement
- Machine-Specific Optimization:
- Tailor designs to the capabilities of your embroidery machine
- Consider hoop size limitations when creating designs
- Test Stitching:
- Always test new designs on scrap fabric before final production
- Use software simulation features to identify potential issues
Integrating Embroidery Design Software with Other Tools:
- Vector Graphics Software:
- Use programs like Adobe Illustrator or CorelDRAW to create clean vector art for digitizing
- Learn how to properly export vector files for use in embroidery software
- Photo Editing Software:
- Utilize image editing tools to clean up and prepare photos for digitizing
- Understand how image resolution affects digitizing quality
- Quilting and Sewing Software:
- Explore how embroidery designs can be integrated into larger quilting or sewing projects
- Learn to create in-the-hoop projects that combine embroidery with construction techniques
Troubleshooting Common Issues:
- Design Distortion:
- Adjust pull compensation and underlay settings
- Ensure proper stabilization techniques are used during stitching
- Thread Breaks:
- Check for sharp angles or overly dense areas in the design
- Optimize stitch length and density settings
- Registration Problems:
- Verify that the design is properly centered and aligned in the software
- Use basting boxes or registration marks for multi-hoop designs
- Software Crashes:
- Keep your software updated to the latest version
- Ensure your computer meets the software’s system requirements
Staying Updated and Continuing Education:
- Join Online Communities:
- Participate in forums and social media groups dedicated to embroidery design
- Share your work and learn from others’ experiences
- Attend Workshops and Webinars:
- Many software companies offer training sessions and webinars
- Look for embroidery conferences featuring software workshops
- Explore New Features:
- Stay informed about software updates and new releases
- Experiment with new tools and features as they become available
- Create a Design Library:
- Organize your designs and digitizing projects for future reference
- Document your process and settings for successful designs
Conclusion: Embroidery design software is a powerful tool that opens up a world of creative possibilities. By mastering its features and techniques, you can transform your embroidery projects from simple stitches to complex works of art.
Whether you’re creating custom designs for personal use or running a professional embroidery business, the right software and skills can make all the difference. Embrace the learning process, stay curious, and don’t be afraid to experiment.
With practice and persistence, you’ll soon be creating stunning embroidery designs that showcase your unique style and creativity.
Related Posts
Discover relevant articles, tutorials, and tips to improve your skills and explore new techniques.
Stay inspired and connected to our embroidery community.


